The Ethereum blockchain network is just a collection of nodes connected to form a network. Each node replicates the whole blockchain and competes to be the first to validate and produce the next block.
The blockchain is updated and distributed to the entire network whenever a new block is added. As a result, if you want to join the Ethereum network as a node, you’ll need to download and update a copy of the whole blockchain on your computer.
Instead of using the public Ethereum network, you might be wondering how to create a private blockchain that can be used to make transactions and establish smart contracts without using real ether. A private network is the best way to learn about blockchain principles without using actual money.

Step 1 — set up the environment
First, you must install Geth, a command-line interface (CLI) application that talks with the Ethereum network and serves as a connection between your computer and the other Ethereum nodes.
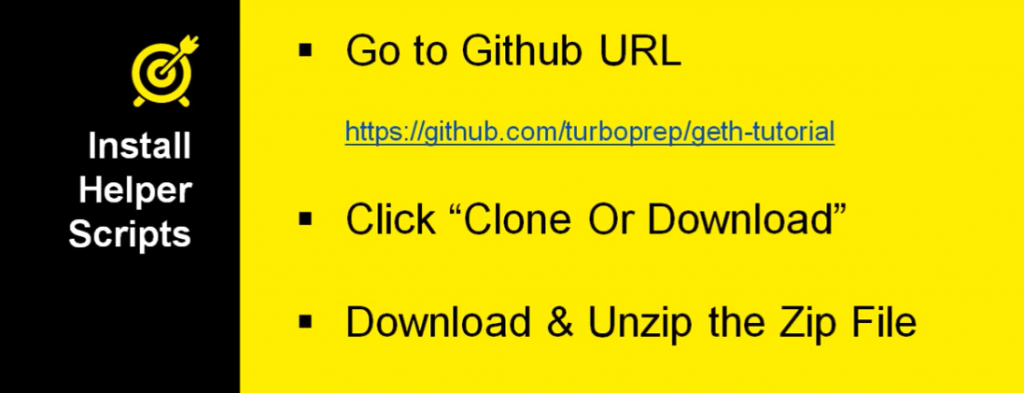
To get started, go to the Go Ethereum website. Download the binaries for your operating system and install them.
Step 2 — Configure the Genesis file
To build a private network, you must give some basic information to create the first block. Every blockchain begins with a Genesis Block, the chain’s first block.
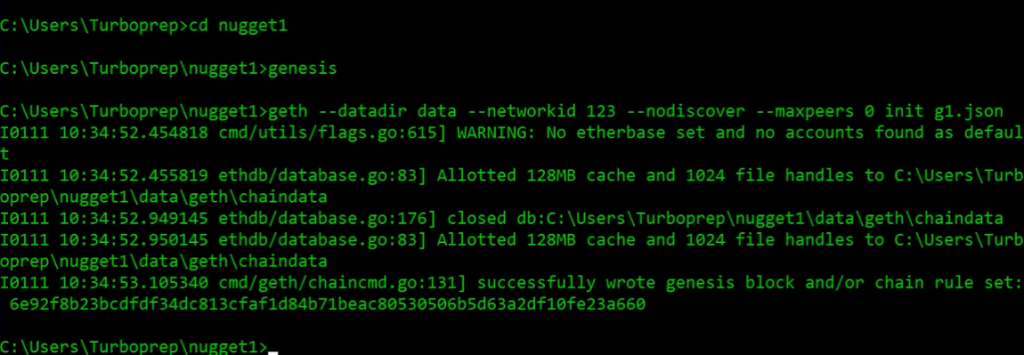
You will need to create a genesis block using a bespoke genesis file to start your private blockchain. Then ask Geth to construct your own genesis block using that genesis file.
Then, open the terminal and run the code snippet. This tells Geth to utilize your own blockchain’s genesis.json file as the initial block. You will also define a data directory for storing your private chain data.
Geth will build the data directory for you in a place on your computer (apart from the public Ethereum chain folder, if you have one).
Step 3 — Create a Private Network
After that, you’ll need to build your own private network in order to add new blocks to the private chain. Use your terminal to run the code snippet. The “networkid” argument uniquely identifies your private blockchain network.
The network id for the core Ethereum network is “1.” To make your one-of-a-kind network, use any number other than “1.”
Your private network is now operational. Boom!! You successfully formed the private blockchain network. You must now create accounts to conduct network transactions.
Step 4 — Create Accounts

Launch Geth console, create a new terminal window and run the following snippet.
Now type personal.newAccount() and provide a password to establish a new account. Simple!
Please keep the account address and password in mind since they will be used frequently.
By entering Geth, you may see the balance of your account:
getBalance ("ENTER ACCOUNT ADDRESS HERE")
You may deposit ether into your account in two ways. You may mine blocks and receive ether as a reward, or someone can transfer ether to your account. Because you’re the only one on your private network at this stage, the only way to earn money is to mine some blocks.
Mining on the main Ethereum network is difficult and requires a lot of computing power. However, if you choose a low difficulty level in the genesis.json file, mining blocks on a private network is simple.
Type “miner” to add ether to your account. In the Geth console, type start(). Recheck the balance after 10–15 seconds. Run miner to cease mining.stop()
And then, BOOM!! You have a lot of ether on your account. However, keep in mind that this is false ether, and you will not be able to use it to conduct transactions on the regular Ethereum network.
You may, however, utilize this ether to test blockchain services like transactions and smart contract deployment.
You can also expand your private network in the following stage by adding more nodes. Please hold on!
Step 5 – Increase the number of nodes/peers
Run Steps 2 through 4 in a new terminal to create a new node.
Important Reminder:
- To start the node, you must use the same genesis.json file.
- For the new node, you must use a separate data directory folder.
- Make sure the new node has the same networkid as the old one.
- Because the first node already uses the default port, you must specify a port number.
If your peers aren’t on the same network as you, you’ll need to know your external IP address (or utilize a service) to create the encode URL.
If successful, this will return true, but this does not imply that the node was successfully added. To double-check, run admin.peers, and the information for the node you just added should appear.
If you start mining on the first node with miner.start(), the block number on the second node will grow.
Congratulations! You’ve just created your first private Ethereum blockchain, mined some ether, and expanded the network with new peers!
