Blender, is a 3D artwork software that is getting popular for creating the best content using graphics. The tool is very effective and rich in terms of features and usability. All graphic designers who use Adobe products for creating vector artworks, editing artworks, and illustrations must explore this tool to enhance their learning curve and get the best 3D graphics from this.
Here are the steps of how to unjoin 3D objects in Blender.
Step 1
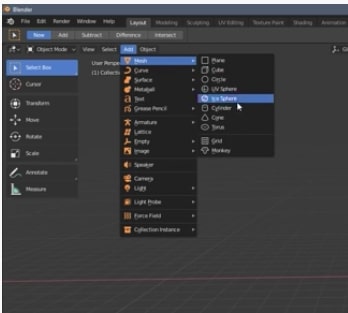
- Open Blender and insert one object. Use the menu Add → Match → Cube.
Step 2
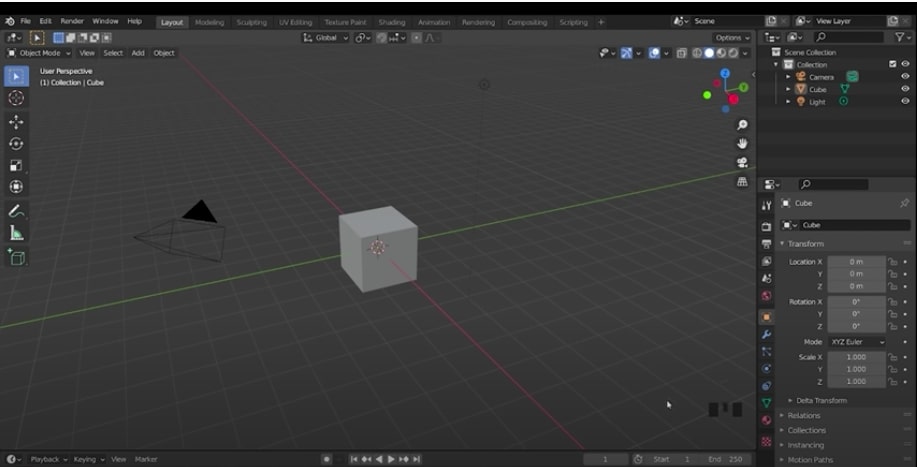
- You shall see the cube object on the lane.
Step 3
- Press SHIFT + 8 to pop up the Add menu. Say Match → Cube. The object is added at the same place. You can move this new object with the mouse cursor.
Step 4
- As of now, the Object Mode is running. Change the mode to Edit mode. From the top left drop-down where the Object Mode list item is shown, click to open the list.
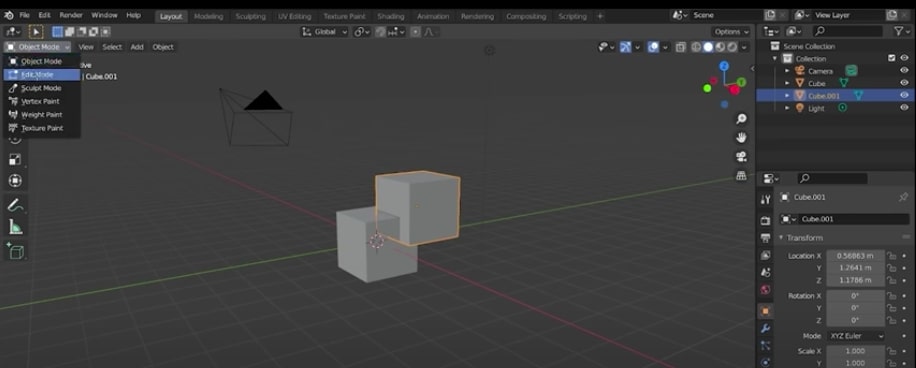
Step 5
- Pick the Edit Mode from the list. Now pressing SHIFT + 8 shall show only the Match menu. Pick the Cube item and it will add another cube on the object. You shall see the object added with the badge color.
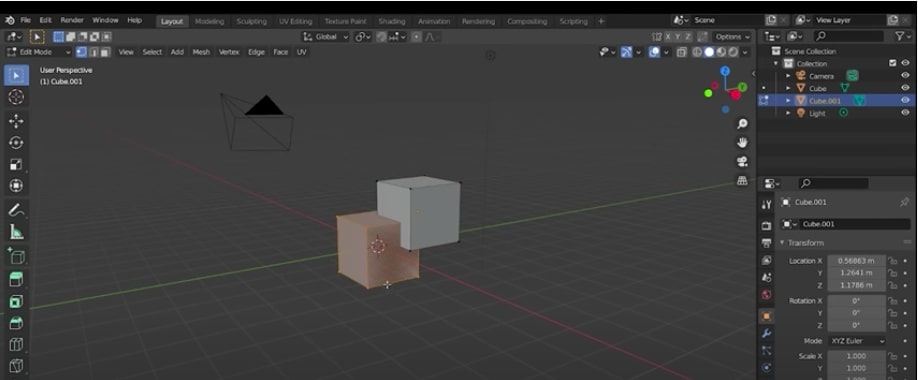
Step 6
- The 3D cursor is shown on the newly added cube. Move the object with the cursor.
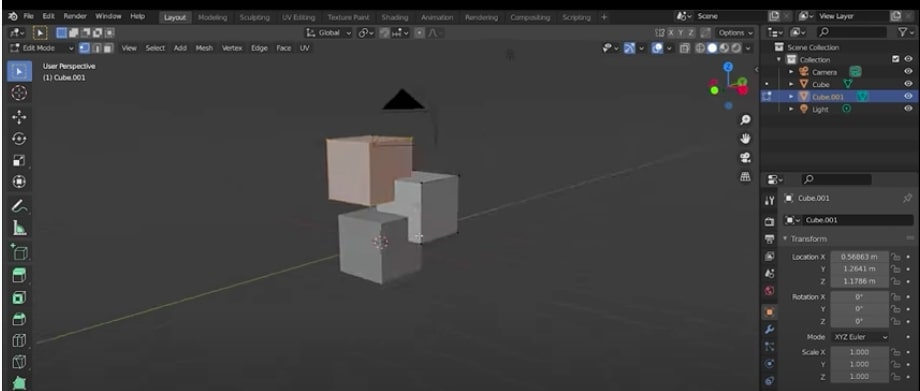
Step 7
- Press Tab to go to the Object Mode and you shall see 2 objects are selected together (border highlighted with orange color) which are already joined.

Step 8
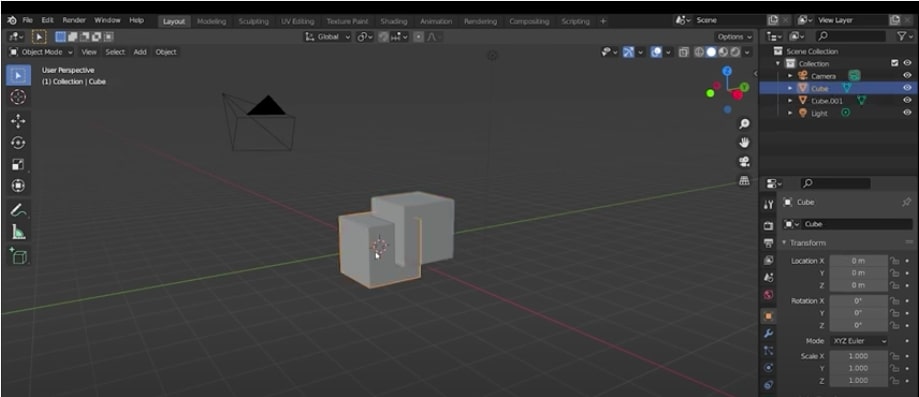
- Similarly, add 2 more objects and select them all. From the Object menu on the top, pick Join. (or Press CTRL + J)
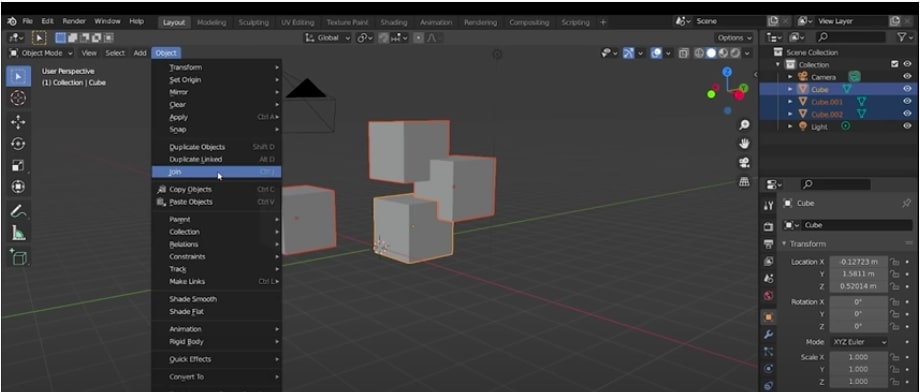
See all of them joined.

Step 9
- Move to the Edit Mode and you shall see the below.
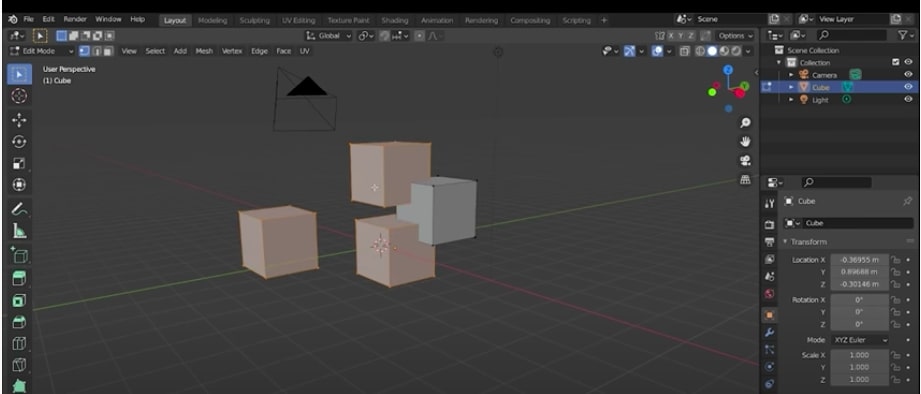
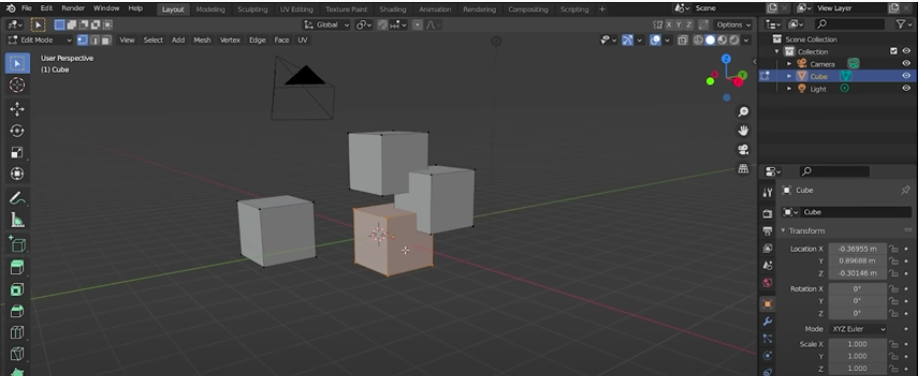
Step 10
- Press ALT + A to deselect the objects. Press L to select one each. Choose the object you wish to unjoin by pressing L.
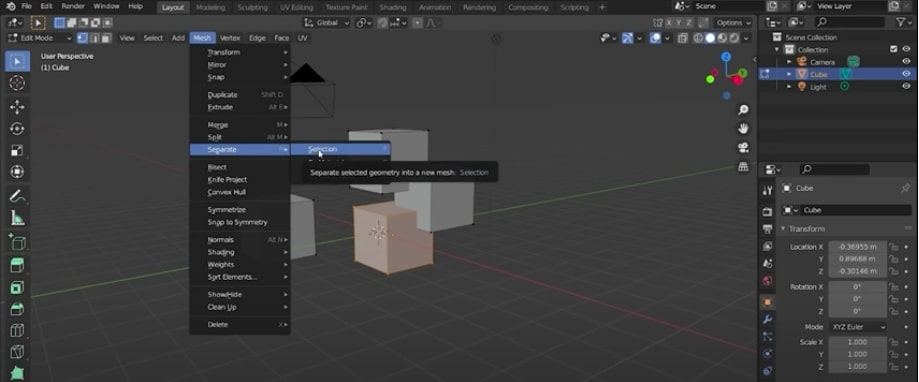
Step 11
- Pick the Match menu from the top. Pick Separate → Selection.
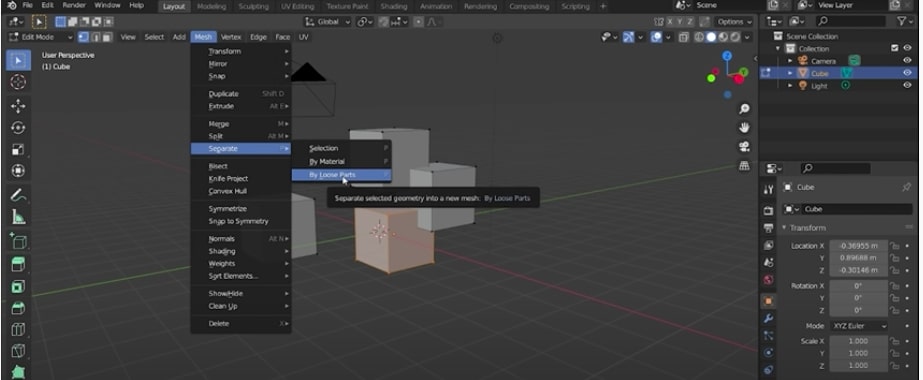
Step 12
- There are other options for separating objects such as By Loose Parts or By Material.
This is how the objects can be separated or unjoined using Blender.
