On Twitch, the chat preferences are available. The gamer can set the username color as desired. Many times, the color change is needed based on the background color set for the chat.

There are 2 ways to change Twitch Chat color.
Way 1 – Using Non-Mod Settings
- Open the Twitch Account using your credentials.
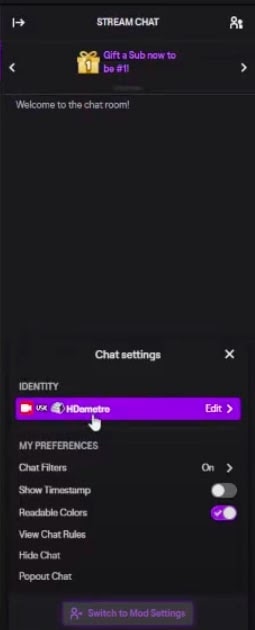
- On the right side, a chat panel is displayed.
- At the bottom right corner below the chat console, a settings icon is available.
- Click Settings, you shall see an option “Switch to Non-Mod Settings”. Click that.

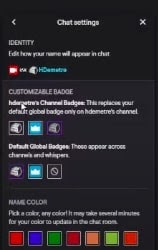
- You shall see the username below the IDENTITY title.
- Tap Edit. You shall see the below color options.
- If you like none of them, click more colors. The below screen is shown.
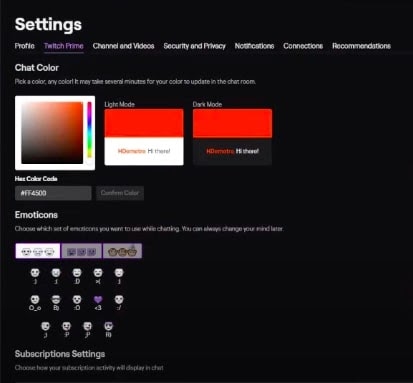
- Pick the color from the palette that is shown or enter the code in hex value.
- Once done, the Confirm Color button is enabled. Click it.
- The color chosen is applied to the chat.
- Once you start chatting, the applied color is shown up.
Way 2 – Using Twitch Chat Command
This method will work by typing in the chat console and at runtime, the streamer wants to change the color. Here is how it is done.
- In the chat console, type the keyword /color.
- Then, put a SPACE and enter the color name using square brackets. For example, [blue].
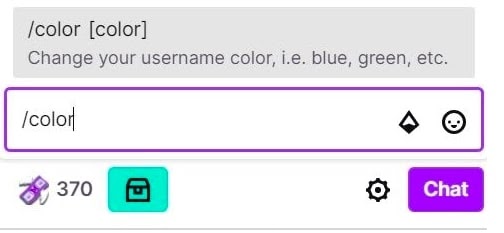
- You shall see the color changed. In case you want to change color with hex value, put /color #000000. The chat color turns to black.
Hex Values and Colors
The table below provides some interesting colors and their hex values.
| Code | Color Name | Sample |
| #800000 | Maroon | |
| #FF0000 | Red | |
| #00FFFF | Aqua | |
| #FFFF00 | Yellow |  |
| #008000 | Green | |
| #808000 | Olive | |
| #00FF00 | Lime |
Conclusion
Twitch Turbo gives more color options and lets the streamer do more customization. It comes with monthly fees and subscriptions. If you are more possessive about the look and feel of streamers’ chat, explore more options along with chat color change.
