The grid is one of the most essential Photoshop tools you should be familiar with. This non-printing guide is an essential tool for your layout ideas, and the most significant thing is that it’s completely free.
The five basic steps of creating a grid in Photoshop
- Create a new document
- Design a new layout for the grid
- Make shapes
- Link your images and shapes that you created
- Save your project
How to Create a Grid in Photoshop in 5 Simple Steps
Creating a grid in Photoshop is a pretty straightforward procedure to follow. Create this handy gadget by following these five simple steps.
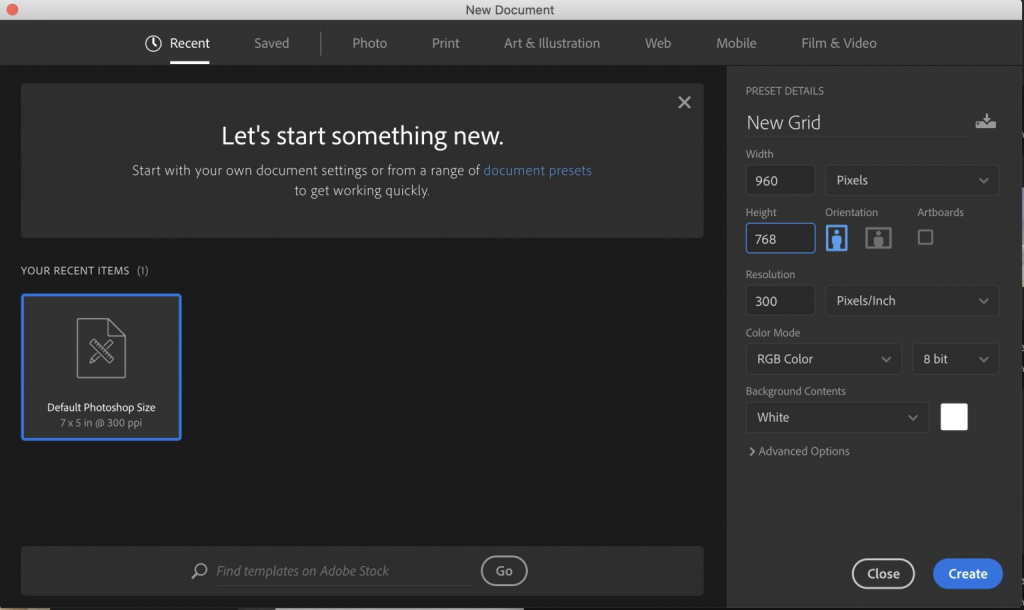
Step 1: Start by creating a new document.
It is necessary to launch Photoshop and create a new document as a starting point. During this stage, you’ll need to adjust the pixels. If you’re making a display with a resolution of 1024 x 768 pixels, we suggest you set your document’s answer to 960 x 768 pixels.
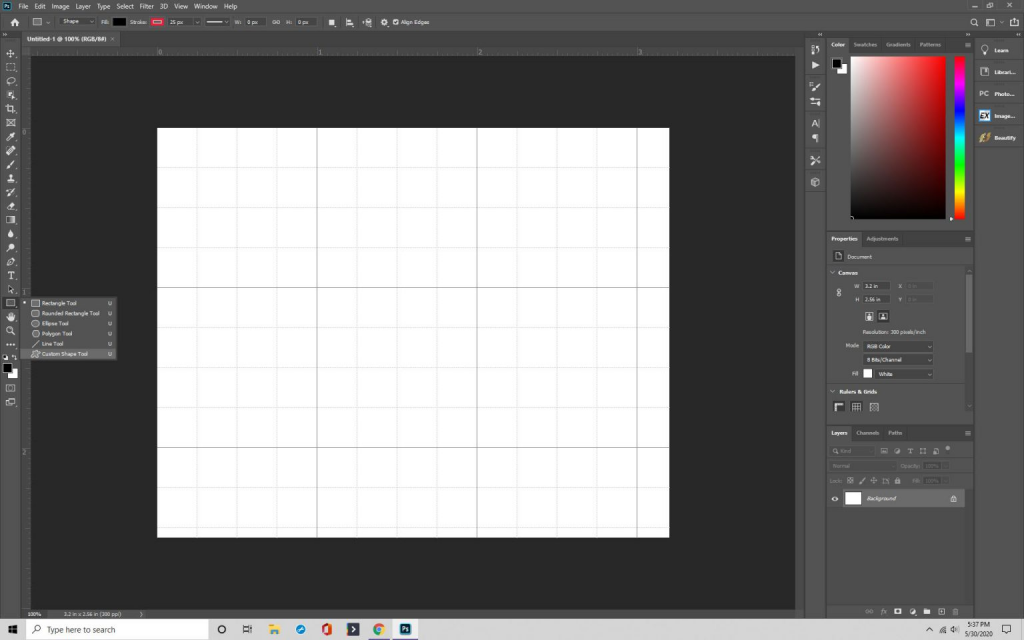
Step 2: Create a New Grid Layout on your computer.
It’s time to start again with a new Photoshop grid. After that, click on “View,” then “Show,” and lastly “, Grid.” Once you’ve arrived at this box, you’ll be able to customize your grid’s options guidelines, which will offer you more control over what it does. There are various options available, including changing the grid color, the spacing between grid lines, and the number of subdivisions between the main lines.

Step 3: Designing Your Shapes
After you’ve configured your Photoshop grid’s settings, it’s time to get to work on the fun part: creating shapes using the grid. Navigate to the “Custom Shape Tools” section and choose the tool you wish to use. Drag it to the square you desire, and then release the form to make it permanent.
It will automatically adjust to the size of the square. In that row, repeat the process as many times as required. You may repeat a row or transfer it entirely to a different area if you’re happy with the way it’s looking. It is necessary to accomplish this by navigating to the “Layers Palette,” where you can customize how your rows repeat. Continue to use this tool until you get the desired result.
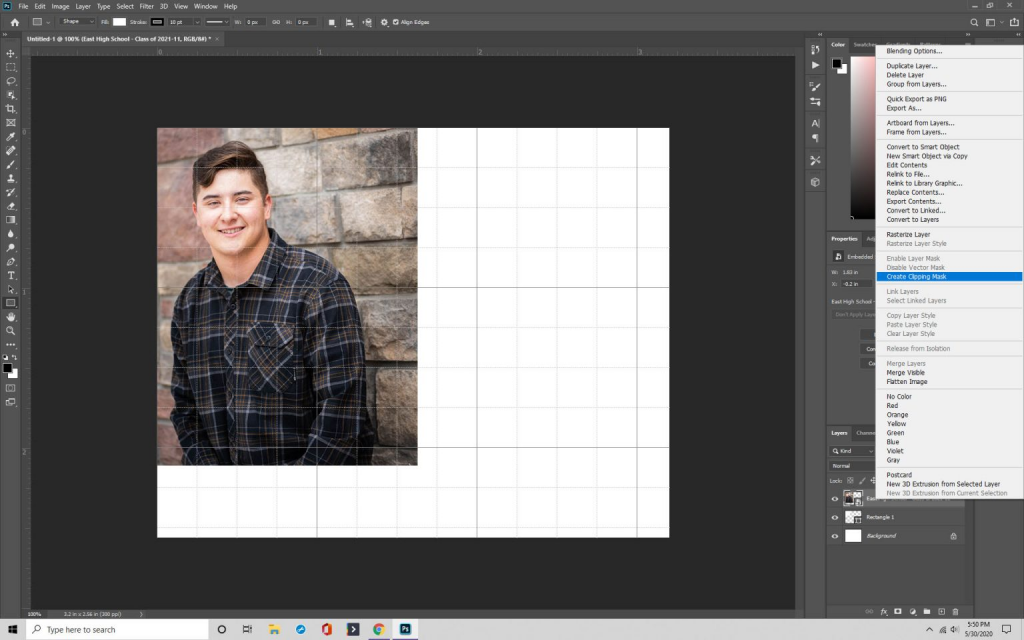
Step 4: Create a link
Begin by selecting the layer on which you wish to put the image and then clicking “File” and “Place” on your keyboard.
This is when you pick the picture and then go to the “Layer” menu. When you click on “Create Clipping Mask,” your image will appear in the grid that you’ve specified.
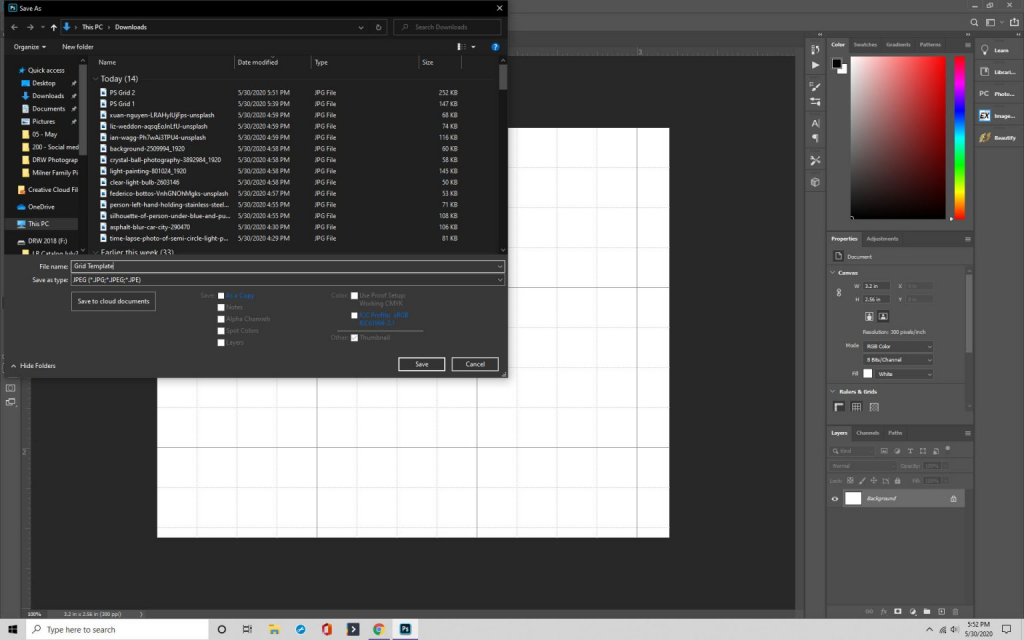
Step 5: Make a backup of your data.
Although creating a Photoshop grid is simple, we suggest that you save grids so that you can retrieve them easily in the future. You may also distribute them to other people.
When you press Cmd/Ctrl+S, a save window will open. You may now give your grid a name and attach it to a particular file format—the image most often used formats are.PSD and.TIF.
Creating Glowing Lines on a Grid in Photoshop similar to the Effects in Tron
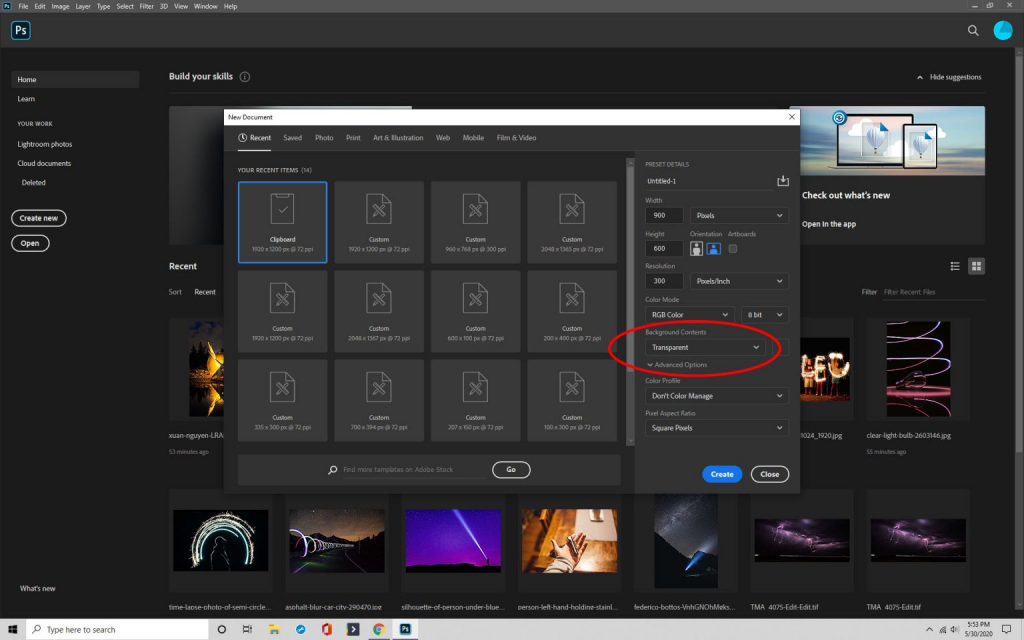
Step 1: Start by creating a new document.
As with the previous steps, you begin by opening Photoshop and generating a document with the parameters you want.
The most important thing to remember is to make sure that you choose “Transparent” from the drop-down menu under “Background Contents” after finishing. You will not be able to see anything behind your grid if this is the case.
Step 2: Configuration
Once you’ve set up your document in Photoshop, it’s time to select a color and make any adjustments to the parameters that will be necessary to create the glowing lines in your image.
Navigate to “Edit,” and then choose “Stroke.” The width of the stroke should be one, and the “Location” should be set to the inside of the stroke.
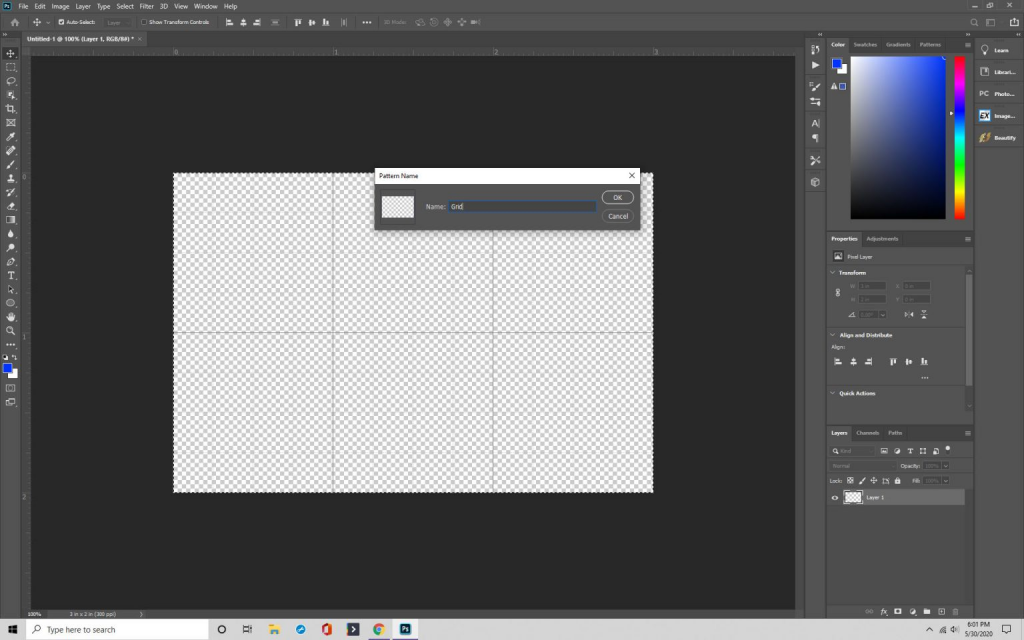
Step 3: Make a backup.
To be able to return to the pattern later, save it by selecting “Edit” and then clicking on “Define Pattern.” Give the way a name and press the “Save” button.
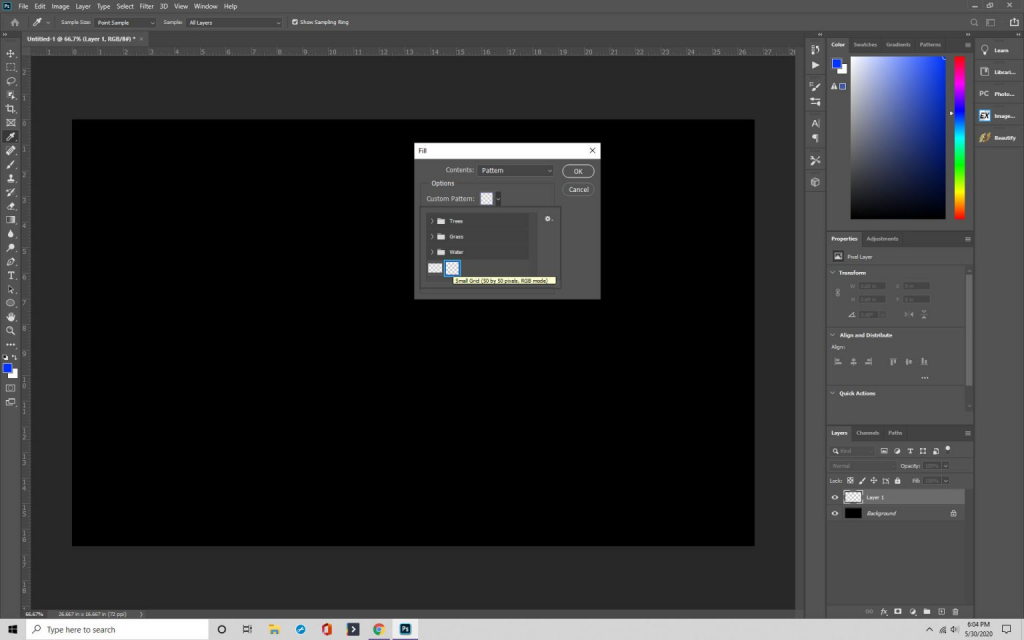
Step 4: Make Use of Your Individualized Pattern
It’s time to speak about how you’re going to use the pattern you’ve developed. To utilize your way, make the page completely black, and then create a new blank layer on top of it.
By selecting “Edit” and then “Fill,” you may add the pattern to the page. You will be able to locate your design in the contents section of the book.
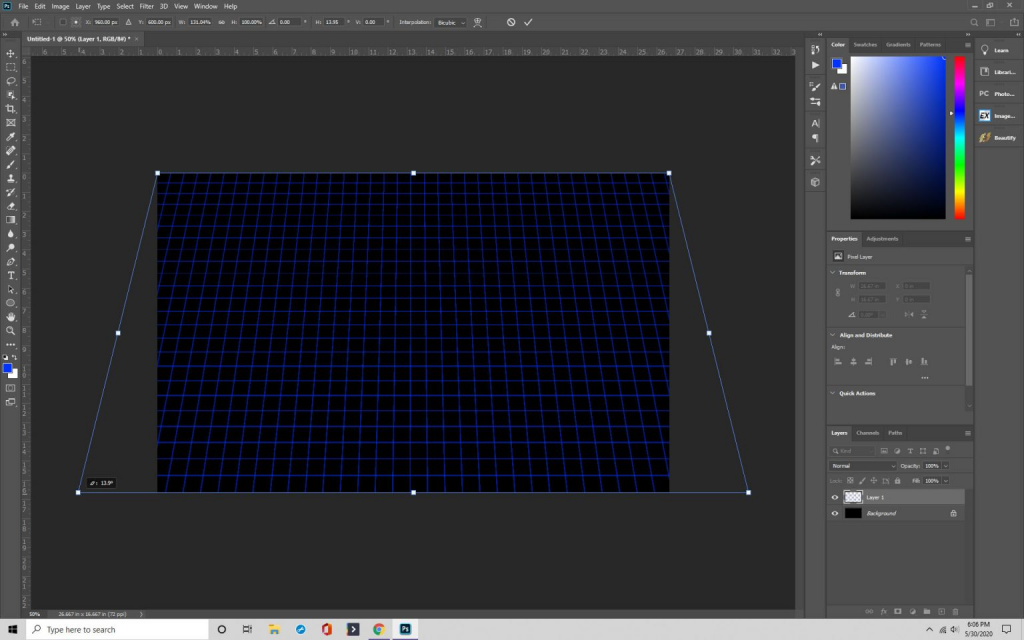
Step 5: Make use of the Transform Tool that is provided for free.
Following that, you’ll want to make use of the free transform tool, which can be accessed by typing Ctrl/Cmd+T on your keyboard.
Right-click on your mouse and choose “Perspective” from the drop-down menu that appears. You may then drag the box from the picture to the desired location.
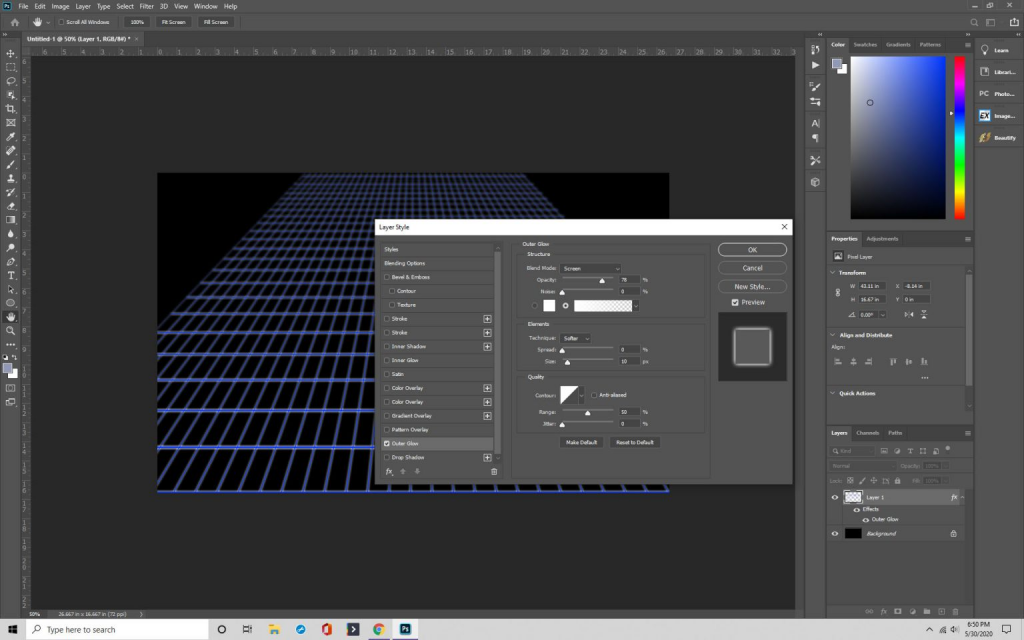
Step 6: Add some radiance to it
To complete the process, go to “Layer Styles” and choose “Outer Glow.” By now you will have successfully created the intended Tron effect.
Adding Guides to a Photoshop Document
Another Photoshop tool we’d like to point out is the guidelines and rulers. These are very helpful. They’re an essential tool for document layout, making tasks like arranging items and creating shapes much more straightforward than they otherwise would be. Here’s how you can take advantage of them.
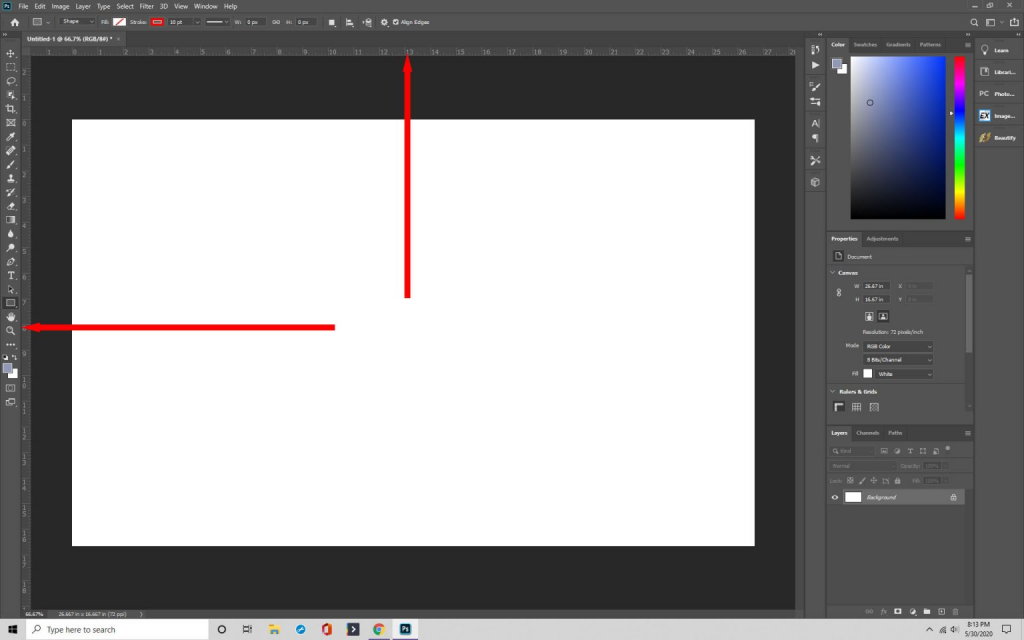
Step 1: Inserting the Ruler.
Photoshop’s ruler is our initial step, so let’s get started. Open the software and either create a new document or choose an existing one from the menu bar. After that, you’ll want to go to “View” and then click on “Rulers.” Two rulers should have been shown on your computer screen at this point.
You may also modify the unit of measurement used by the rule to suit your needs and preferences. Hover your mouse cursor over the ruler at the top or side of the screen, and then right-click your mouse button to choose the ruler. Choose the unit of measurement that best suits your needs, such as pixels, picas, inches, millimeters, or even more.
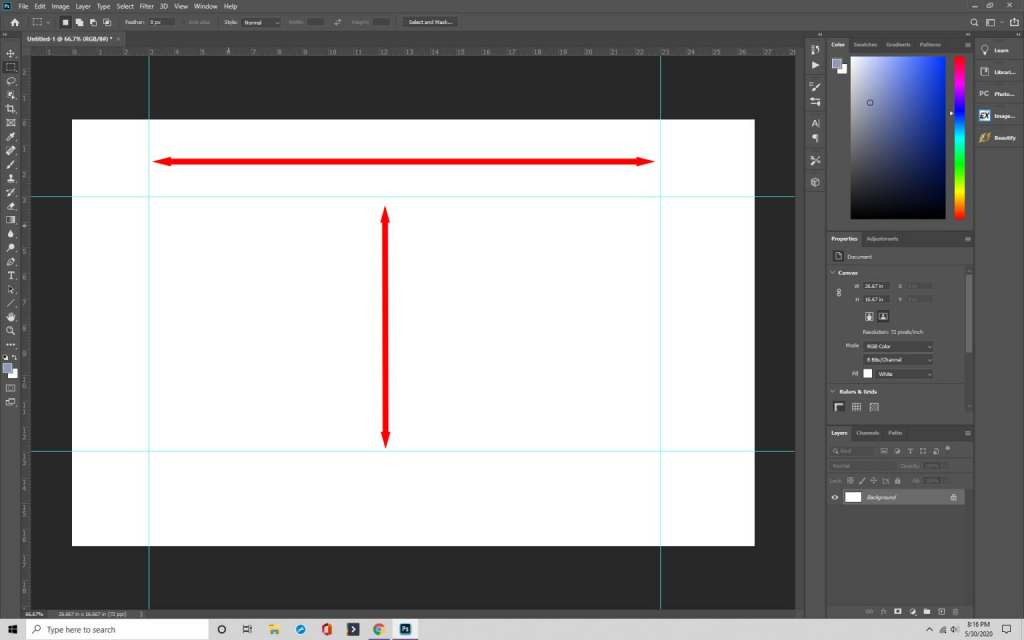
Step 2: Provides Directions
You’re now ready to utilize the rulers as a guide, which is a straightforward process to complete. You need to click on the ruler and drag it to the location where you want it. Just keep in mind that to move the rulers, you must first pick the moving tool from the toolbar.
You may also choose to leave them in place. By selecting “View” and then “Lock Guides,” you may secure the rulers in their current position.
Step 3: Take a picture
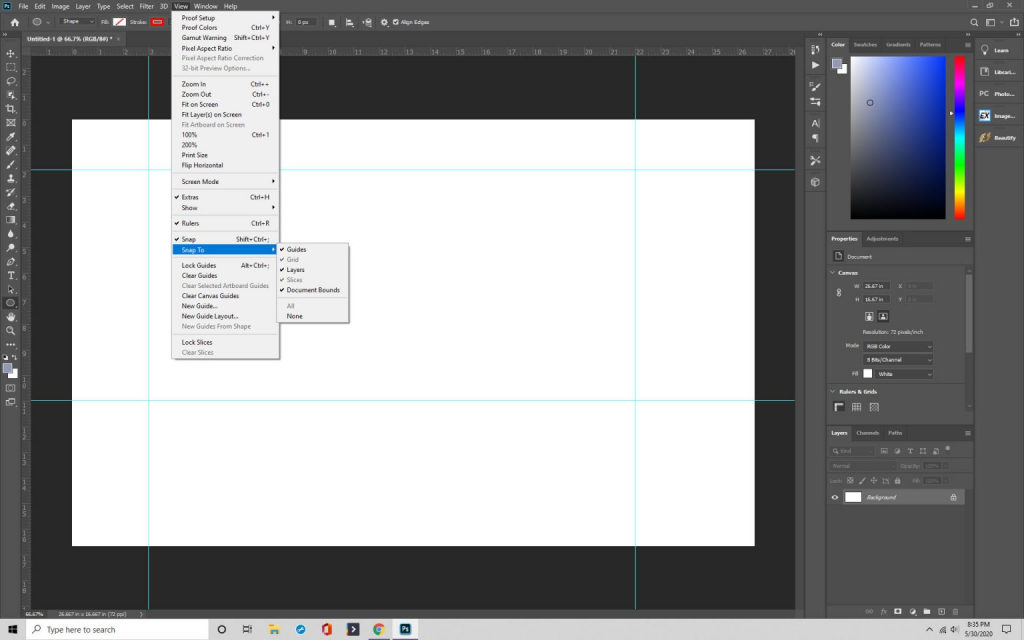
Snapping is another helpful feature of Photoshop that you may utilize with your tutorials. Snapping refers to the fact that when you put an item on your grid, it will immediately “snap” into place. When aligning layers, text, or pretty much anything else, this tool is handy.
Select View>Snap, to make it available for use, to make it available for use, depending on whatever version of Photoshop or Photoshop CC you’re working with.
Make sure that the box next to “Guides and Grid” is checked, as well as the box next to “View” on the View menu. When you click on the grid, the items you’ve placed there will automatically snap into position.
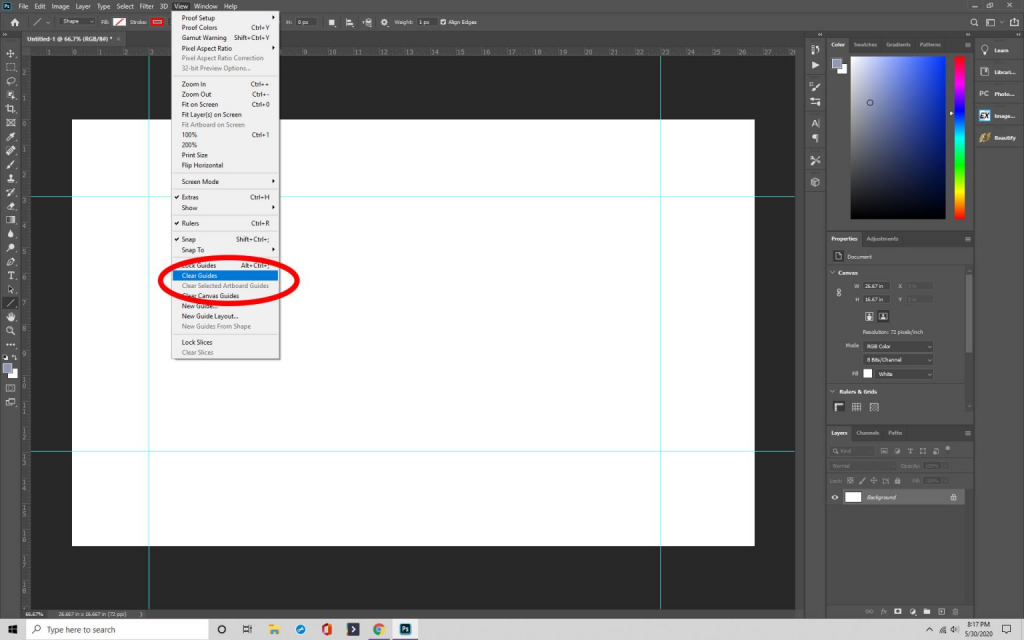
Step 4 – Remove and hide Guide.
Finally, you have the option of removing or hiding instructions as required. If you wish to conceal them, choose View > Show > Grid from the menu bar. They will no longer be visible. And to get rid of them, go to “View,” where you’ll find the option to “Clear Guides.”
Conclusion
Creating a grid may be very beneficial in many situations, such as landscape or architectural design projects. We suggest that you learn how to utilize grids in Photoshop to get the most out of your time with the program.
