Nowadays it is a trend of data – be it files in the form of images, videos, audios, code files, MS Office files, and so on. You decide the priority of how important your files are! Your computer’s hard disk has a capacity of 1TB at max. At the same time, your accumulation of daily data is huge. Backing up data has become a need of today.

Now, the next question that comes up is what are the ways that you can take a backup. Thanks to the technology that has been evolving and giving us the solutions in case of some limitations we have. In this scenario, the limitation is the capacity of our hard drive or chances of losing data due to many reasons such as a virus threat or operating system damage. The solution is multiple ways in which the backup can be taken.
Method 1 – Backup Data Using External Hard drive
This is an efficient way of taking backup of the system. External hard drives come with a USB cable as a connector to your PC. You may use HDD or SSD as an external drive. To take backup in the external disk,
- Connect the USB cable to the USB drive of the CPU/Laptop.
- The external hard drive is detected in the system with the name you have given to the drive.
- Check the space available in the external drive.
- Check the data size to be backed up.
- Once it matches, copy all data from your machine (using CTRL+A) in each local drive.
- Paste it into the backup folder created in the external drive.
- The copying process takes time if the data is of large size.
- Once the data is moved as per the selection, backup is completed.
Method 2 – System Backup Using External Drive
Windows provides an option to do a backup from the settings. The settings help the user add an external drive and turn on the schedule to take regular backups from the local system to the external drive.
- Open the settings using the search bar located on the start menu.
- Pick Update and Security under which you shall find the option – Backup.
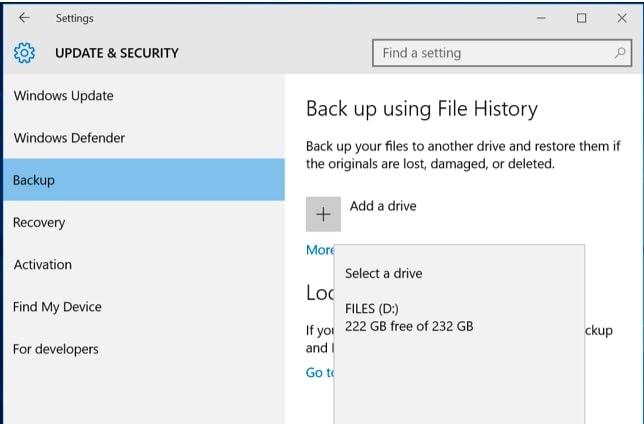
- As shown in the screen above, you shall find the Add a drive option with the plus icon.
- Clicking the + icon opens the drives available in the system. There are 2 options.
- Pick another drive of the local storage in the system
- Pick external drive attached with a USB cable
- Choose any one of the drives. You shall see the option below.
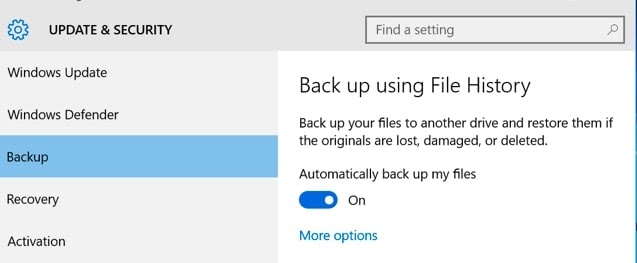
- The Automatically back up my files option is shown with the ON.
- The backup is done automatically to the drive selected.
- The More options link redirects the user to schedule the backups.
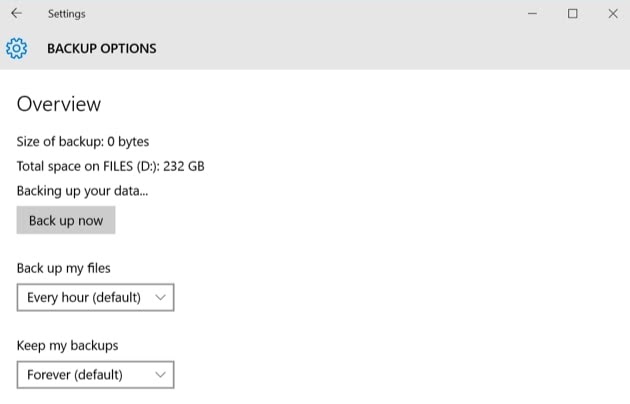
- Pick the appropriate parameter to set the backup schedule.
- Choose Back up now to start the backup process at that point in time.
- Pick the option to how long the user wants to keep the backup.
- This is how the backups are executed.
Method 3 – Backup Data on Dropbox
- Download and get the dropbox app on the PC.
- Open the file explorer and decide the files/data to be backed up.
- DragNDrop the files to the local dropbox folder.
- Alternatively, the web version of dropbox can be used.
- Open www.dropbox.com.
- Sign onto the dropbox account.
- Upload files to the dropbox account.
- The files/data are backed up.
Method 4 – Create Backup Using Cmd
c:\users\TinaS- Type the command below to take the backup.
robocopy "D:\desktop windows 10\Data folder" "F:\Backup"- In the above command, the D: drive is the source folder, and the F: drive is the destination of the backup to be moved.
- Press ENTER to execute the backup.
- Once done, you shall find the data backup in the F: drive. (The F: drive can be the external hard drive.)
Method 5 – Using AOMEI backup software
- Go to https://www2.aomeisoftware.com/download/adb/AOMEIBackupperStd.exe to download the AOMEI tool.
- Follow onscreen instructions for installation.
- Post-installation, the shortcut icon is created on the desktop.
- Click the shortcut icon to open the tool. You shall see a list of options.
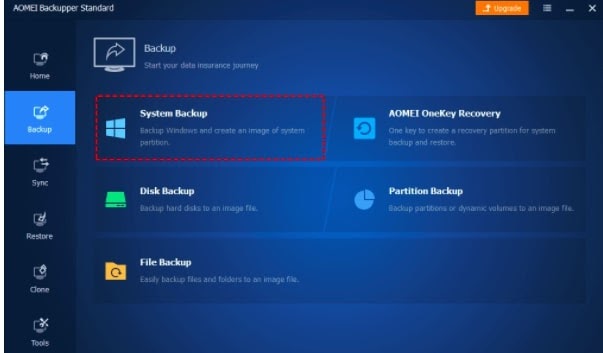
- From the left, pick the Backup icon.
- You shall see the System Backup component on the backup screen.
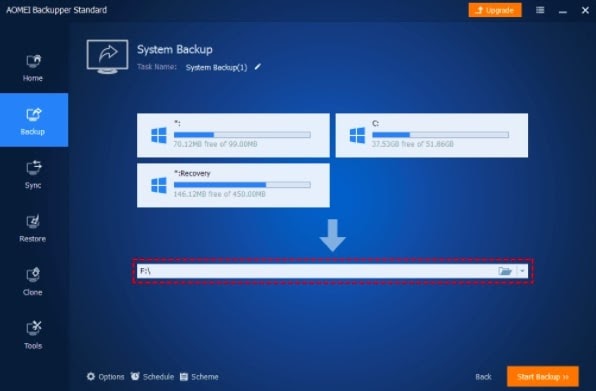
- Choose the destination drive in which the backup is to be created.
- Click the Start Backup button shown in orange color.
- You shall see the setting to be chosen while the backup is in progress.
- Choose the restart PC option on completion of the backup.
- Press OK.
- Let the process complete. You shall see the success message below.
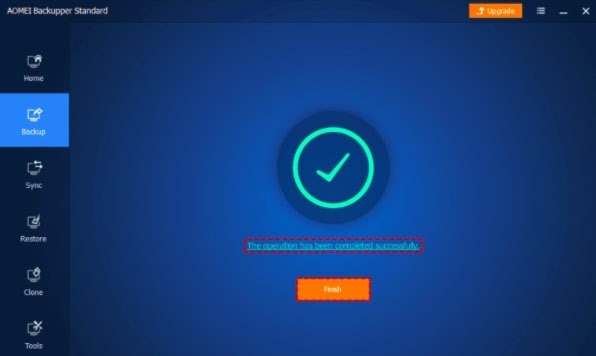
- Click Finish and the system shall be restarted as per settings.
- Check the backup file created on the destination drive chosen.
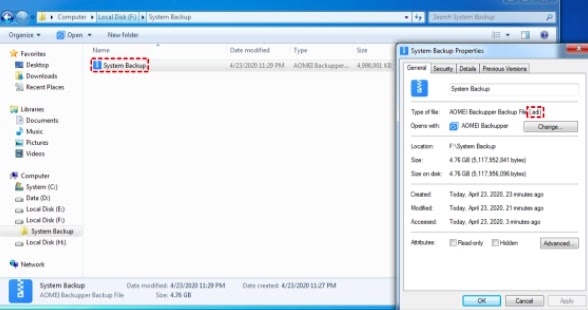
- You are done. The backup is ready.
Takeaway
Backups are necessary and prevent the user from losing data, restoring the system if corrupted, and keeping incrementally creating backup copies. A very important feature and user(s) should practice this regularly. Happy exploring such resolutions on StrangeHoot!
You may also like:
- How to Backup WhatsApp Data [Images, Chats & documents] to PC
- How to Transfer WhatsApp Chat into Signal App
- How to Clone Windows 10 Without Losing Data
