Formatting your word document is a crucial part of enhancing its quality level. It also helps readers navigate information as intended by the author. Formatting text, and images and making them aesthetically pleasing creates curiosity for readers. With that said, here are some ways to align photos or images in a word document using different methods.

Method 1: In one columnar layout, how to align the image as center using the Formatting Menu
- The first step is to select the image or object you would like it to align as the center.
- Next, locate the Format Tab

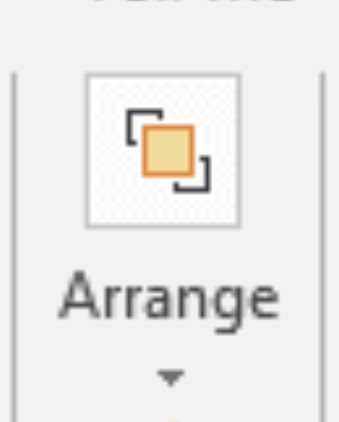
- Under the Format tab, tap the Arrange option only if you feel it is necessary.
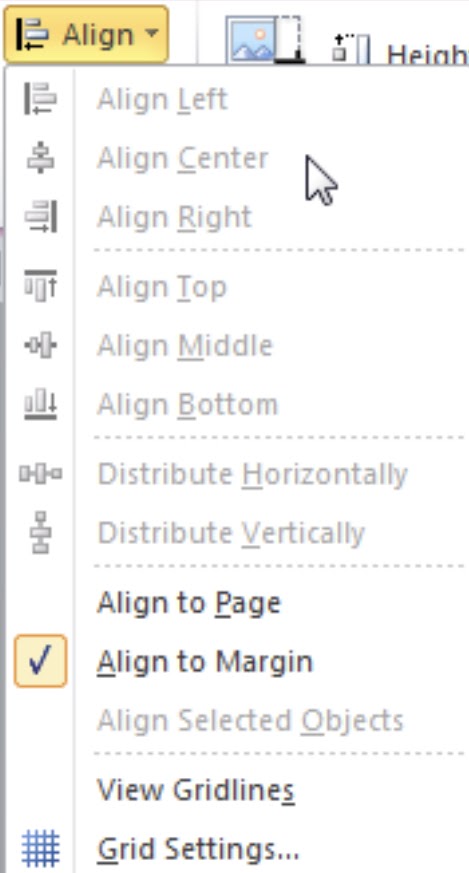
- Tap on the Align option. (this option allows you to align images or various objects according to your requirements, that is, left, right, center.)
NOTE: Here the Distribute option will allow you to space objects or images in a vertical or horizontal manner. The Align to Selected Objects can come in handy to align images or objects among themselves. Align to Page or Align to Margin options are also available on the word.
- According to your preference, choose the Alignment option or the Distribution option.
- Now, you will be able to see the images or objects aligned as per the settings.
- Under the Align option, there are various options to enable using the wrap text option such as:

- Originally the only available options in the align menu are “Align to Page” and “Align to Margin”.
- To enable the other options, go to the wrap text option and choose the Square option from the drop-down list.

- Now you will notice that if you go back to the Align menu the previously grayed option is now available to use for formatting.
- Now you can select the image and change its alignment using the new palate of settings made available.

Method 2: In 2 columnar layout, how to center an image by using the icon toolbar
NOTE: Steps for Office 2010, although settings are similar to those of Office 2007.
- Start off by inserting the required image into the word document.
- Locate the Insert Tab, then proceed to select the image that needs to be aligned.

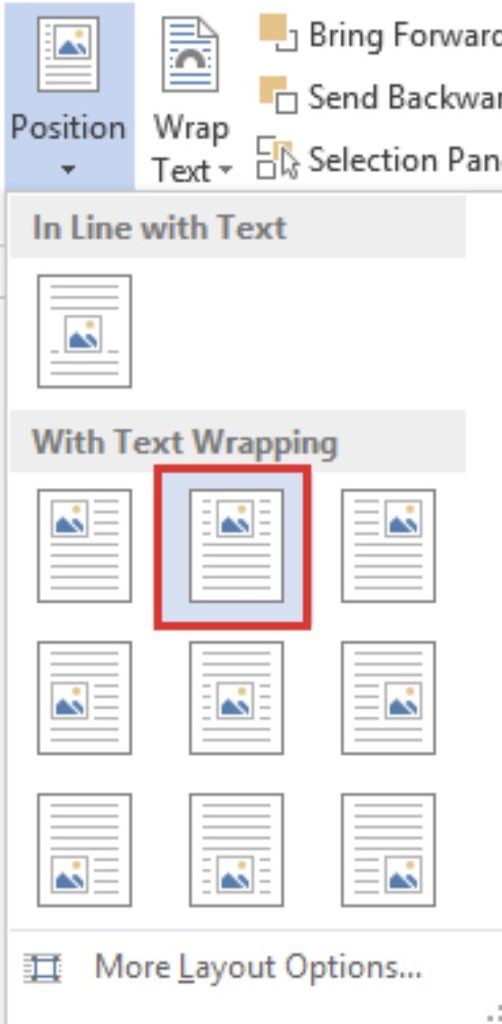
- Go to the positions menu to get quick alignment solutions.
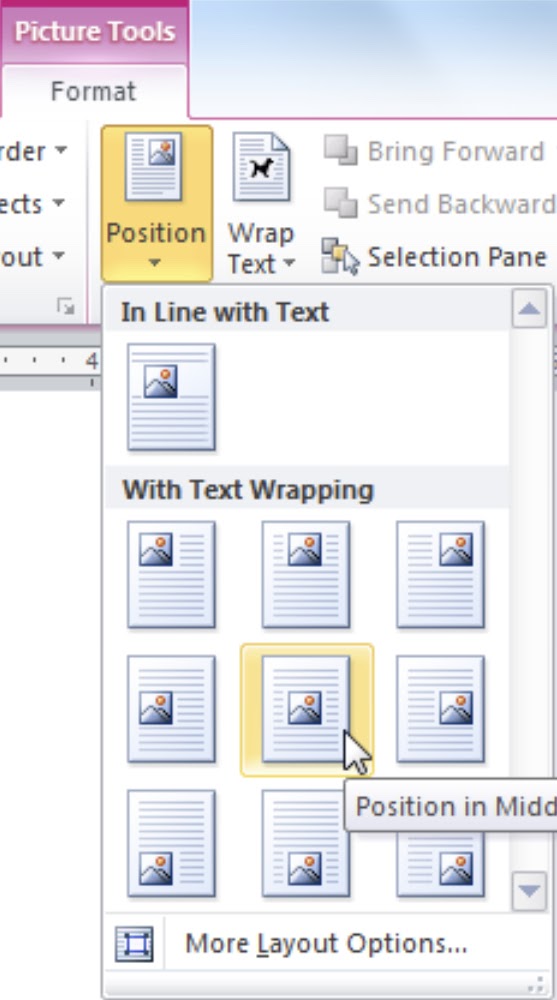
- For advanced alignment, one can go to the Align Tool and select the Align Center option.
Method 3: In 3 columnar layout, how to center an image by using the Layout Button
- Locate the area and place your cursor at which you want to place the image.
- Insert the image into the column above or below the paragraph as you wish.
- Next, tap the Pictures option.

- Once the image is inserted in the word document, select it by clicking on it.
- Under the positions, drop-down box set the Text Wrapping option that fits best in your document.
- Then locate the Layout Options that are present on the top right corner of the image.
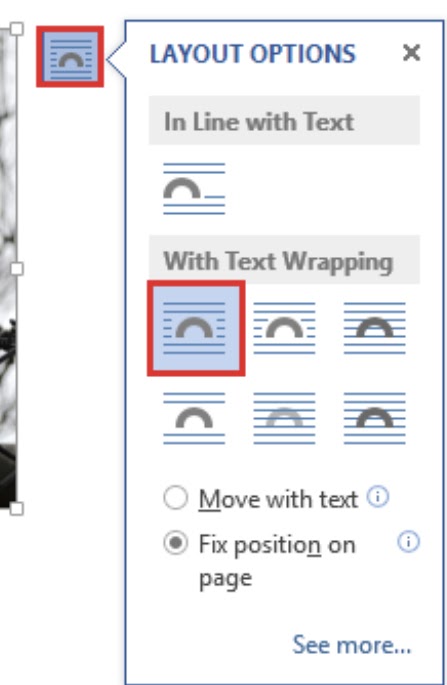
- Again, pick the layout best suited for the document.
- For more advanced options click the “see more” option.
For macOS newer Versions and macOS 2011, the setting pretty much remains the same except for a few changes. Although it is to be noted that if your settings are set to “In-Line with Text” then, Word will only align your images according to your page or its margins. To modify this setting:
- Together push the Control button and select the image.
- Then under the Wrap Text drop-down and change the setting from In Line with Text option to desired option.
In the case of multiple images using the Grid View can be really useful. Formatting images is easy and doesn’t have a high learning curve. Also, these methods come in handy when simply dragging the image doesn’t help in aligning!
Read More: How to Make One Page Landscape in Word