Now, is the trend of smartphone users. From teenagers to adults and senior citizens – all are addicted to their smartphones. There were times when the mobile phone was used for calling purposes. Now, is the time when the smartphone is used for all other communications with minimal use of calling.

Most used smartphone apps used by the users are –
- YouTube
- TikTok
- Snapchat
- Games
Usually, the middle price range smartphones are available with 4GB, 6GB, or 8GB RAM, and the data storage space available is 64GB or 128GB. Smartphone app usage on a daily basis consumes a lot of memory and storage.
The exchange of audio files, video files, photos, and other documents is done in such a way as by sending plain text. Sending a text in the chat or message has been replaced with these media files for the exchange of information. Nowadays, smartphone users do not want to type the message, instead, they will use voice utility to type the message by speaking. Apps have changed human behavior in a drastic way. Their comfort is reached to the level at which they do not want to put effort of typing or writing for the exchange of information.
Overuse of media content consumes a lot of space and creates unnecessary files and cache files in the smartphone. As a result, the smartphone becomes slow. The speed of operating the smartphone becomes an issue.
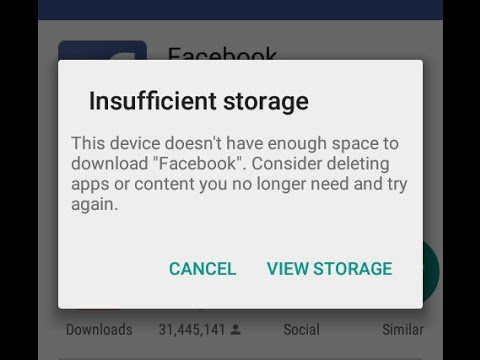
When you try to open any app, you may come across such warning messages as shown below.

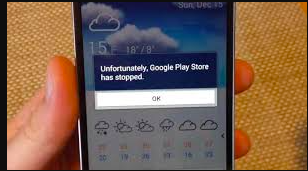
In case your phone is running so slow and you are trying to install a new app from the play store, you may also come across the below warning message.
There are other symptoms such as app crashing issues or the phone hanging.
We have figured out issues with the phone. Now, we will look at the solutions to these problems.
Solution 1 – Clear duplicate cache files and photos from your phone’s app
All phones have the built-in app of the company the phone belongs to. Motorola, Mi, Samsung, and Huawei all smartphones have their default app. You can remove duplicate photos and files from this app. Here, we will see the steps to clear duplicates from the Moto app.
- Tap on the Moto app icon from your phone’s icon tray.
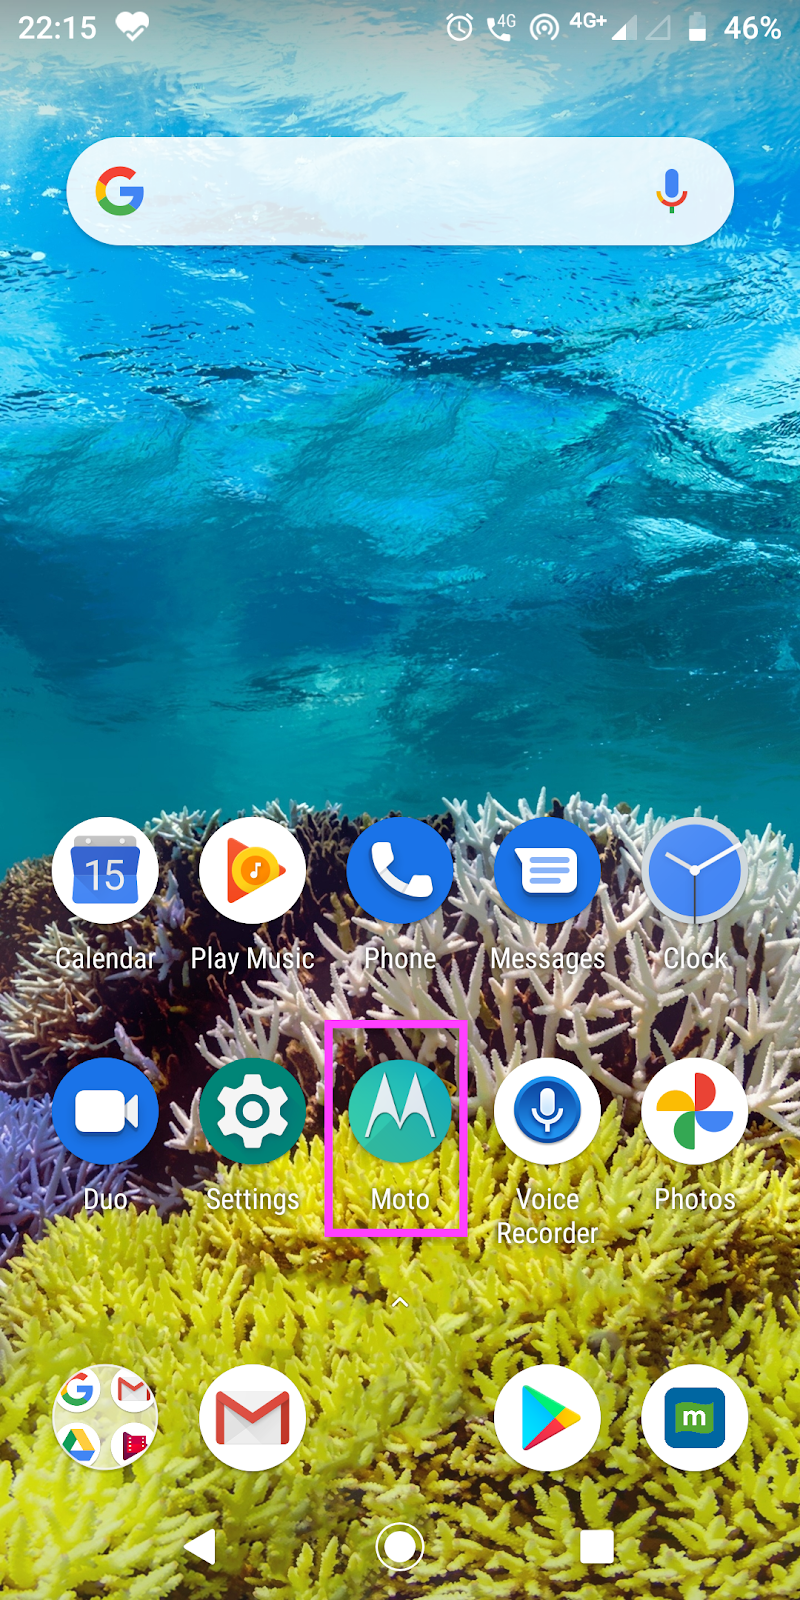
- The app opens as shown below.
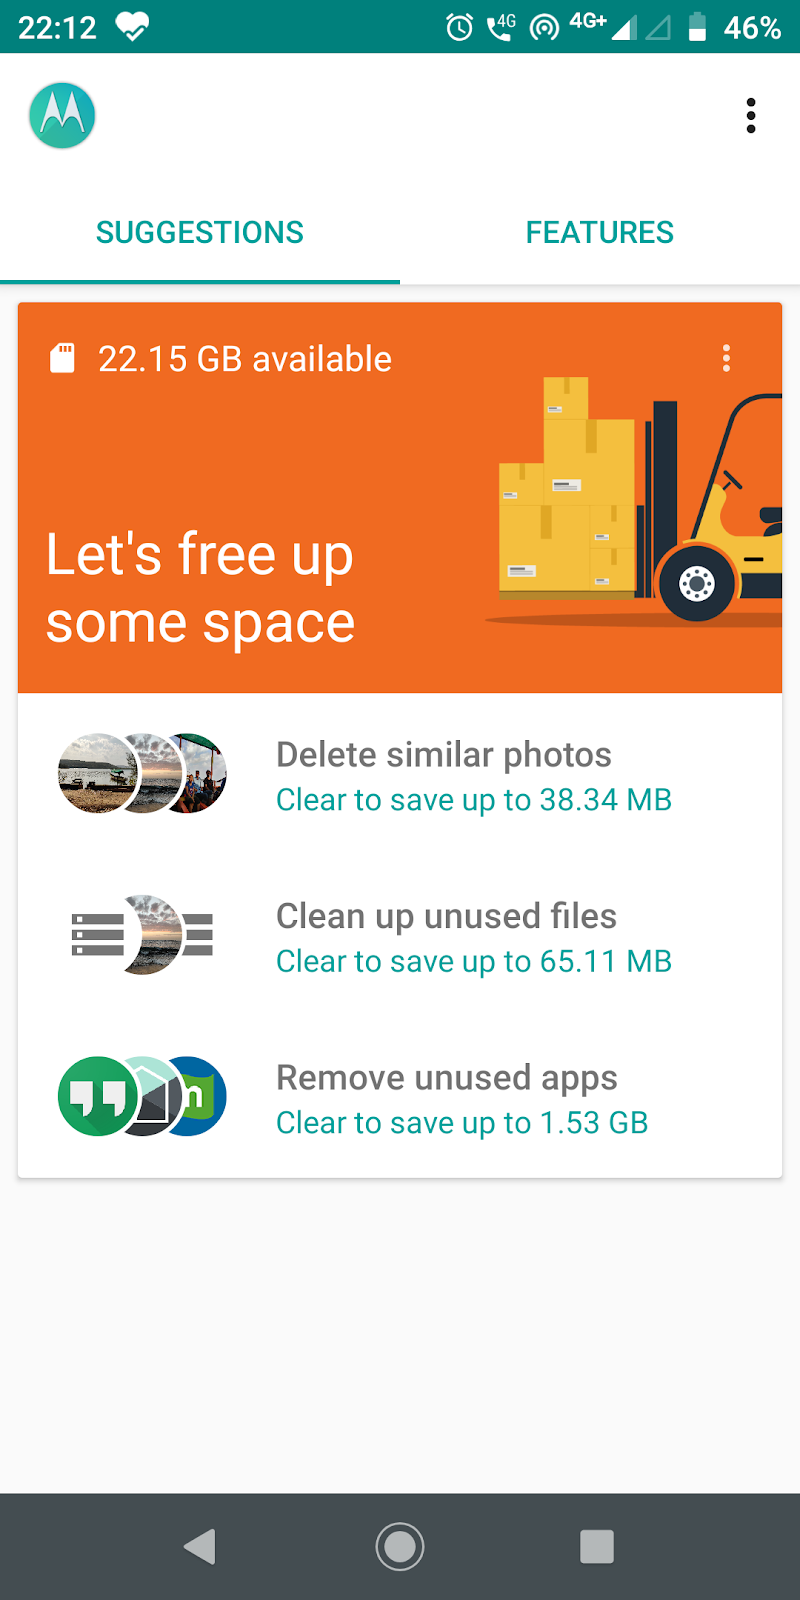
- Tap the Delete similar photos option from the list of options. The Duplicate Photos screen is shown.

- You will see the number of duplicates available for each photo with the size of the photo specified.
- You can tap SELECT ALL or select a photo one by one from the list using the long-press gesture.
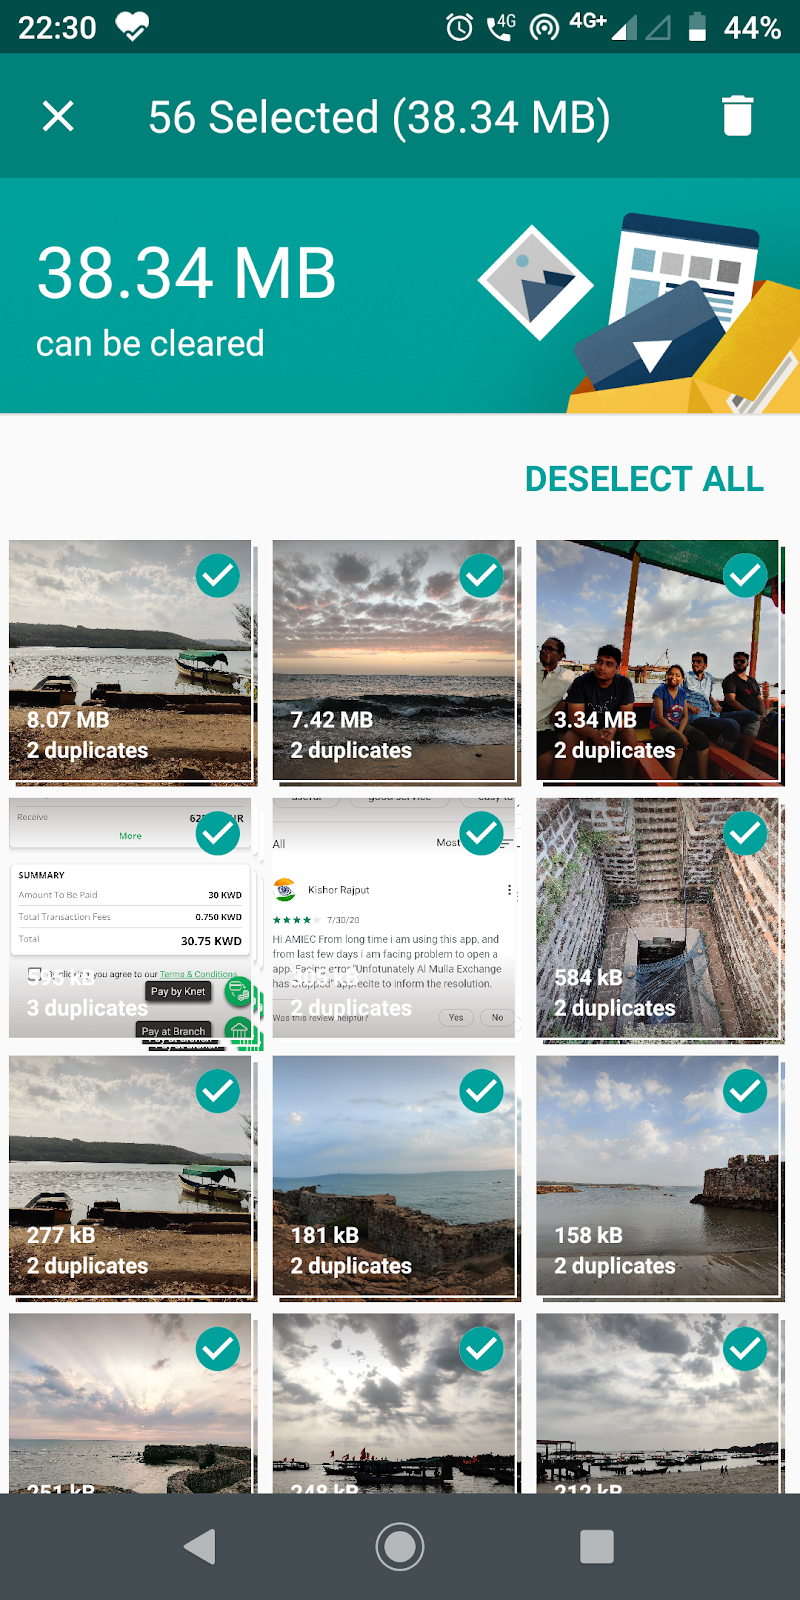
- Tap the delete icon from the top right corner to remove all the photos. 38.34MB of space will be free after the deletion of duplicate photos.
- Go back to the main screen and tap the section option Cleanup unused files. Remove the files from the Infrequently used files screen.
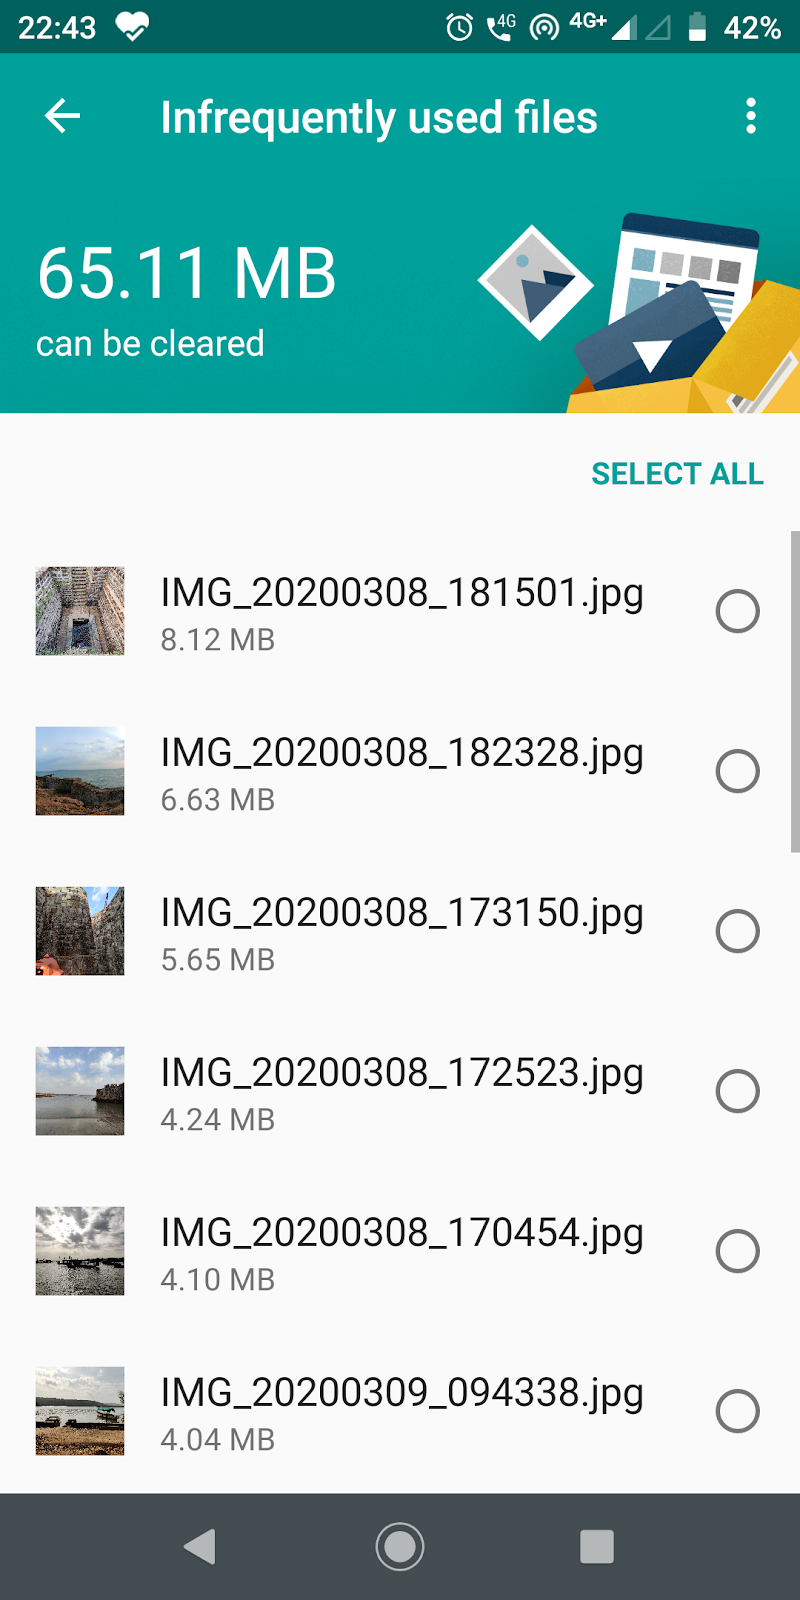
- Tap SELECT ALL and tap the delete icon that is available in the top right corner. 65.11MB of space will be free after deleting the unused files.
- Go back to the main screen and tap the Remove unused apps option.
- Select the unused app and remove them from the phone. 1.53GB of space will be free from the phone.
Solution 2 – Go to the phone’s Storage settings and clear the unnecessary files
- From your phone settings, go to Storage.
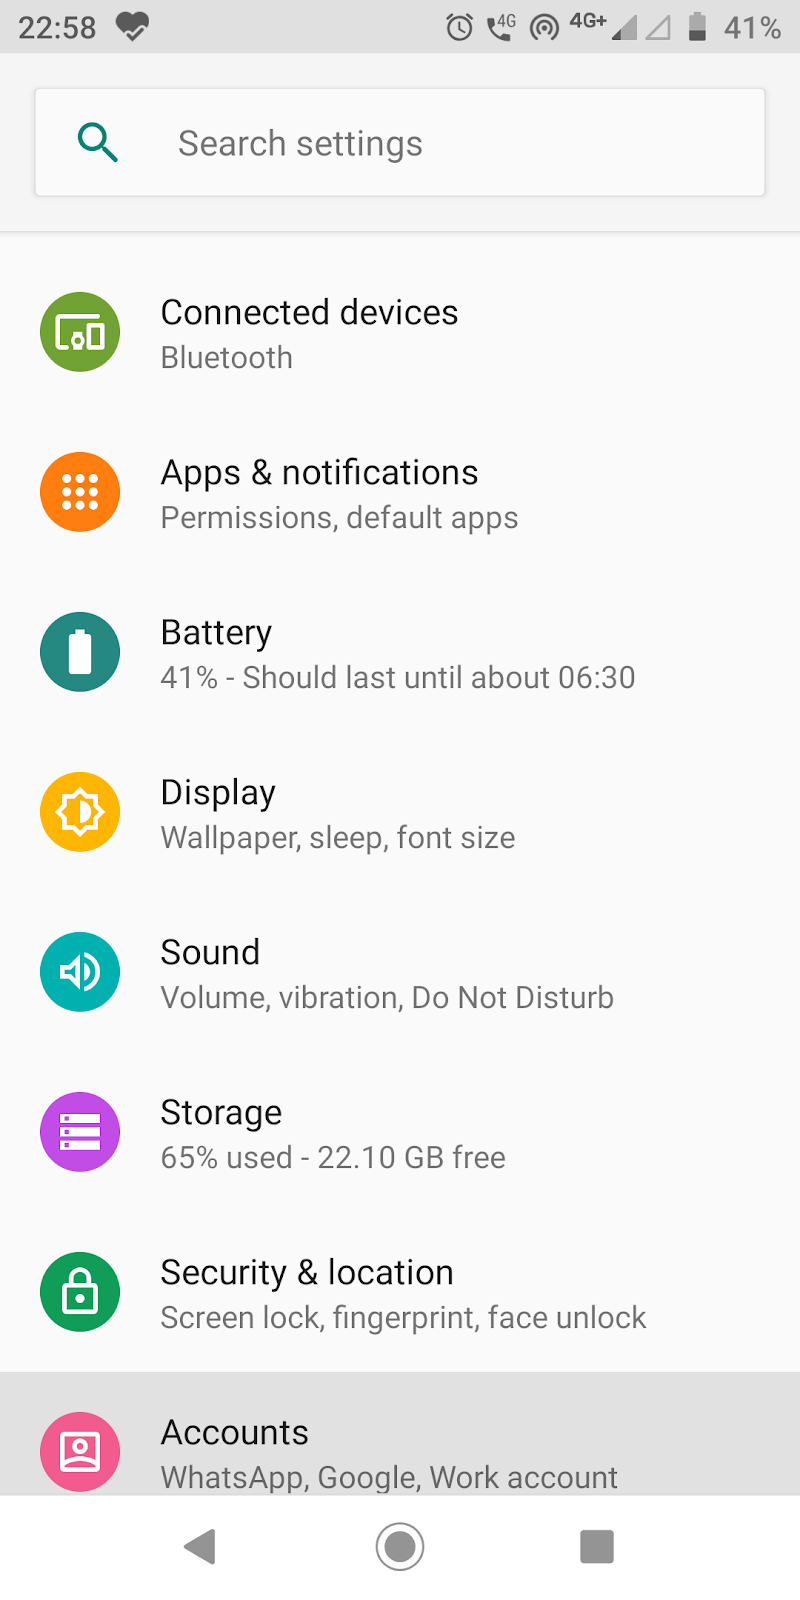
- You will see the storage options.
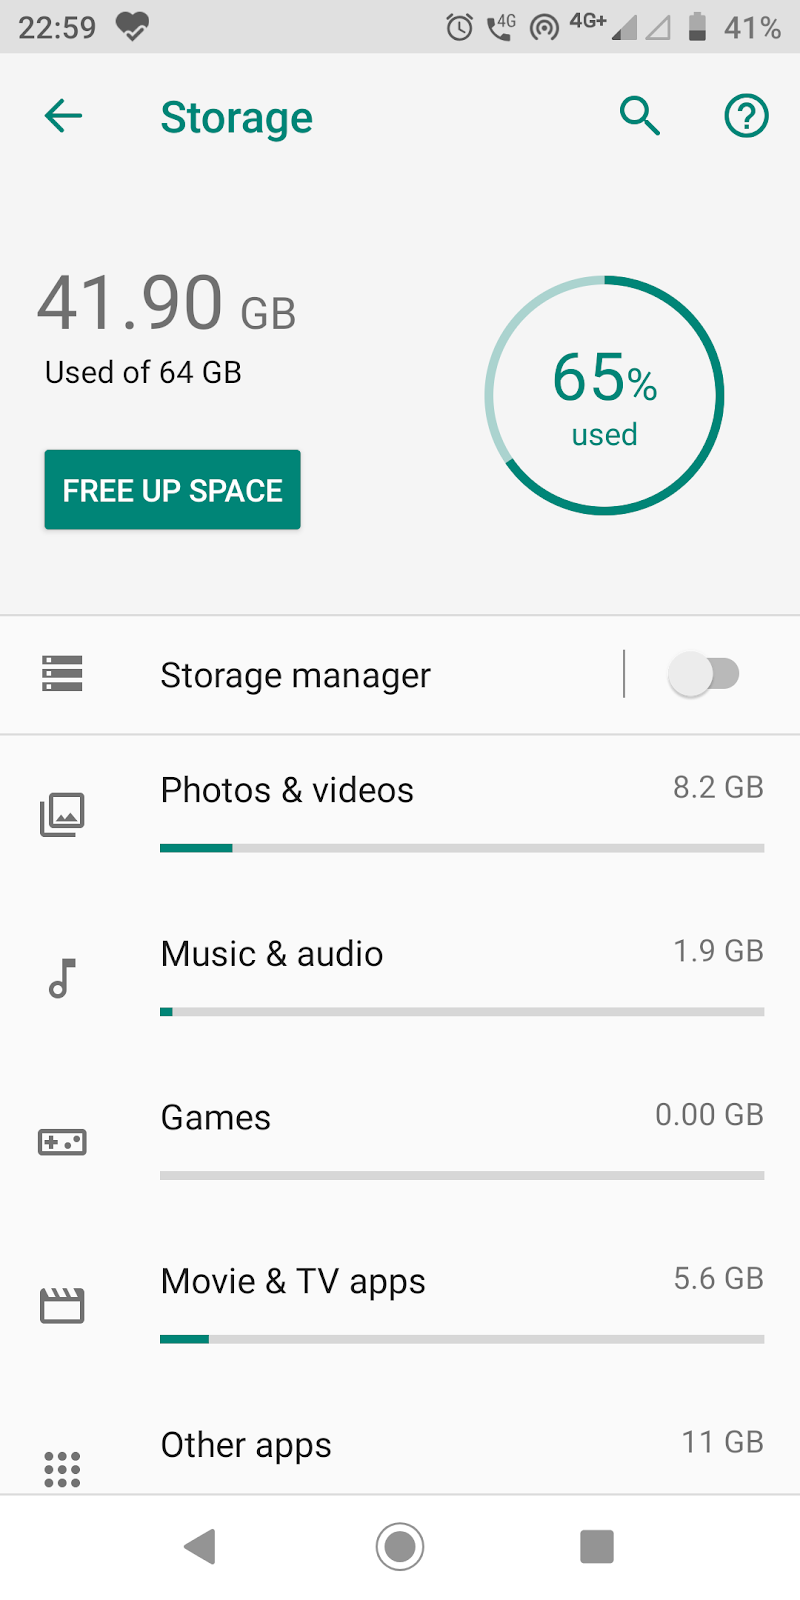
- Tap the FREE UP SPACE button. Use the Remove Items screen to remove the unwanted files.
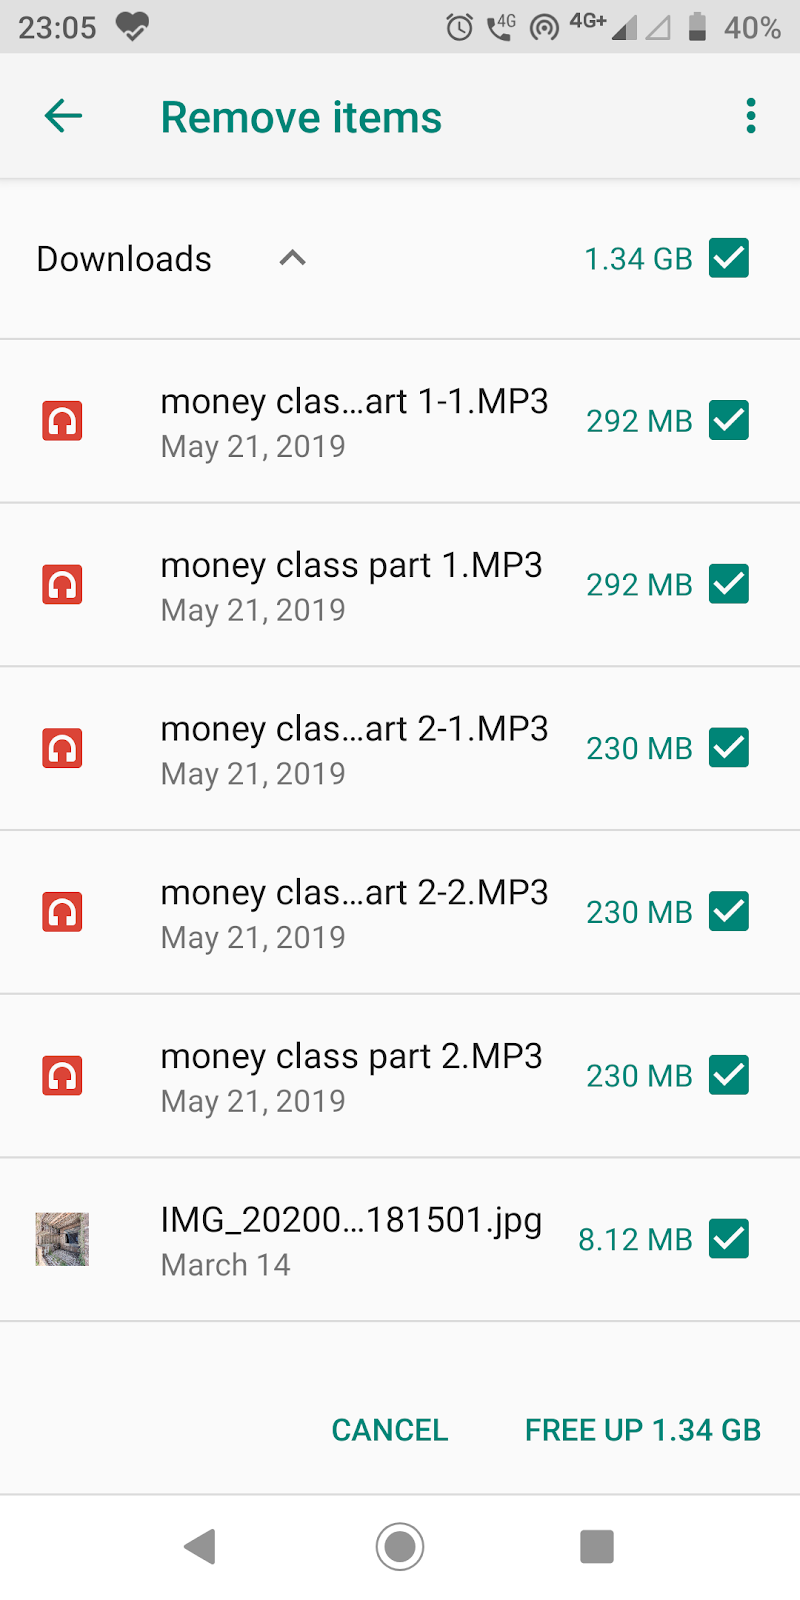
- It will show the files available in the Downloads folder of your phone’s storage. All the files are selected by default.
- Deselect the file which you do not want to remove.
- Tap the FREE UP 1.34GB button on the bottom right corner. It will remove all the selected files. Once removed, 1.34GB of space will be free.
Solution 3 – Go to the phone’s Apps and Notification setting and clear cache files from each app
- From Settings, tap the Apps & notifications option. All the apps available
.

- Tap the Instagram app. The app info is shown.
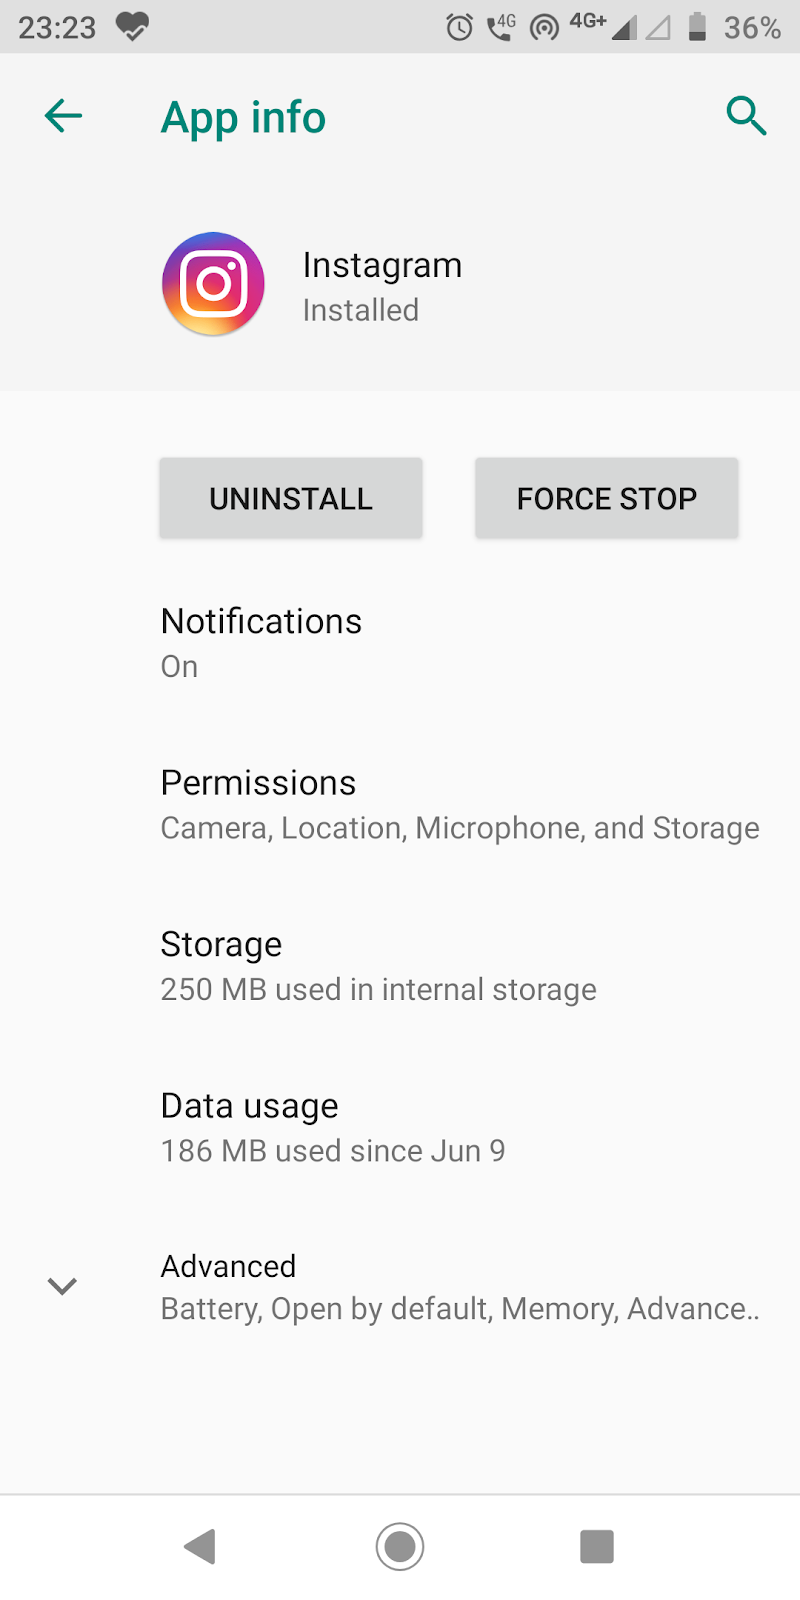
- Tap the Storage option to remove cache files.
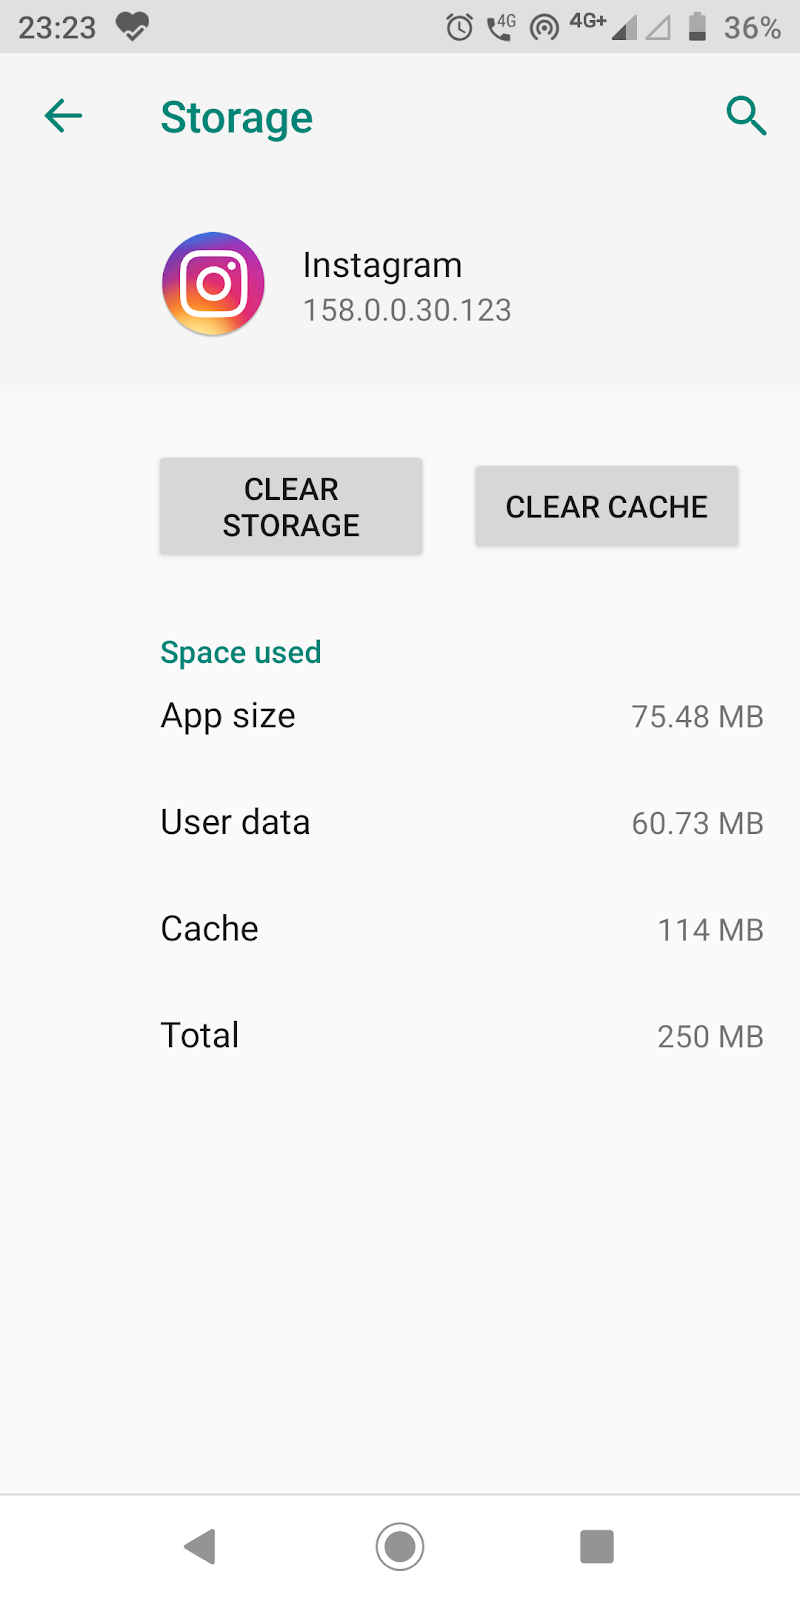
- Tap the CLEAR CACHE button. The cache files will be cleared from the Instagram app.
- Select each app – Camera, Facebook, Messenger, WhatsApp, YouTube and perform the same steps as we performed for the Instagram app.
- All the cache files will be removed from the phone and you will be able to release the space.
Solution 4 – Clean up temporary & cache files that are auto-generated
Download and install the Phone Master app from the Google play store.
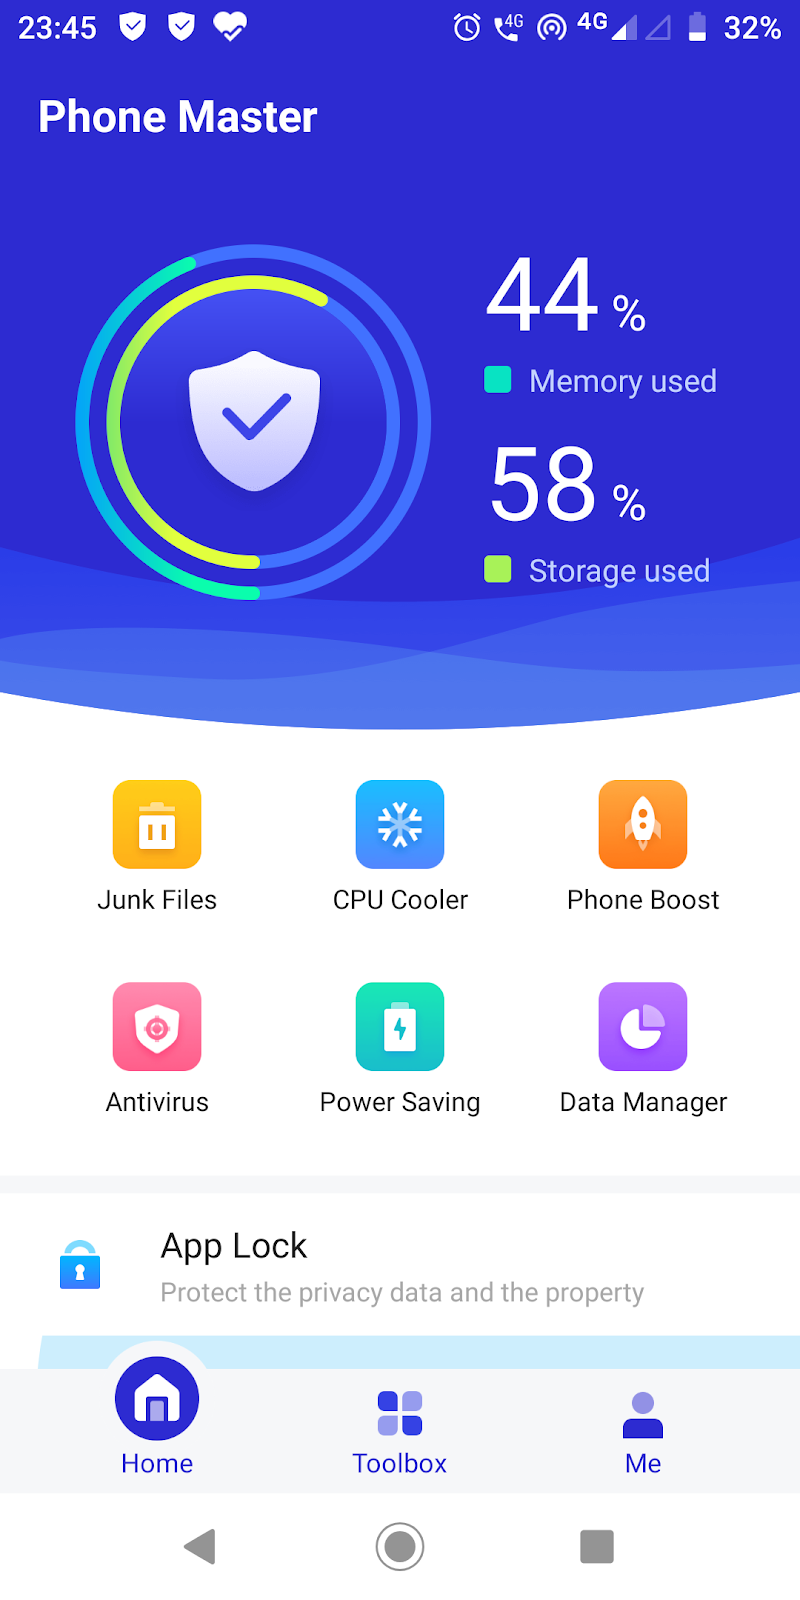
- Tap the Junk Files icon from the app. The Please allow access screen is shown.

- Tap the CLEAN button. The pop up prompts asking for access.
- Tap ALLOW. Enable the access in Settings.
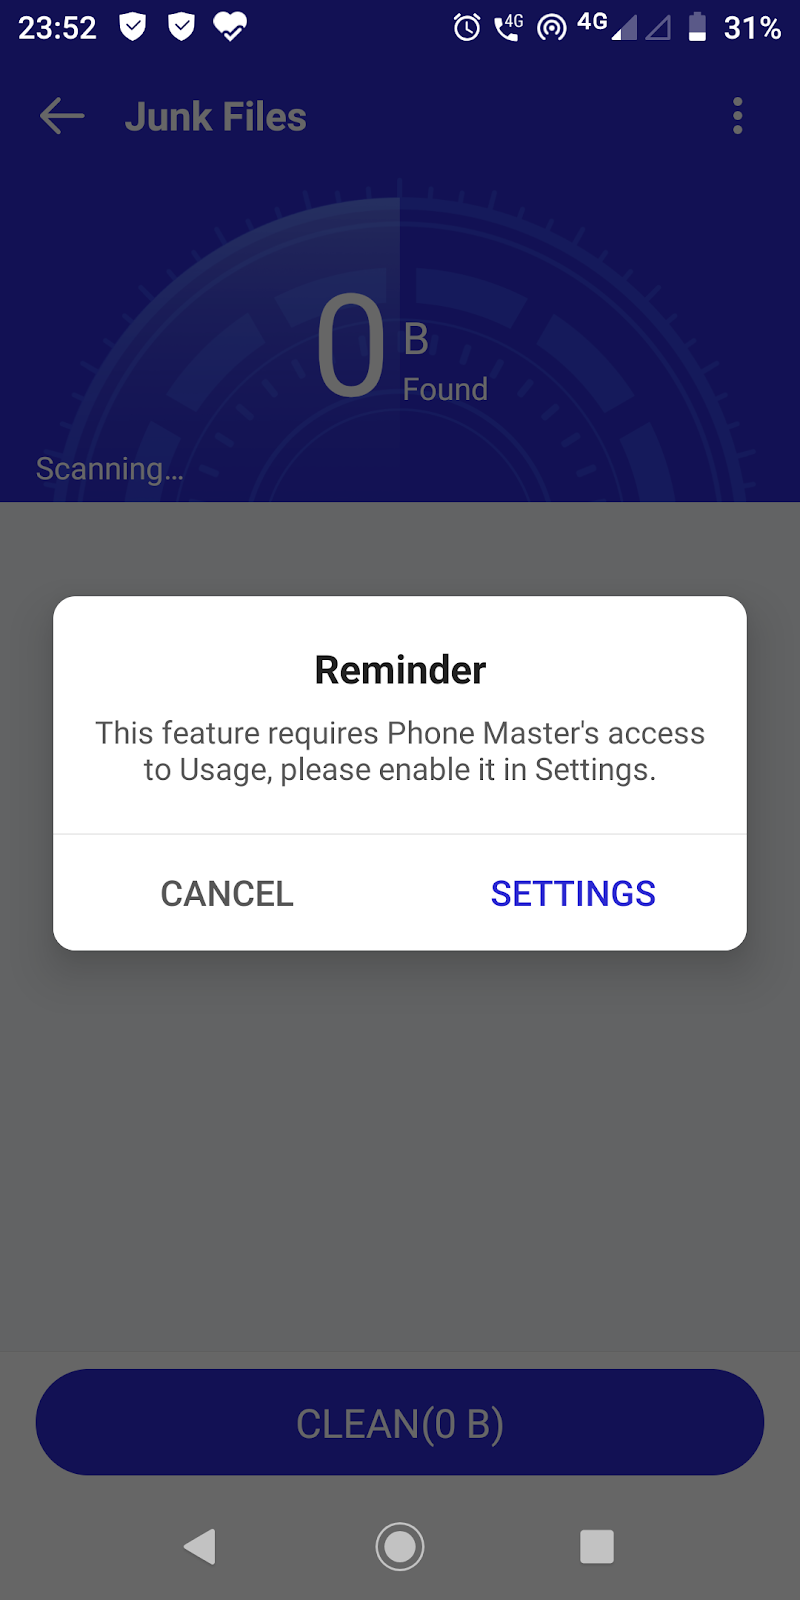

- Tap the SETTINGS button. Open the Phone Master app.

- Enable the Permit usage access switch. Tap the left arrow icon. The Junk Files list comes up.
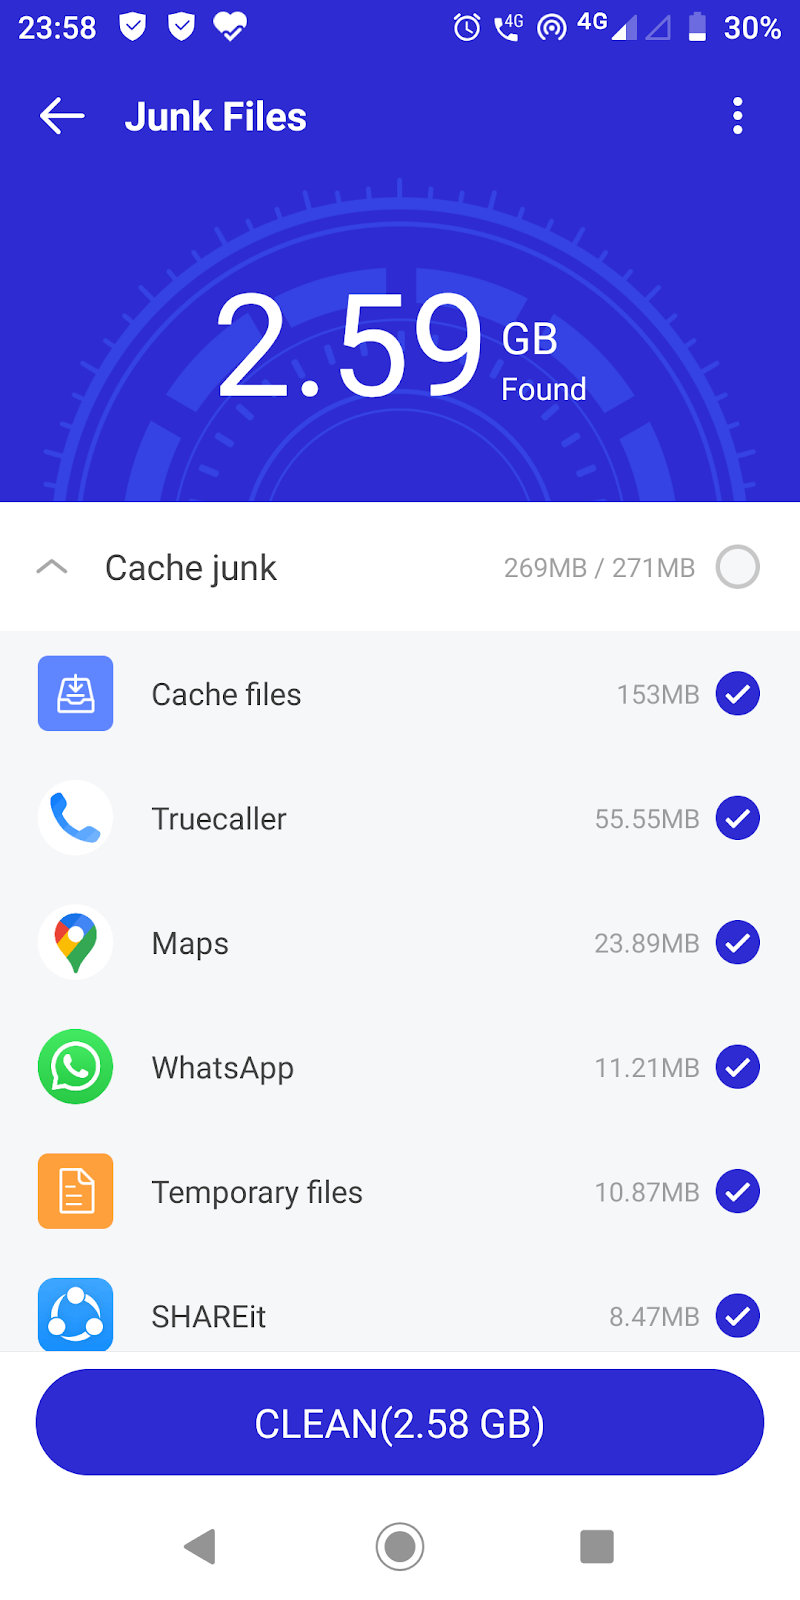
- You can clean all the files or one by one. Tap the CLEAN button. All the temporary files will be removed from the app. 2.58GB space will be free in your phone.
We have seen the solutions to free up the space to solve speed and app crash issues on an Android smartphone. Let’s see some quick solutions for the iPhone as well.
iPhone Solutions
You can also perform all the steps that we did in Android.
Settings app
- Go to iPhone settings app. Tap the General option.
- Tap the iPhone Storage option.
- Select the appropriate options to remove unwanted apps or unused files and folders.
Download PhoneClean App to Clear Cache files
- From the app store, download the PhoneClean app.
- Open the app and tap the Scan button.
- Tap the Clean button once the scan is completed.
Move your photos and media files to iPAD or MacBook
- Connect the iPhone and your MacBook with the cable.
- An option to sync photos and media files will appear in your MacBook’s iTunes app.
- Synch all the files. Once successfully moved to your MacBook, you can remove all these files from your iPhone.
Read: How to Delete Search History on YouTube
