Introduction
Information Technology (IT) infrastructure is one of the most expensive and costly components of any medium / large scale IT company. Investments in putting up their own data center and physical servers and their maintenance is high-priced in terms of Return on Investment (ROI).
Gradually, the approach of IT Infrastructure shifted from having its own data centers to outsourcing it to Shared Hosting companies that provide data center solutions.
Data security, network uptime, and virus threats came up as some major concerns for the organizations to go with this approach. The industry has evolved in recent years. Experts are constantly working on reducing the cost of Infrastructure with a better approach. Cloud Computing has been introduced by IT giants – IBM, Google, Amazon, Microsoft Azure, and so on.

Cloud Computing services are categorized into three parts –
Software as a Service (SaaS)
The SaaS model provides software deployment solutions from simple to complex Web applications via the Internet. A virtual server can be assigned for deployment. The development team can choose to install the technology stack on this virtual server and set up configurations based on their technical requirement.
The solution is best suited for small-scale companies who do not want to invest in Infrastructure yet build Web applications/software and host it on the cloud. The payment structure or subscription for SaaS is pay-per-use, a cost-effective solution for them.
Amazon Web Service (AWS), Google Apps, ZenDesk, Slack, MailChimp, Dropbox, Salesforce, and Hubspot are some examples of the SaaS model.
Platform as a Service (PaaS)
The PaaS model is an enhanced version of SaaS. The model provides platform-specific services to the companies to set up their IT infrastructure. It is more of the technology stack supported by the PaaS provider. The solutions offered by them include all the frameworks, hardware configurations, and database requirements of the vendors.
Google App Engine, Windows Azure, AWS Elastic Beanstalk, Force.com, and Heroku are some examples of the PaaS model.
Infrastructure as a Service (IaaS)
The IaaS model provides a complete infrastructure solution to large-scale companies. Companies that are into embedded technology, which is hardware-driven, or the companies that offer solutions in gaming software development require the IaaS model. CPU configuration, networking capacity, and hardware configurations are most specific to their products.
Amazon Web Services (AWS), Cisco Metapod, DigitalOcean, Rackspace, and Google Compute Engine (GCE) are examples of IaaS.

Amazon Web Services (AWS)
Amazon is number one service provider in offering its cloud computing solutions to all types of businesses and organizations located across the globe. Amazon Web Services (AWS) provides solutions in the following domains.
- Internet of things
- Machine Learning
- Data and Analytics
- Storage
- Serverless Computing
AWS has solutions for any industry or domain having simple to complex IT products or services to be maintained with large data storage.
Following are the featured services offered by AWS.
- Amazon EC2 – Amazon Elastic Compute Cloud (EC2) is the most used and on-demand product of AWS. The web service provides scalable and compute capacity on the cloud.
- Amazon S3 – Amazon Simple Storage Service (S3) provides data security, storage and performance service for millions of applications for organizations across the world.
- Amazon RDS – Amazon Relational Database Service (Amazon RDS) provides database administration services such as database setup, patch up, migration and performance related activities. The supported database instance types are Amazon Aurora, PostgreSQL, MySQL, MariaDB, Oracle Database, and SQL Server.
- Amazon SageMaker – Amazon SageMaker is the service that offers building Machine Learning models efficiently and quickly. Very helpful service for data scientists.
For more information on the products of AWS, please visit https://aws.amazon.com/
Key Features of Amazon Web Services (AWS) EC2
AWS EC2 service has many features that are needs of today’s software companies. Following are the key features of AWS EC2 service.
- It provides Elastic IP addresses for deploying services for your applications
- The billing structure of AWS EC2 service is per use basis. You are billed for the resources you have used in a month.
- You can stop the instance and resume back the same whenever you want. This helps you save instance usage charges.
- It has multiple location support to set up your instance.
- It gives 99.99% SLA commitment for each EC2 location.
- It offers 275 instance types from which you can choose the instance based on your business case.
- You can quickly get the change in capacity done from AWS. To increase or decrease capacity of your existing instance configuration, you need to set the size from Volume Type under the Instances menu of your EC2 account with administrative access.
- It provides optimized CPU configurations for your instance(s)
- It provides support of 89 compliance certifications and security standards
Let us understand how to set up an EC2 instance using your Amazon account.
Setting up Amazon Web Services (AWS) EC2 Server
An instance is the virtual server hosted by AWS. The instance is a plain server on which the operating system, database, application server can be installed and configured based on the software / web application you are planning to deploy.
Prerequisite steps to setup an AWS EC2 are as follows:
- Sign up with AWS
- Create a key pair.
- Create a security group.
Sign up with AWS
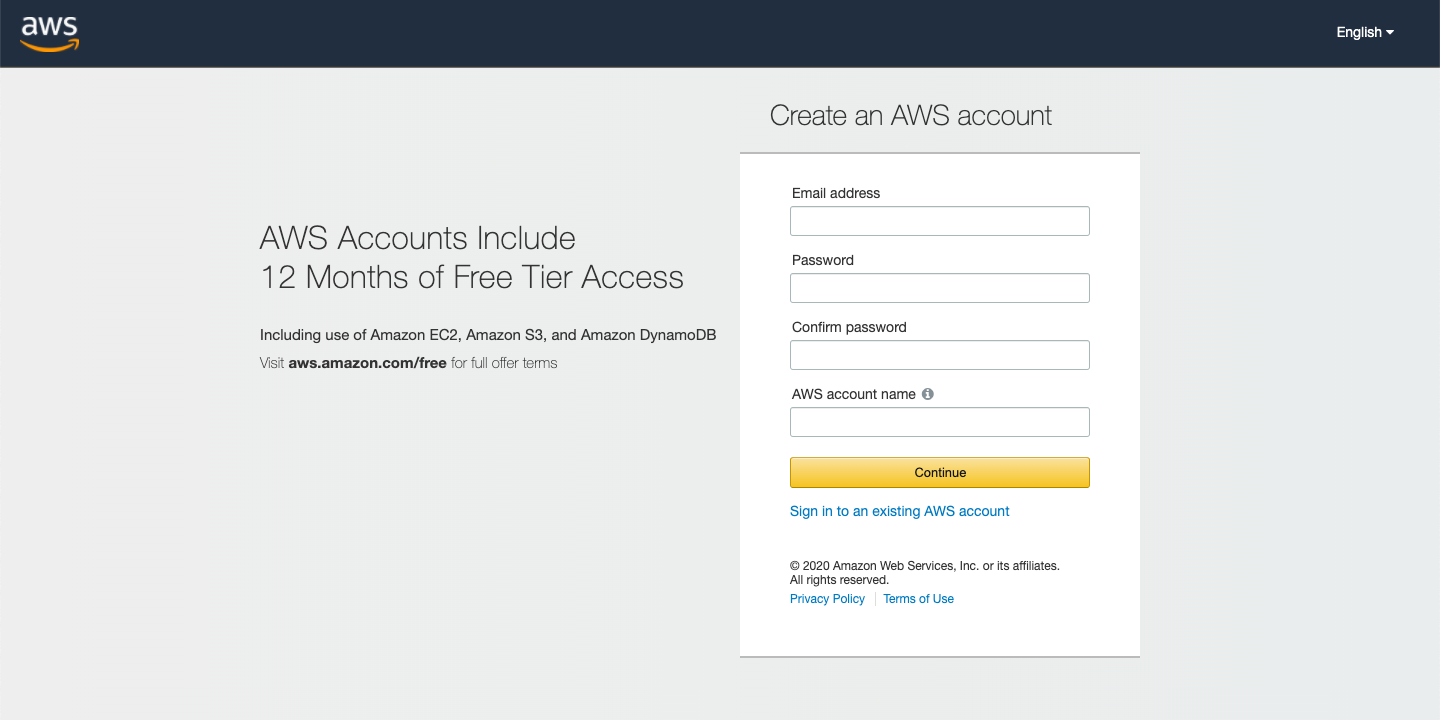
- In the Email address text box, enter an email address with which you want to sign up an account.
- In the Password text box, enter the password you want to set up.

NOTE: Please follow the password condition as shown in the screen above.
- In the Confirm password text box, enter the same password you want to set up.
- In the AWS account name text box, specify the account name which you want to set up.
- Click Continue. The Contact Information page appears.
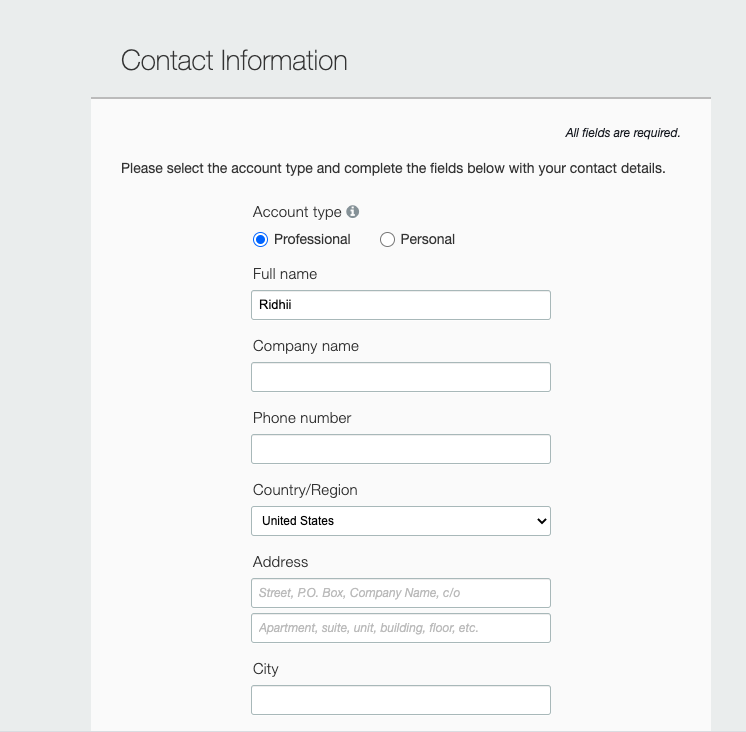
- Select the account type. If you are registering as a company, select the Professional as Account type.
- Enter company name, phone number, address details.
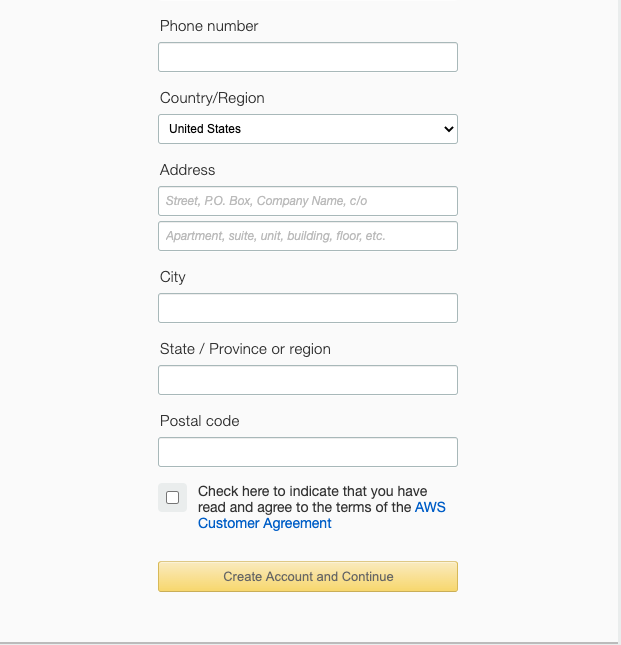
- Select city, state and enter postal code.
- Select the Check here to indicate that you have read and agree to terms of the AWS Customer Agreement check box.
- Click Create Account and Continue. The Payment Information page appears.
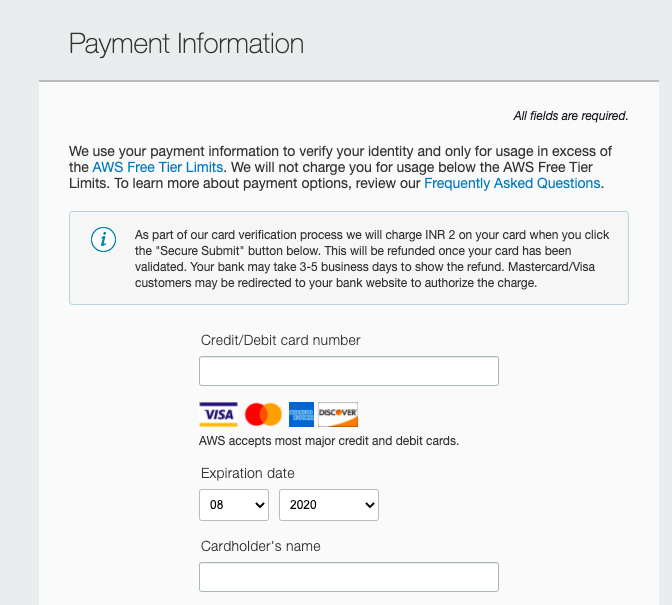
- Enter the debit card or credit card information on which billing will be applied.
- Select the billing address and select the PAN option as Yes if you already have information.
- Enter the PAN Number in the text field that appears after selecting Yes.
NOTE: This option is based on the geography you have selected as your contact information.
- Click Accept and Verify. The card details page appears.
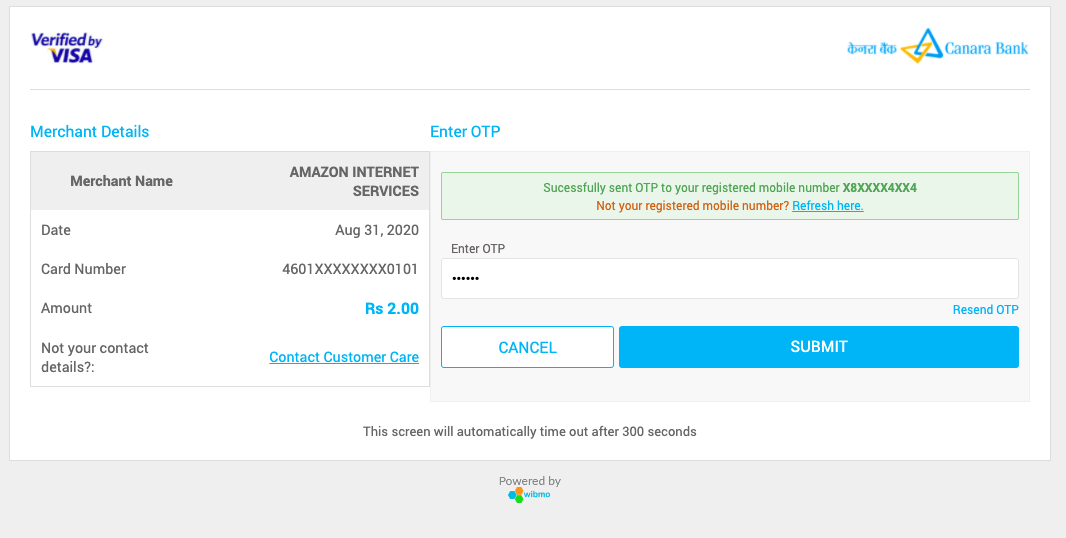
- Enter the OTP (One time password) that you have received on your mobile phone. Click Submit. The Confirm your identity page appears.
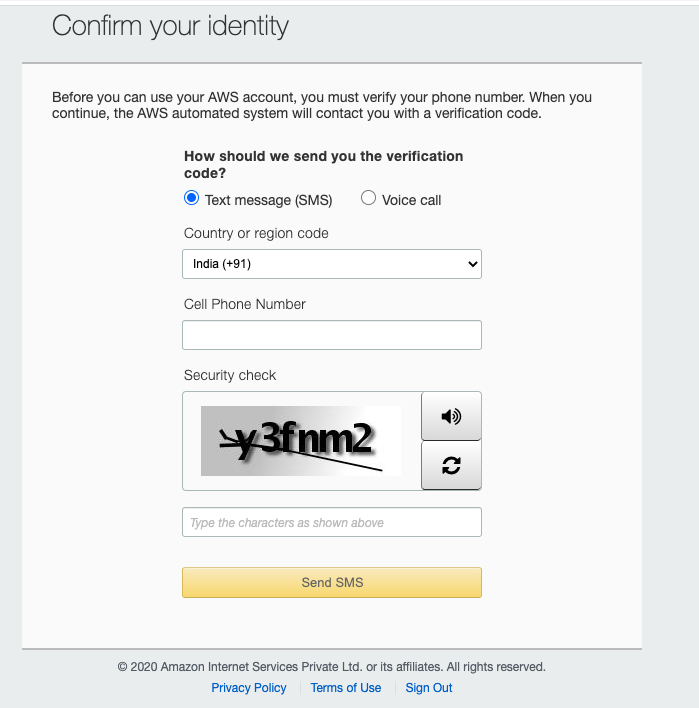
- Enter your mobile number and complete the security check. Click the Send SMS button.
- Enter OTP you have received on your mobile number. Click the Verify Code button.
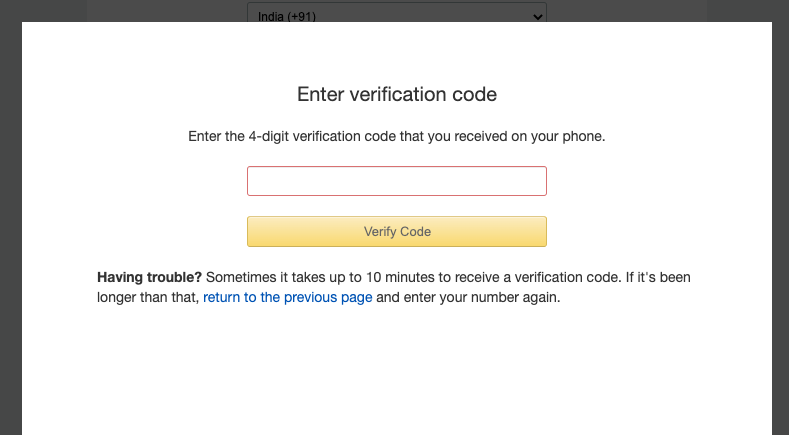
- You will see the below message as Your identity has been verified successfully.
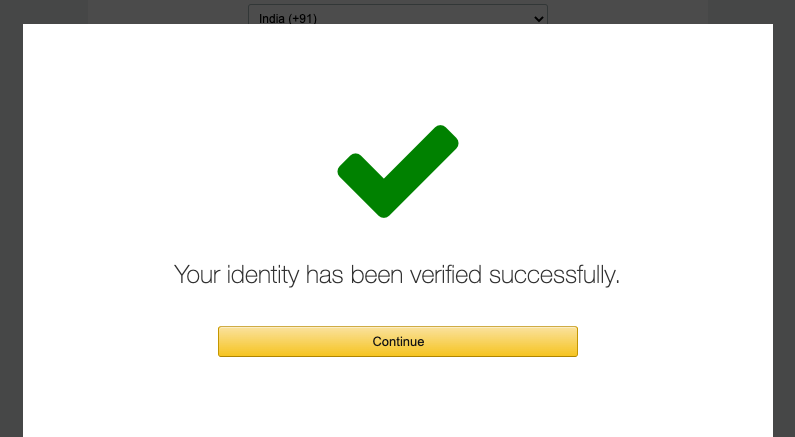
- Click Continue. The Select a Support Plan page appears.
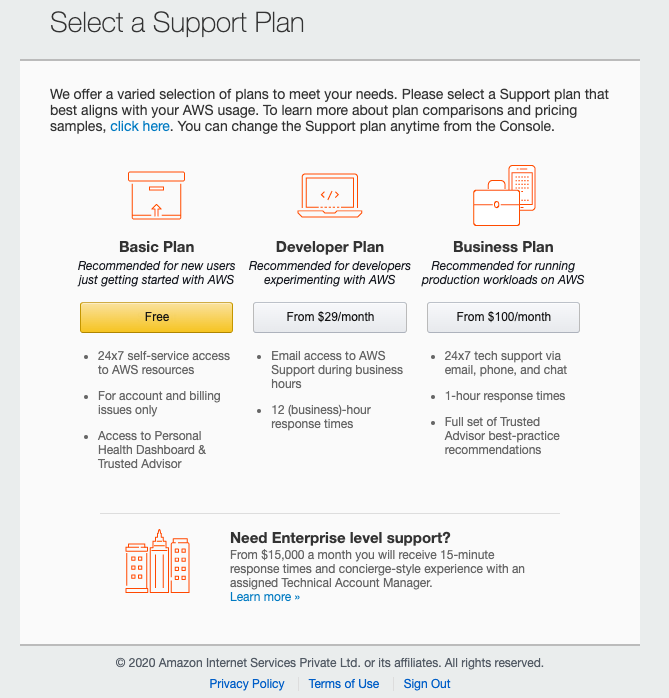
- If you are a startup, please keep the option as Free. The Welcome screen appears as below.
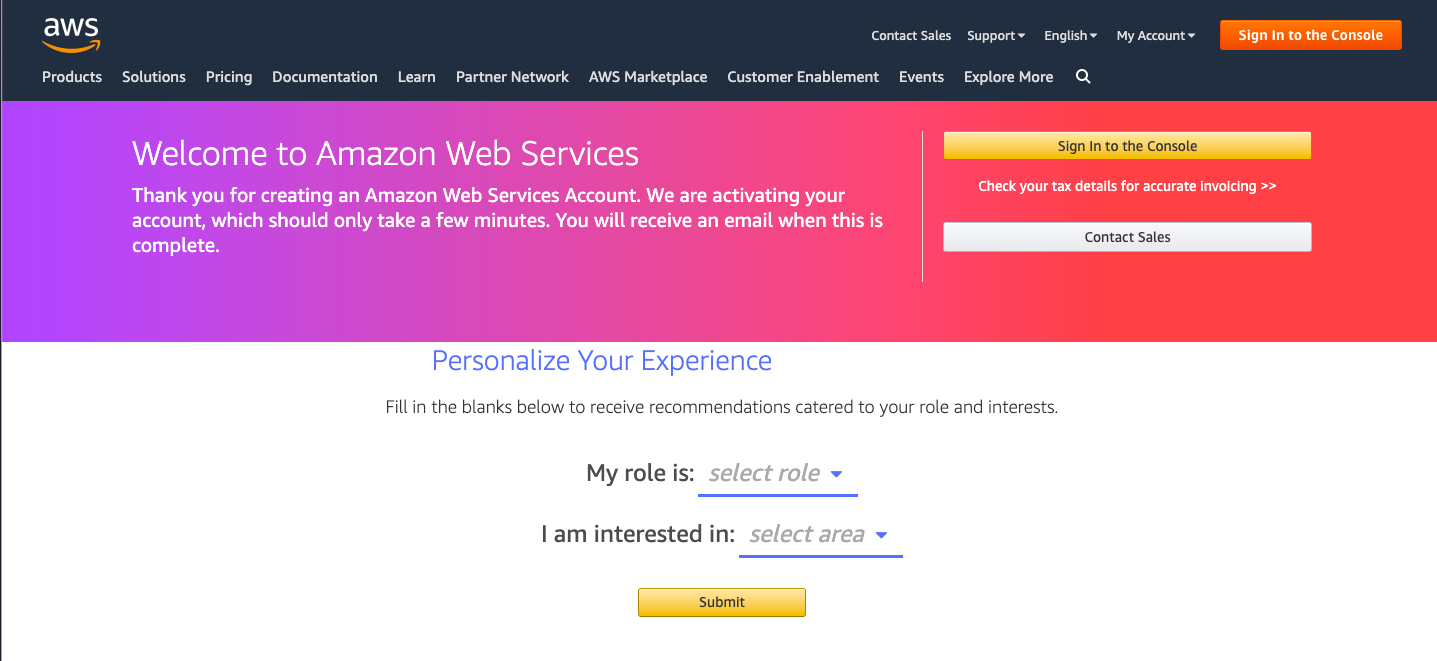
- Click the Sign in to the Console button. The Sign in page appears as below.
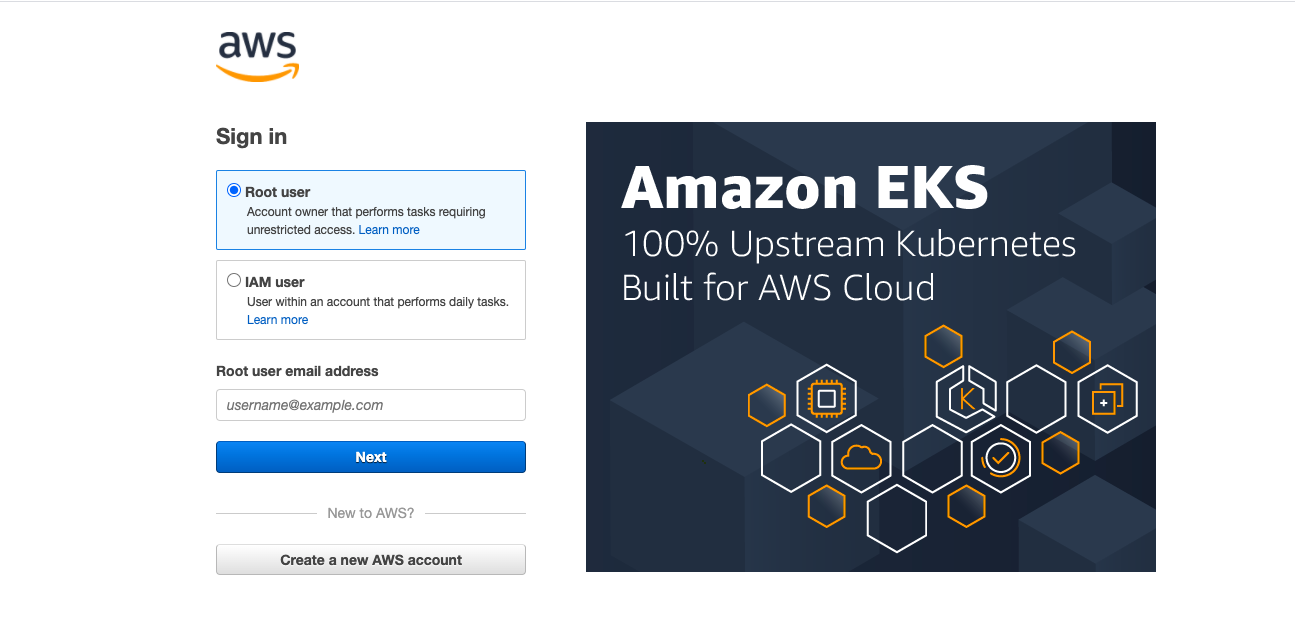
- Select the user type as Root user. This will be an admin user who will have all the access for installing, configuring and setting up applications. Enter the email address that you want to keep for the root user. Click Next.
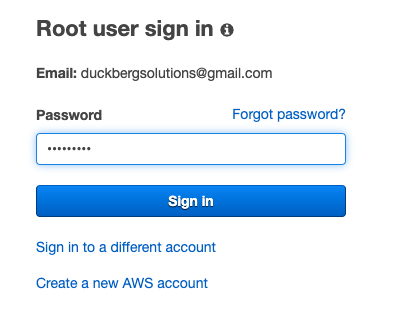
- Enter password and click Sign in. The AWS Management Console page appears.
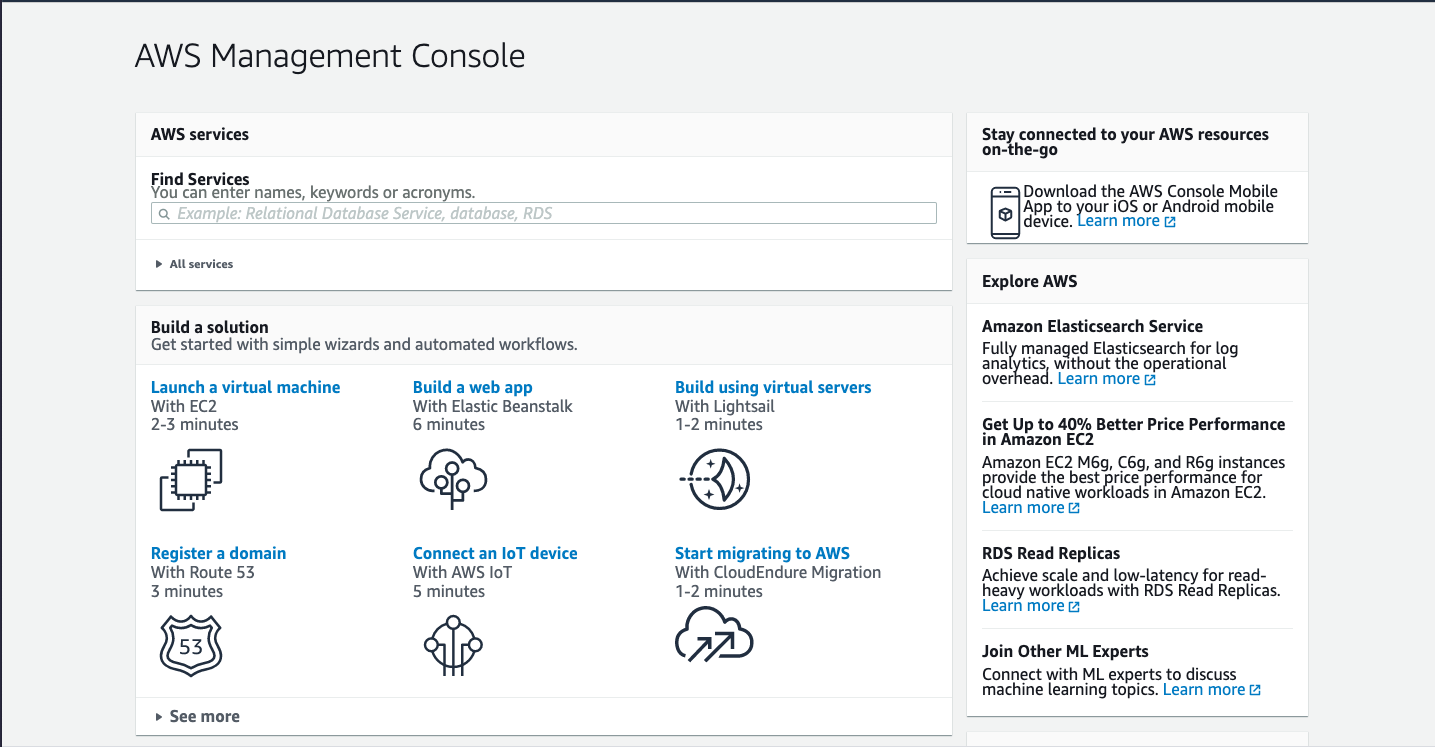
You have completed the AWS sign up process successfully.
Create a key pair
This step is necessary to access the server via key pair using admin credentials or developer credentials. The AWS console has an option to create a key pair.
To create a key pair:
- Go to AWS Management Console.
- Click the EC2 option and the navigation pane on the left appears.
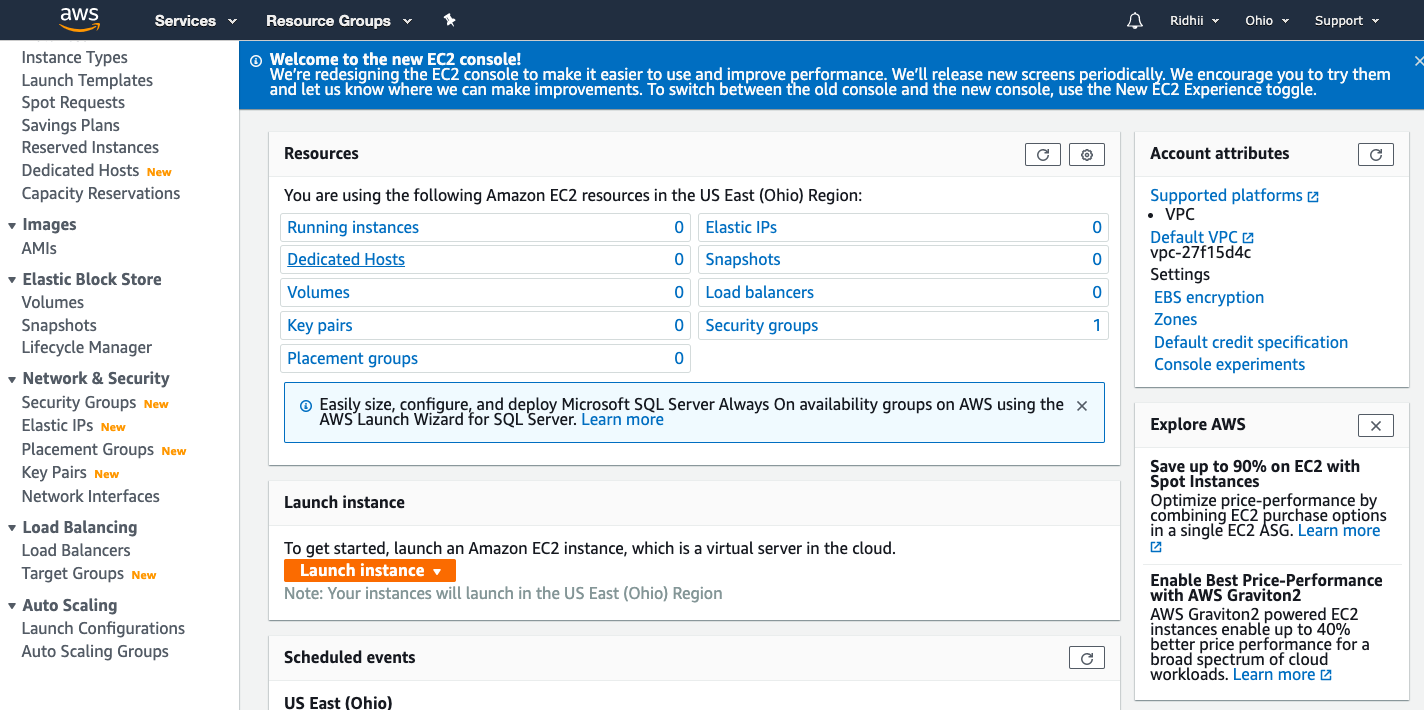
- From the Network and Security menu, click Key Pairs. The Create key pair page appears.
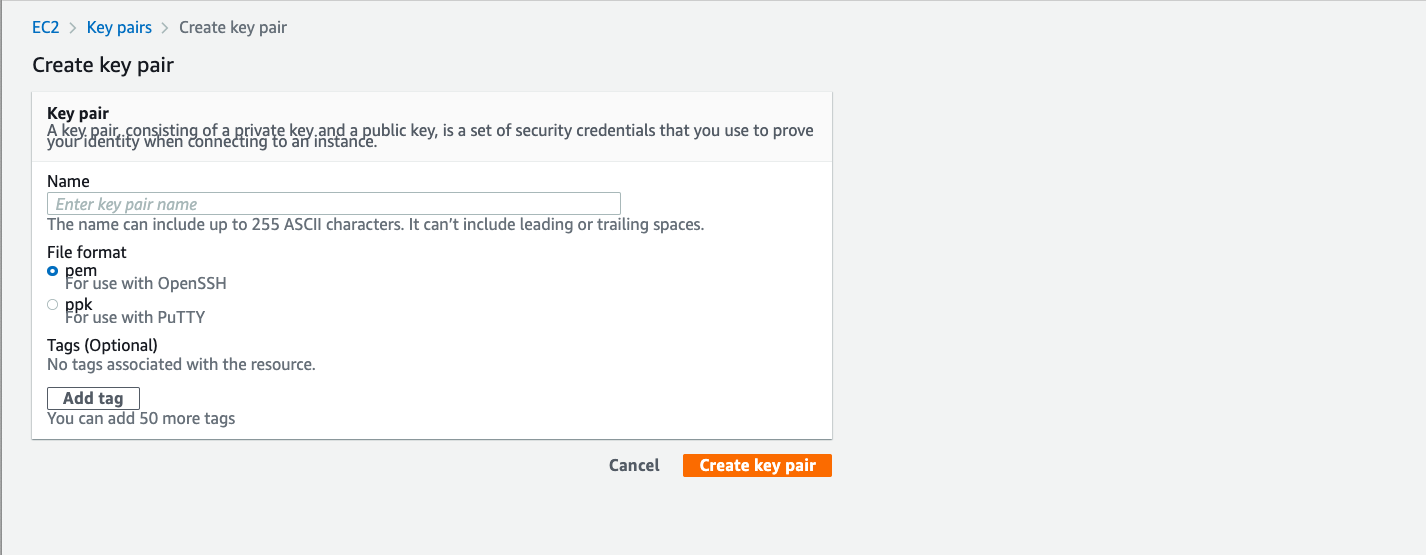
- In the Name text box, enter the descriptive name for the key. Make sure it does not have trailing spaces.
- Select the option for File format.
- If the server is to be accessed from Linux OS or MacOS, select .pem format.
- If the server is to be accessed from Windows OS, select .ppk format.
- Click the Create key pair button. The private key file will be automatically downloaded.
- Save this key file in the safe folder.
Create Amazon EFS File System
The next step is to create a file system on the server. Follow the steps below to do the same:
- Go to https://console.aws.amazon.com/efs/ to access the Amazon EFS Management Console.
- Select the Create file system option. The Create file system dialog box appears.
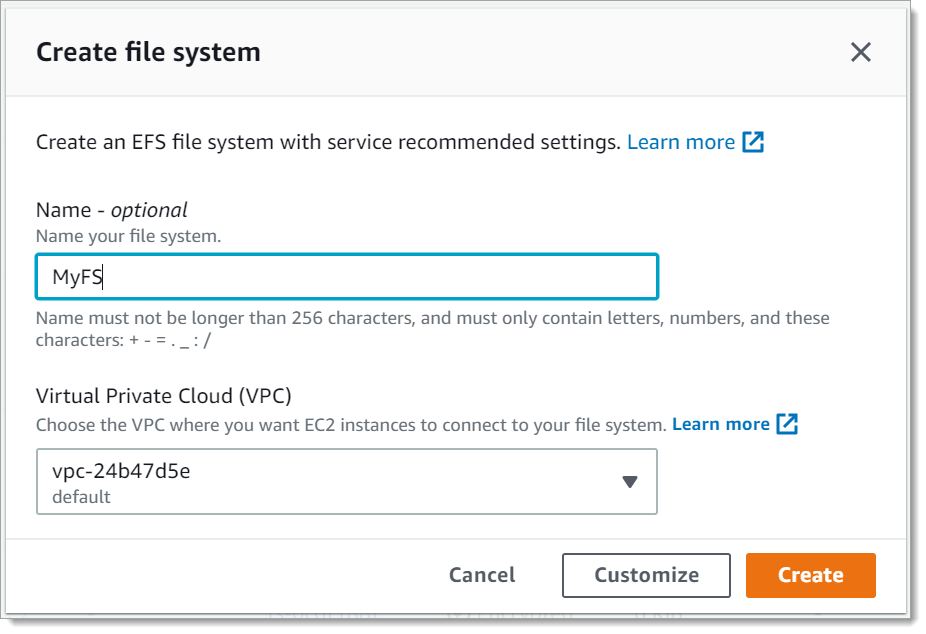
- Enter the name of your file system.
- Select the Virtual Private Cloud (VPC) option.
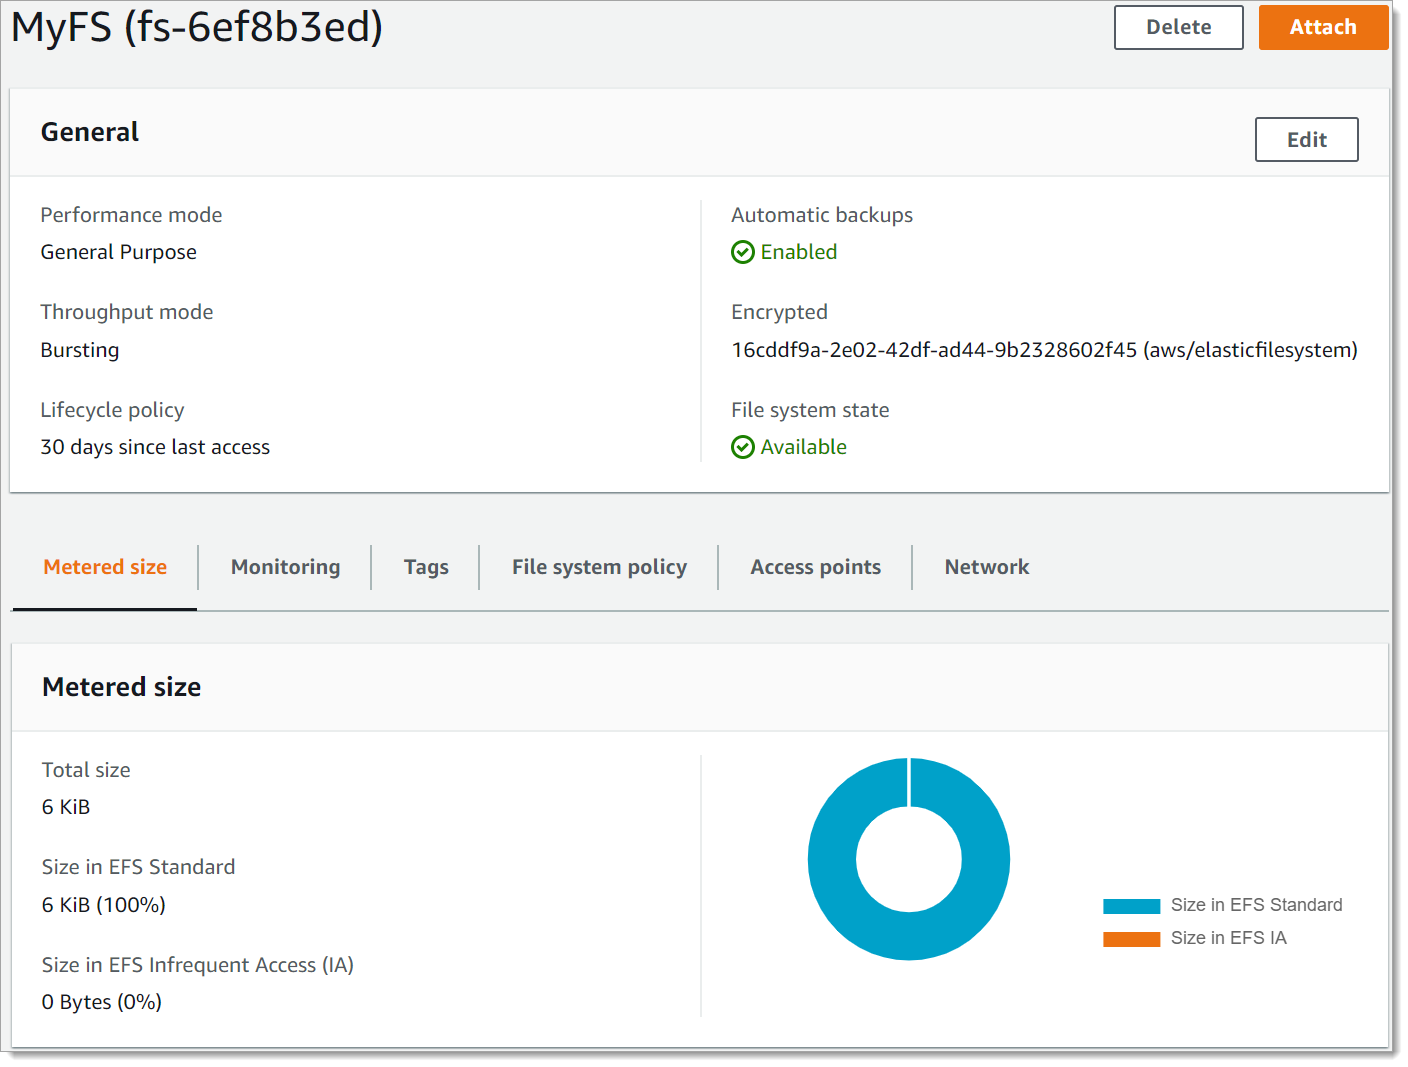
- Click the Create button. The file system is created as shown below.
Launch EC2 and Configure the Instance
- Click Launch a virtual machine with EC2 option under the Build a solution section. The Step 1: Choose an Amazon Machine Image (AMI) page appears.
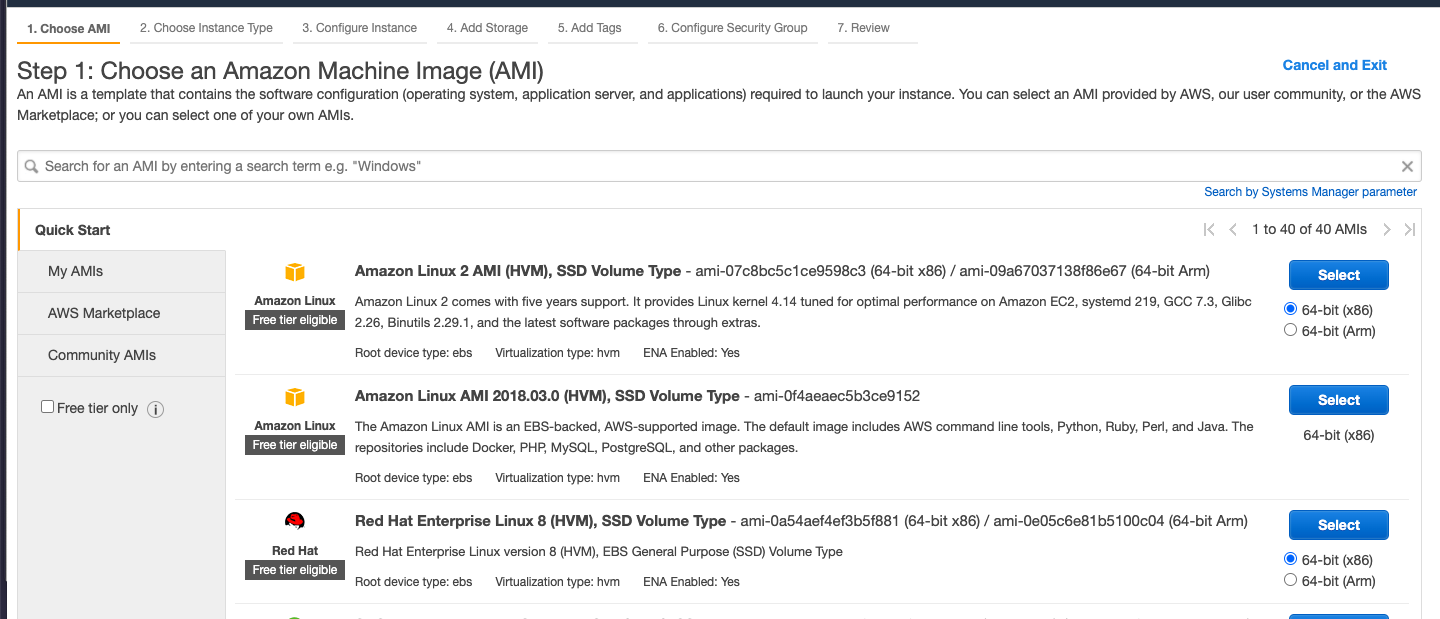
- Select the appropriate operating system option from the list of configurations available in the list. Select the Amazon Linux option, click the Select button. The Step 2: Choose an Instance Type page appears.
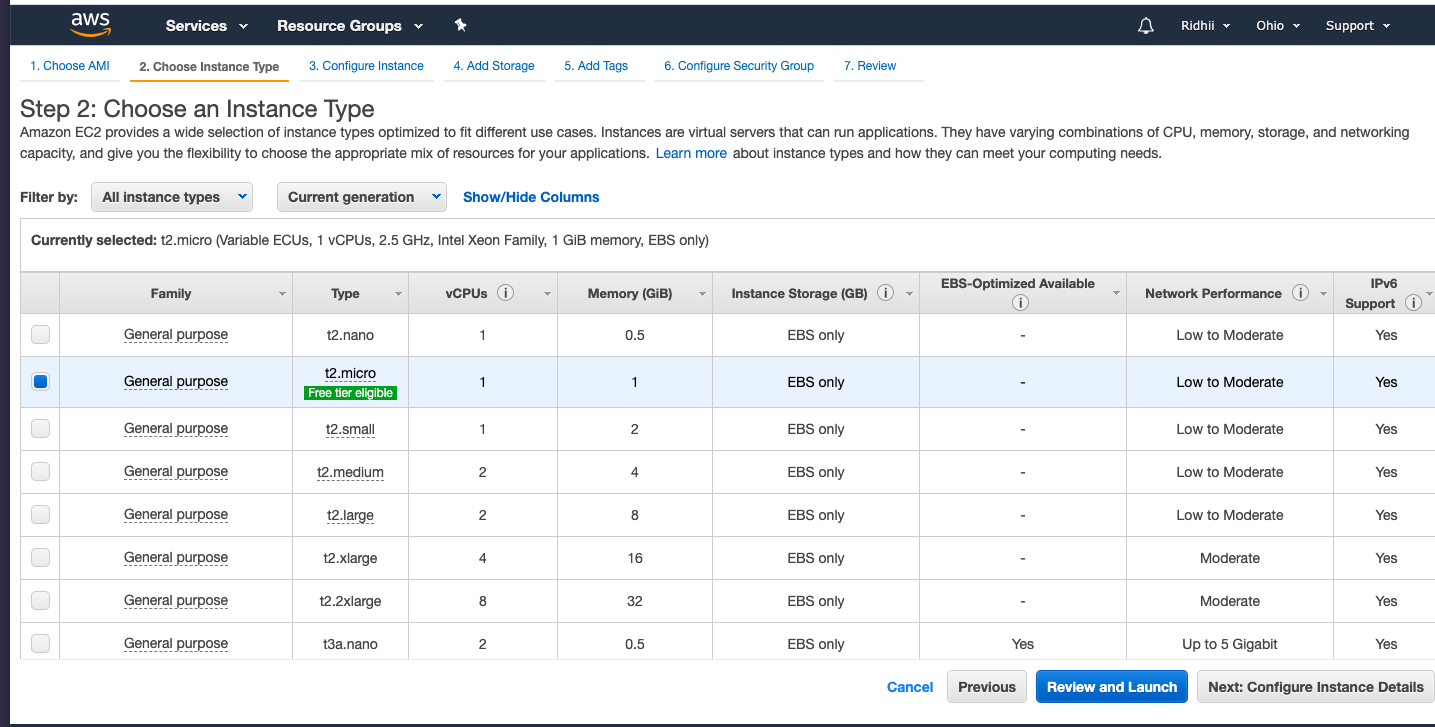
- Select the family from the left and click the Configure Instance Details button. The Step 3: Configure Instance Details page appears.

- Select the number of instances you want to opt for. If you are interested in the auto-scaling option, click the Launch into Auto Scaling Group link.
- Select all other options and configure them as per your requirements.
- Select the VPC that you have chosen while creating the file system in the step above.
- Select the default subnet from the Subnet drop-down.
- Select the file system you have created.
- Under Advanced Details, confirm the user data is available.
- Click the Next: Add Storage button. The Add Storage page appears.
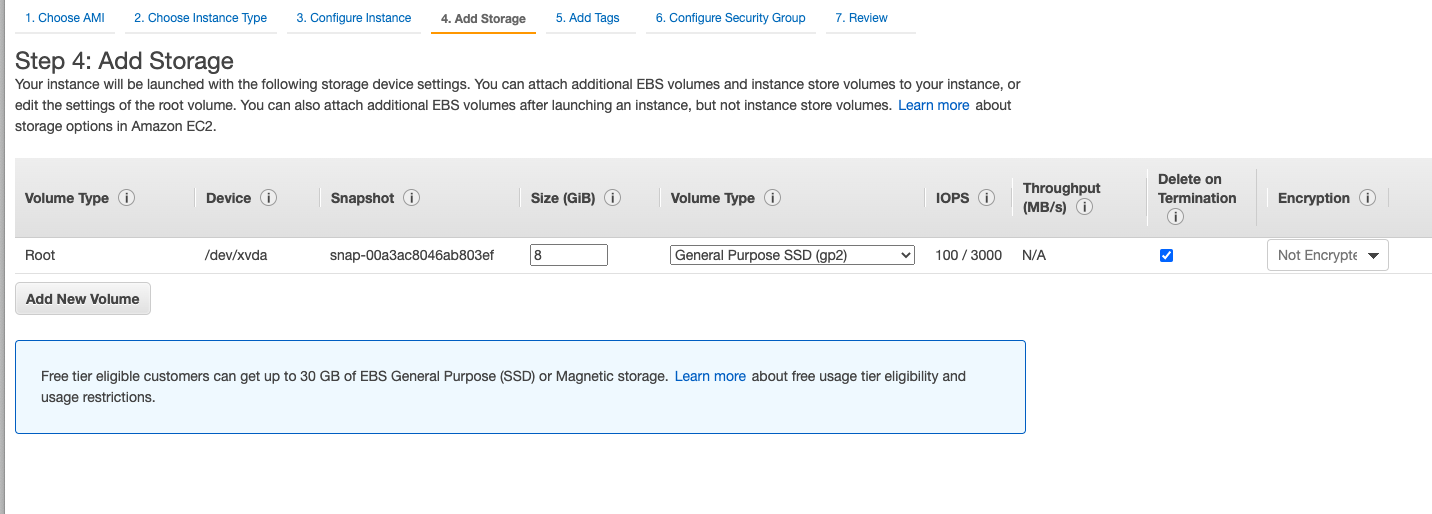
- Add storage details and click the Next: Add Tags button. The Add Tags page appears.

- Click Add Tag to add a name to your server, such as application server, logic server, configuration server for your application.
- Click the Next: Configure Security Group button. The page appears as below.
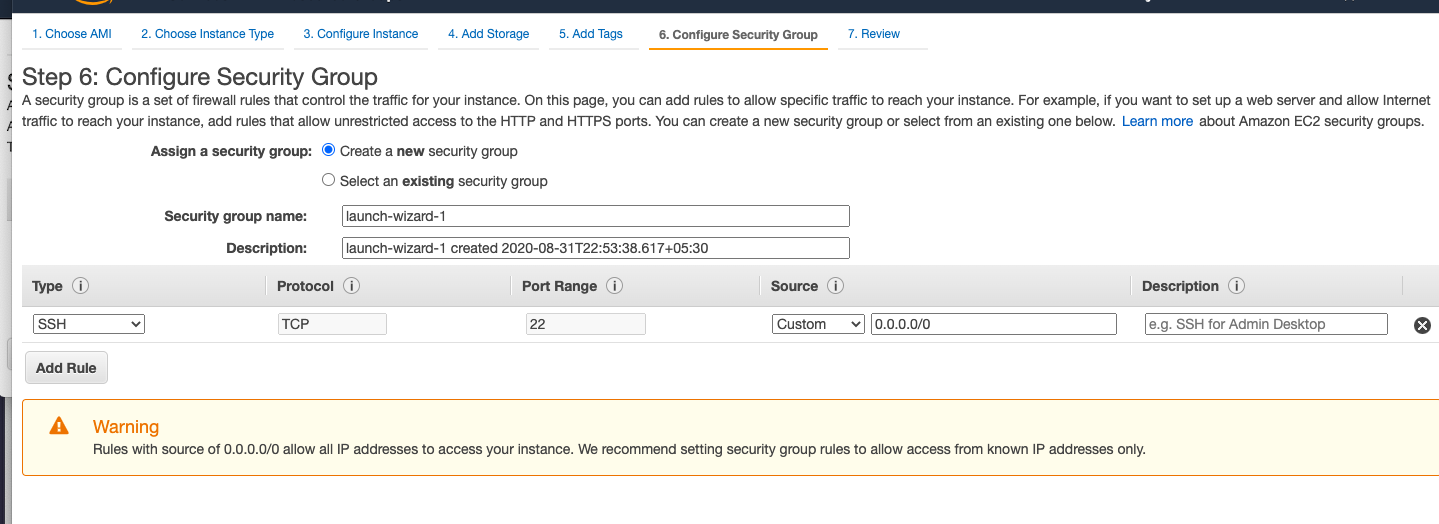
- Select Assign a security group to Select an existing security group. Click the Review Instance Launch button.

- Click the Launch button.
- Select the check box for the key pair that you created, and then select the Launch Instances button. The dialog box appears as below.

You will be able to successfully connect to the EC2 instance you have set up using the key pair.
Conclusion
By providing a simple and easy to use interface for setting up the EC2 server instance, Amazon has proved it is the most on-demand cloud computing platform along with the amazing features available.
READ: Why Home Automation is needed in 21st Century
