Digitization is the mantra of today. People explore a lot of content and upload a lot of content in the form of images, audio, and videos. Audacity is an app that can be used on PC as well as mobile apps to edit your audio giving different sound effects. Easy to use tool with a lot of sound effects available.

How to Make a Robot Voice in Audacity:
The user can achieve his/her audio track via effects to make a robot voice using Audacity. The following steps shall be performed to achieve robot voice.
- Get Audacity on your device (be it a computer or mobile app.)
NOTE: Refer the next section on how to get Audacity.
- Open the audio file in Audacity. To do so:

- Pick the file and Open it.
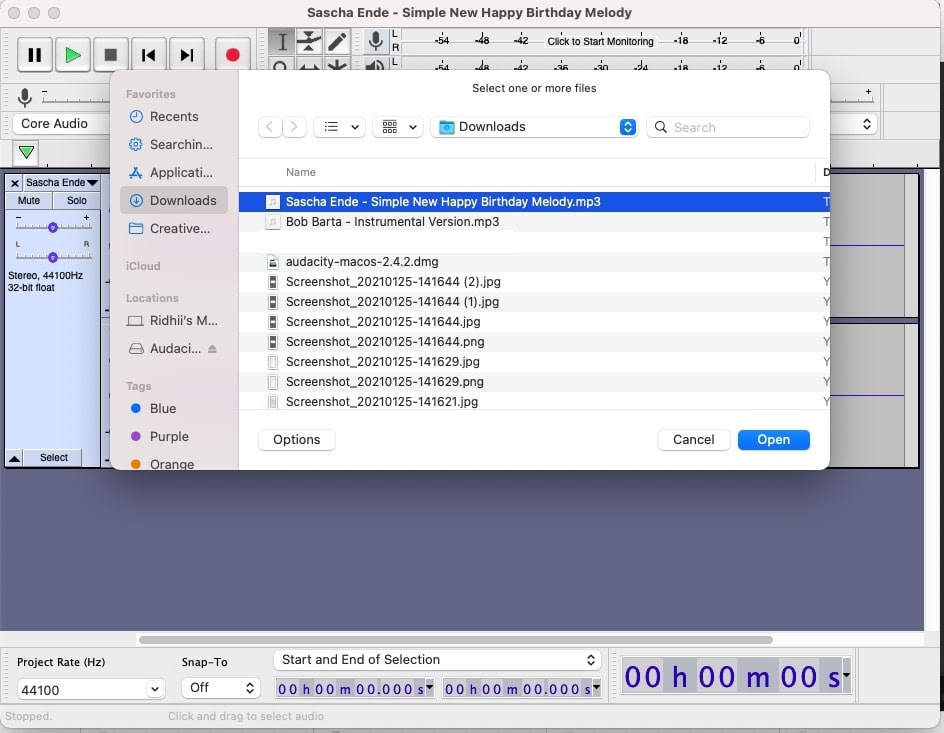
- You shall see the track open in Audacity.
- Be ready to apply the robot voice now.
- Three things to do:
- Alter Echo properties (Make the track duplicate to apply changes.)
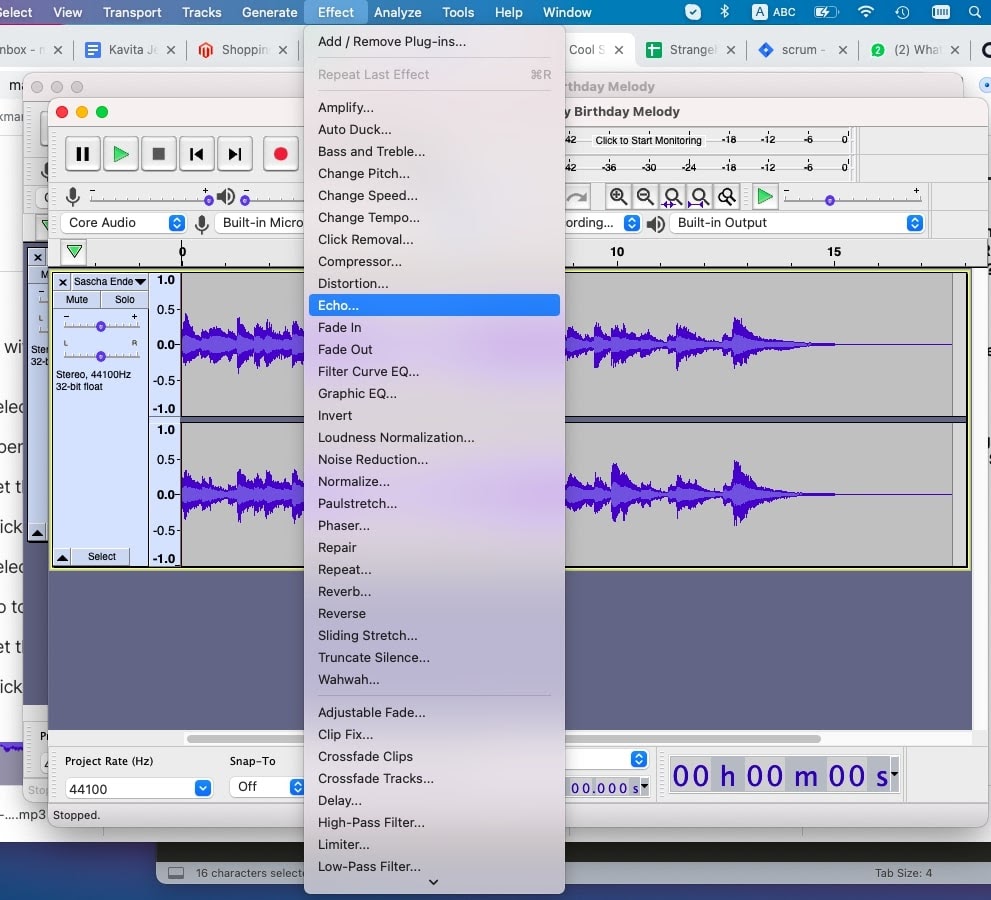
- Locate Effects → Echo
- Alter Echo properties (Make the track duplicate to apply changes.)
- Echo properties shall be displayed as below.
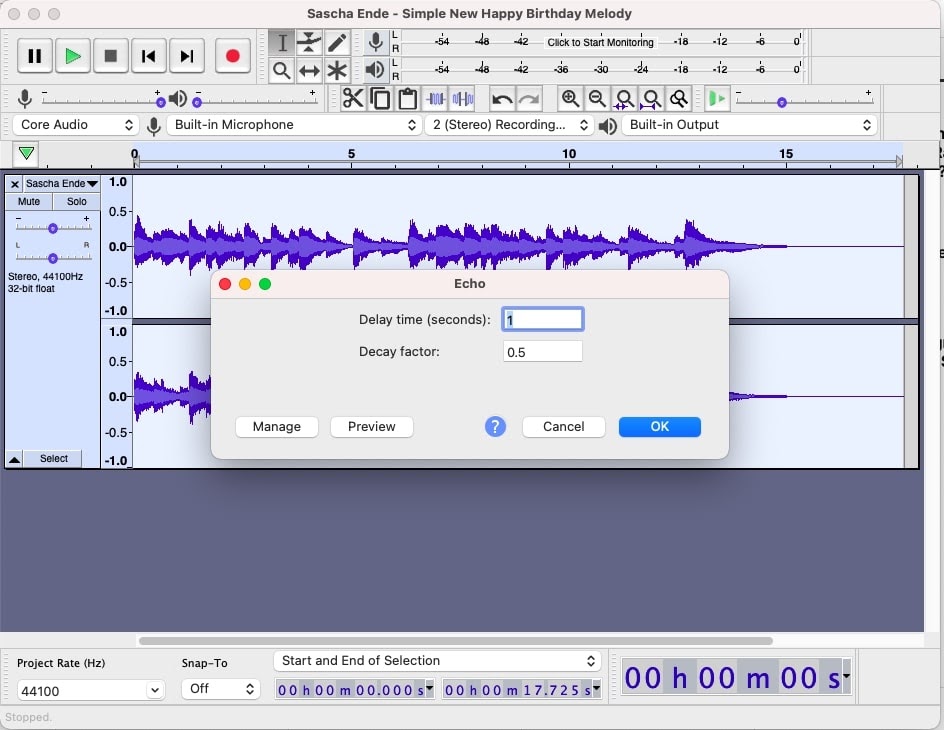
- Delay time = 0.4
- Decay factor = 0.6
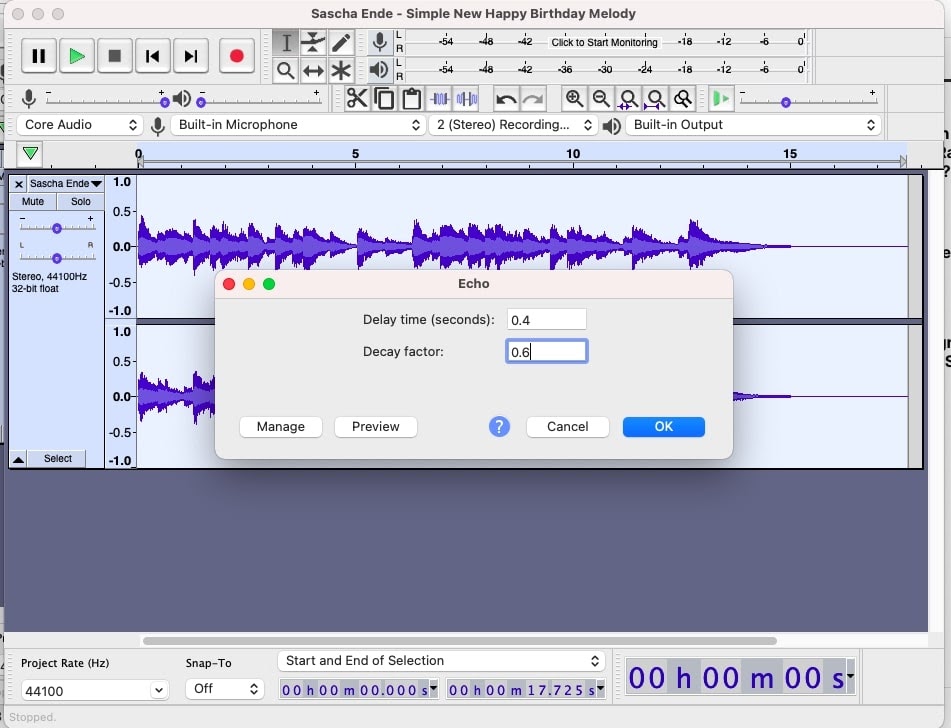
- OK to apply changes.
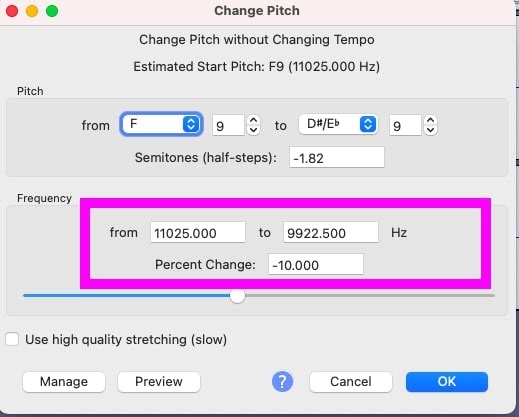
- Alter Pitch (Make the track duplicate to apply changes.)
- Effects → Change Pitch
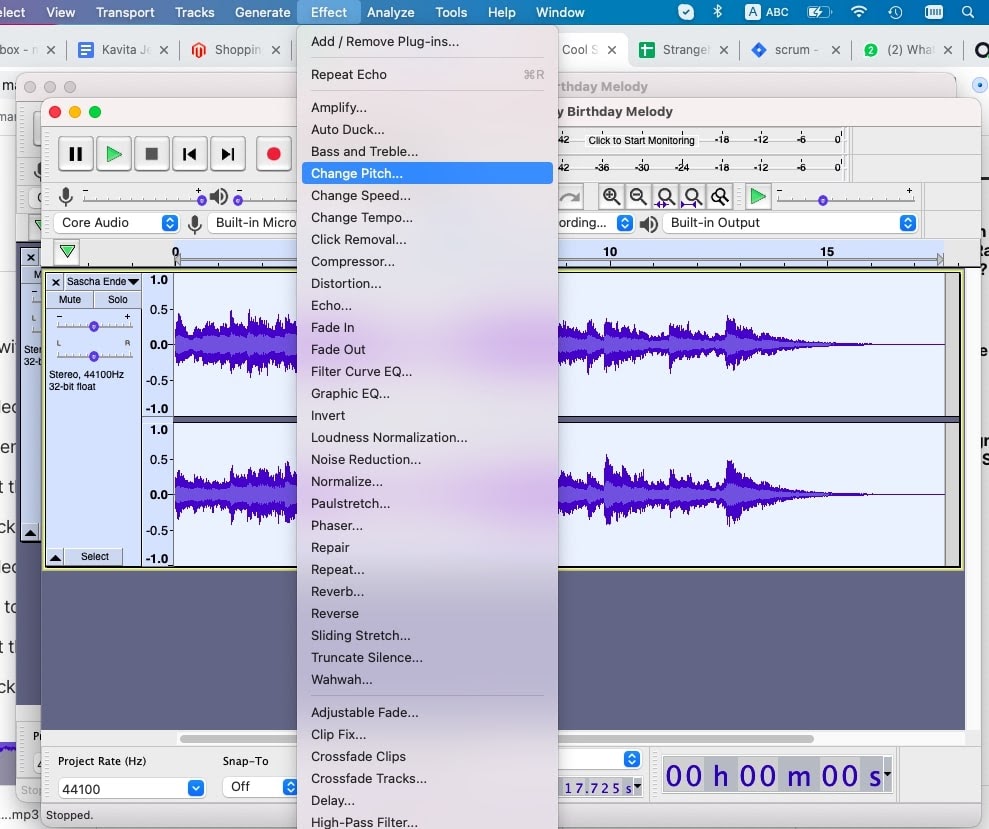
- Percentage value is what you have to update.

- Change to -10. (To do this, use a slider on the right side or use a keyboard to enter value as -10.)
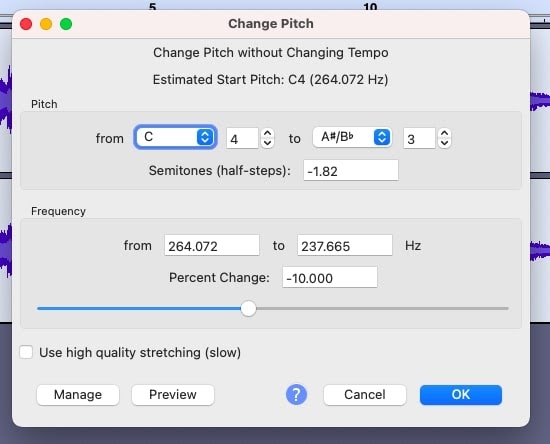
- OK to apply changes.
- Alter Tempo (Make the track duplicate to apply changes.)
- Effects → Change Tempo
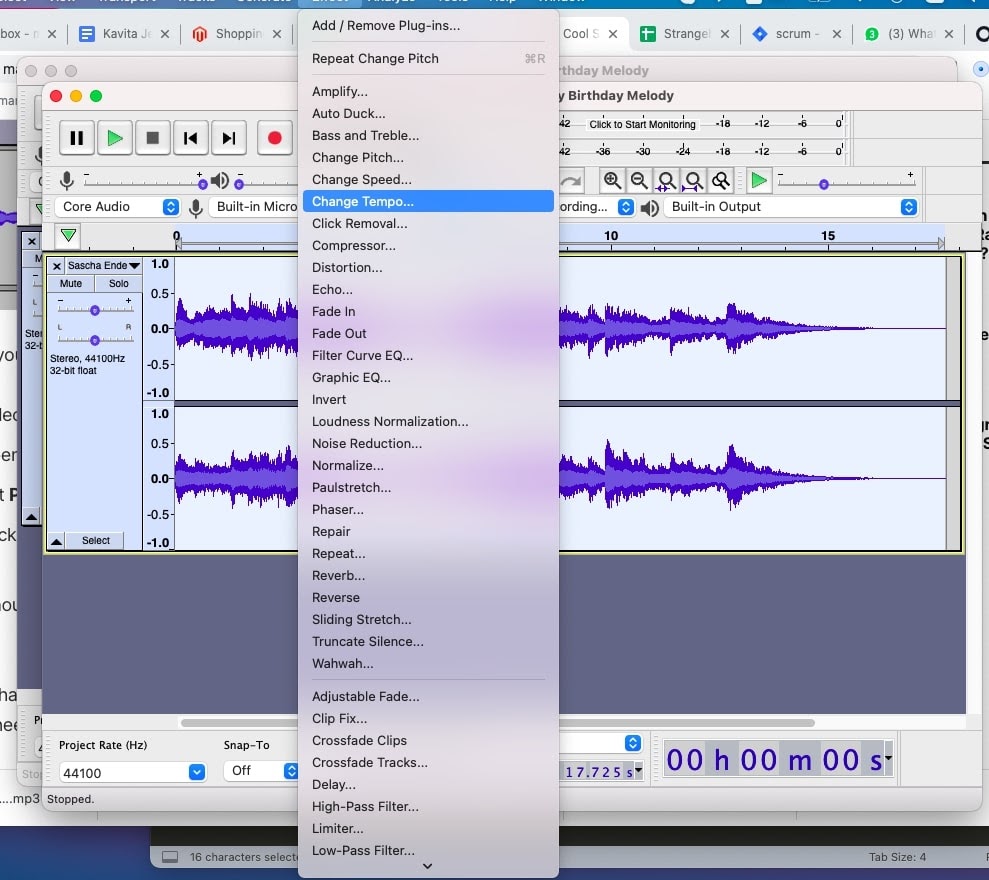
- Percentage Tempo is the field that needs change in value.
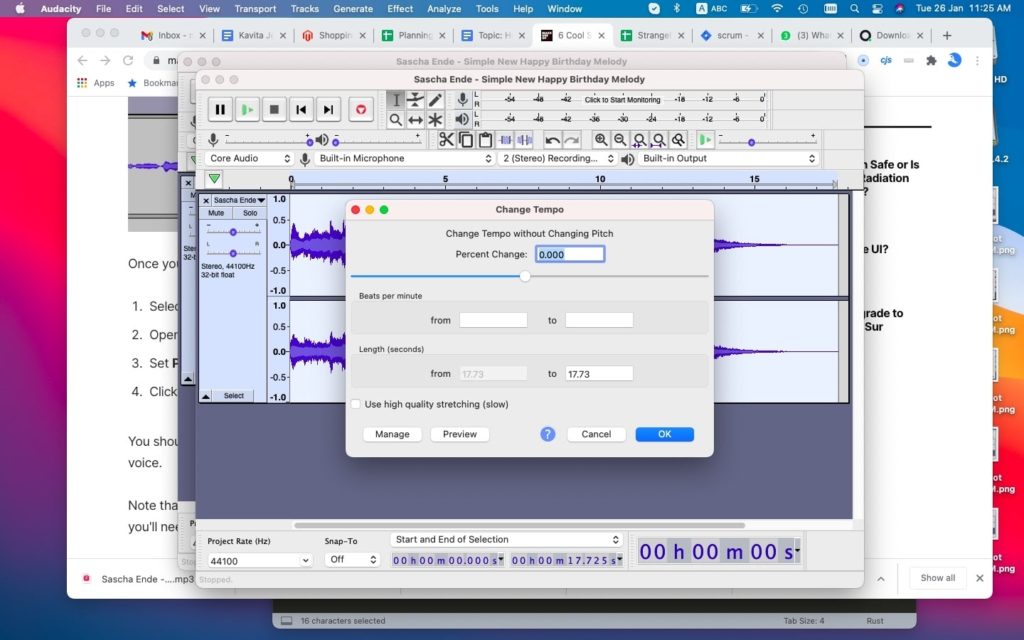
- Change from 0 to -3 (Do it with a slider or typing in the field.)

- OK to alter the changes.
- After making all the changes above, play the file to see robotic voices in the track(s) you have applied.
How to get Audacity in Mac
Getting the audacity app on a Mac is easy. Just follow the below steps and you are ready to record, apply effects, and do many things on the audio tracks.
- Open the web browser.
- Type https://www.audacityteam.org/download/ in the location bar.
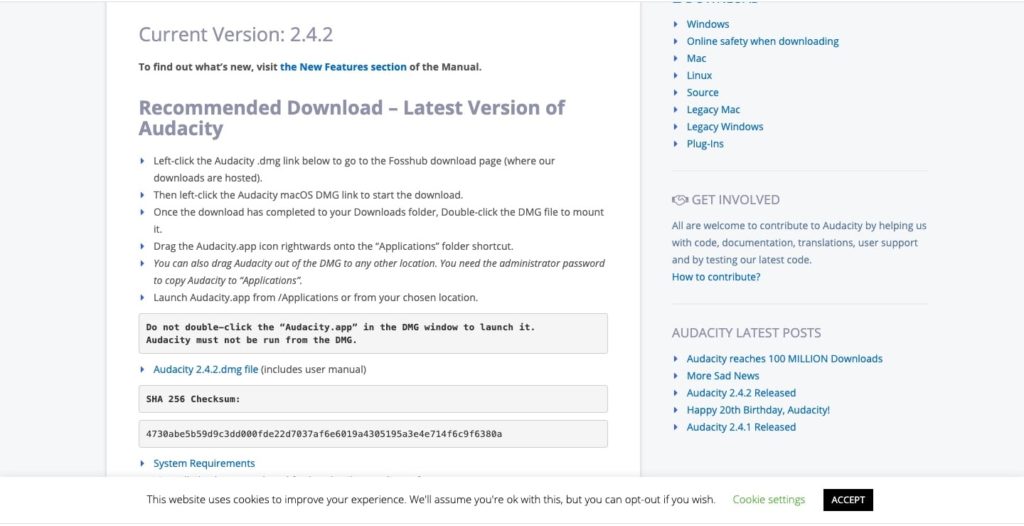
- Pick Audacity 2.4.2.dmg file.
- The file shall be on the download folders with the complete executable.
- Double-click the package file (.dmg).
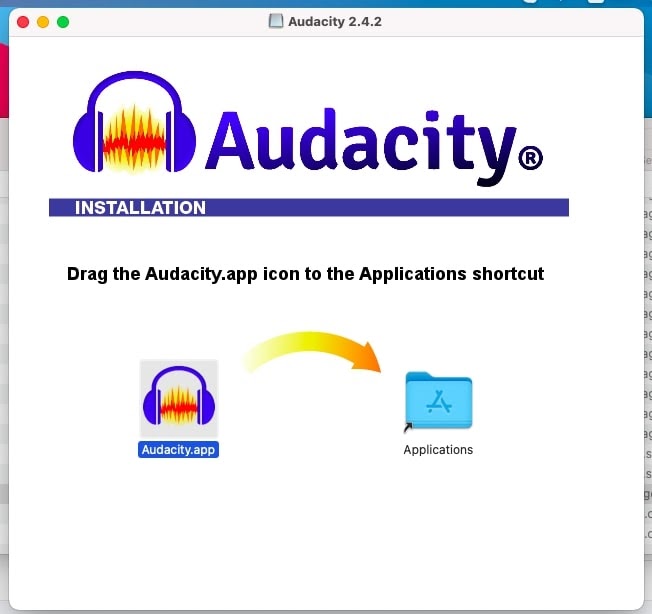
- Move the app to the Applications folder.
- Open the app by clicking the icon from the launchpad. You shall see the below.
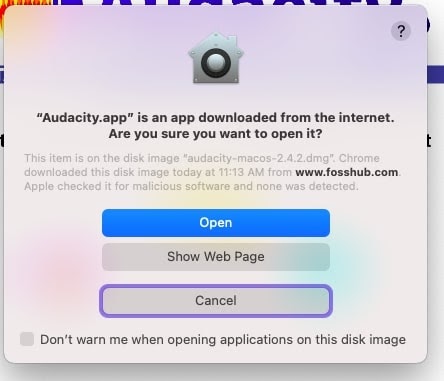
- Pick Open. You shall see the audacity open with its default state.

- You are ready to rock! All your audio tracks are ready to roll out.
Explore other sound effects in Audacity
- Voice Pitch (alter it for high sound effects)
- Effect → Change Pitch

- Use the slider to update frequency.
- OK to apply the change.
- Demonic Voice Effect (As the name suggests, the voice tone will be like devil speaking)
- Choose the track (COMMAND + A)
- Change Pitch from Effect
- Alter Pitch to -5.
- Modify the time setting to -25.
- Echo from Effect
- Alter Delay to 1.
- Reverb from Effect.
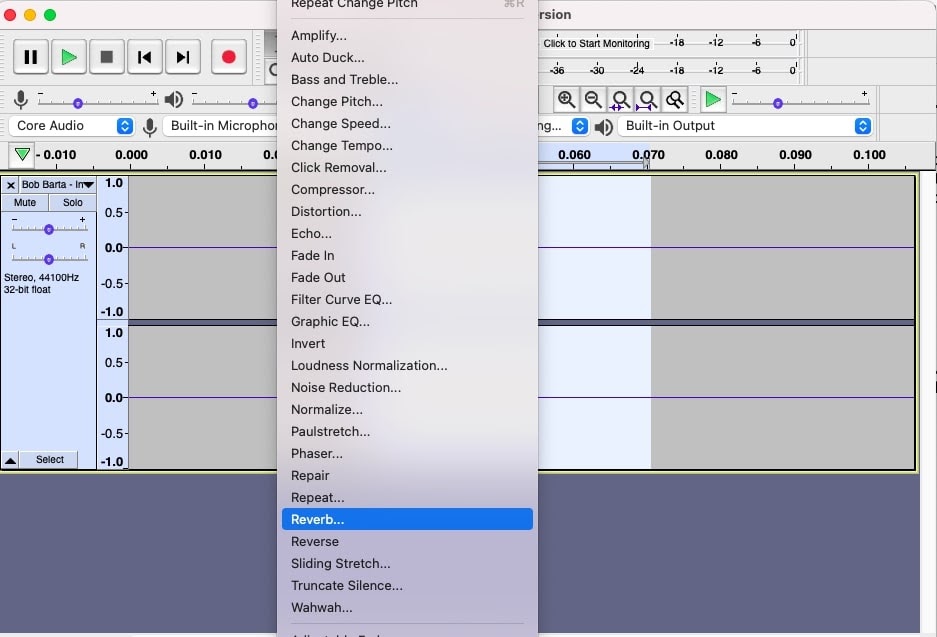
- Shall see the following effects.

- Update as appropriate, OK to apply the modification.
- Pick the track and modify Bass and Treble from Effect.
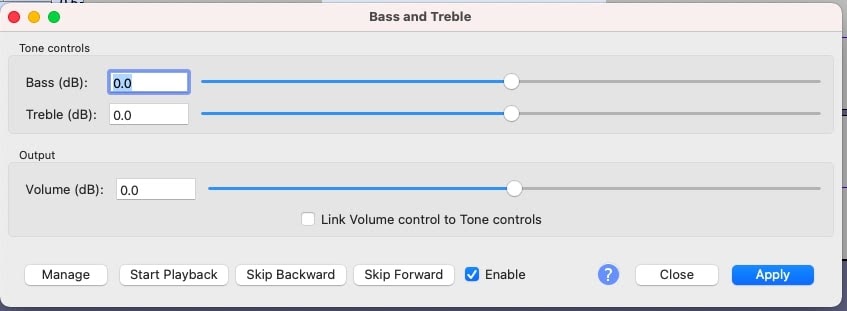
- Keep Bass (dB) below 5 and apply the change.
- Try experimenting with treble and other settings to get the devil voice effect in your track.
- Background Effect of Radio Playing – Choose the file/track in which the effect is to be applied.
- Change 1 – High-Pass Filter from Effect
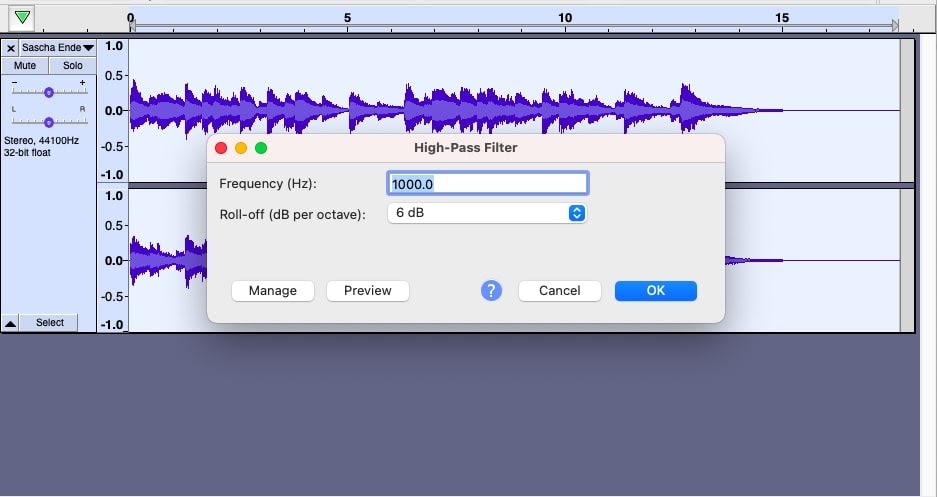
- Make Roll-off settings from 6dB to 12dB.
- OK to reflect changes.
- Change 2 – Low-Pass Filter from Effect
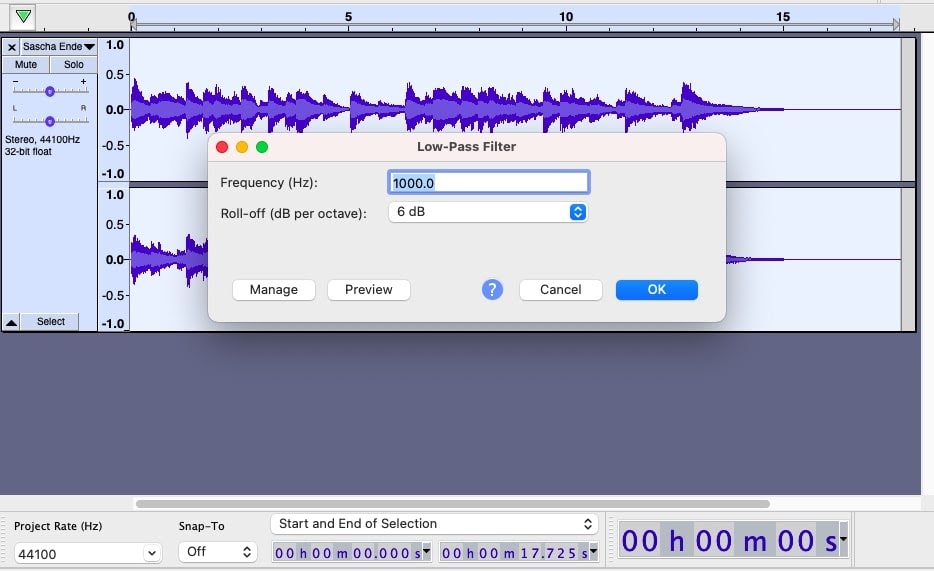
- Make Roll-off settings to 7dB.
- Change 3 – Revert High-Pass filter to (Roll-off) 6db again.
- Change 4 – Modify Amplify settings from Effect.
- Change 5 – Update Roll-off settings in Low-Pass Filter to 12dB.
- You are done.
- Sound effect – telephone
- Pick the file for which telephone sound effect to be applied.
- Pick the below-highlighted option from Effect.
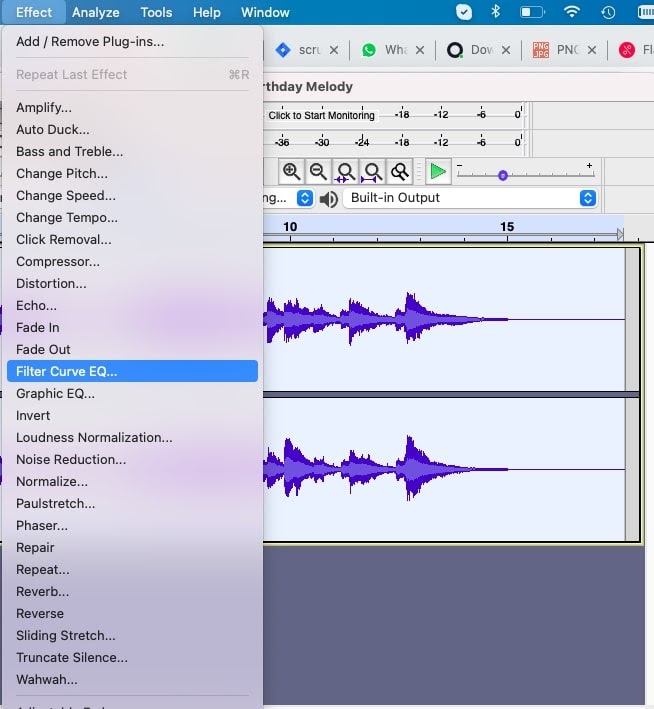
- The user shall see the below screen.
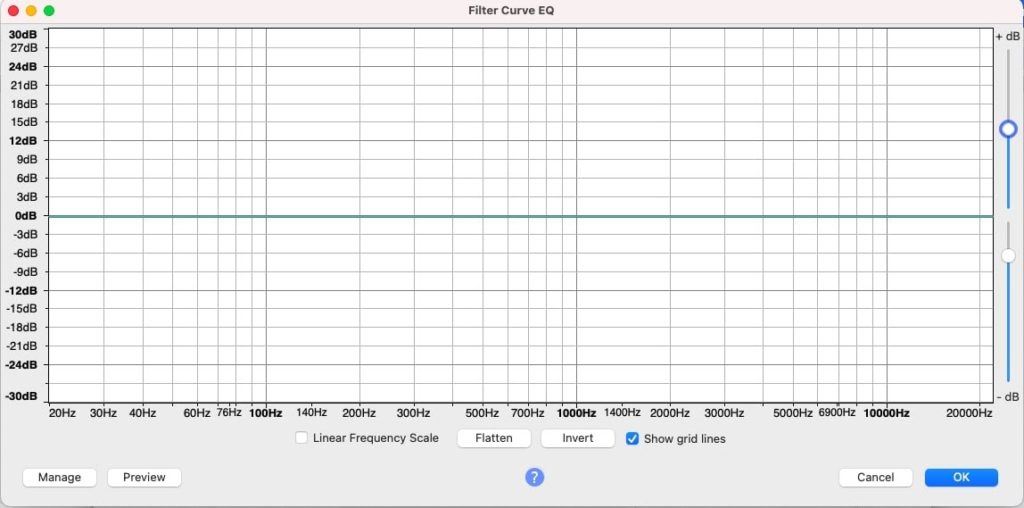
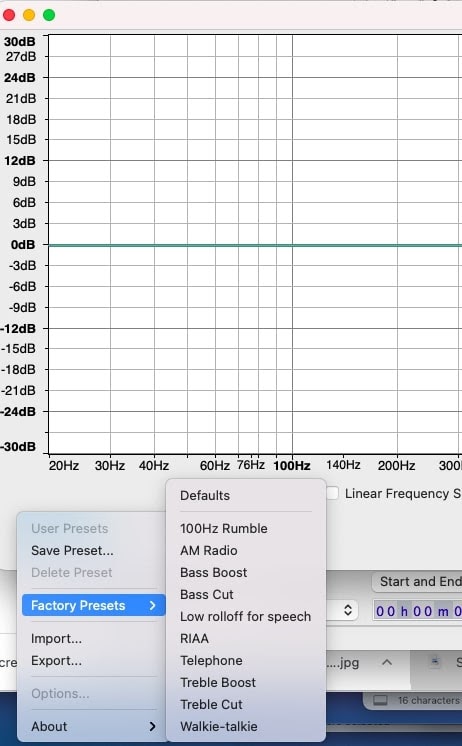
- Pick Manage. Factory Presets is the one to be chosen.
- Pick the Telephone option.
- You shall see the below.
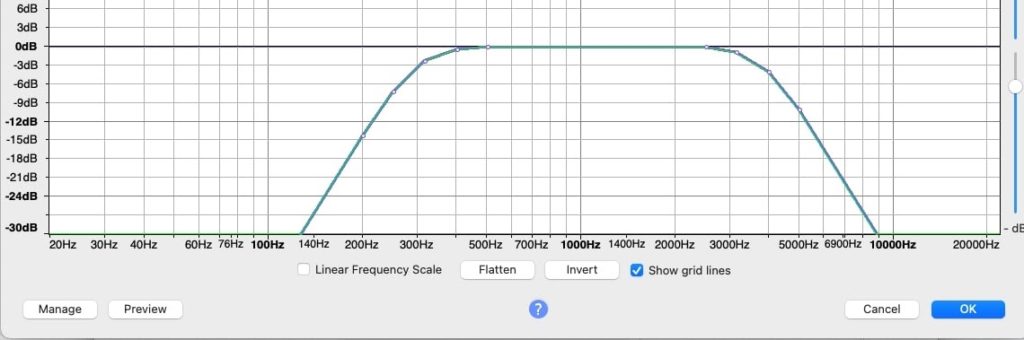
- OK to reflect changes.
- To check the telephonic sound, choose Preview.
- Tweak the settings to get more accuracy.
- Laser Blaster Sound Effect
- Open an empty track.
- Locate Chirp from the Generate menu.
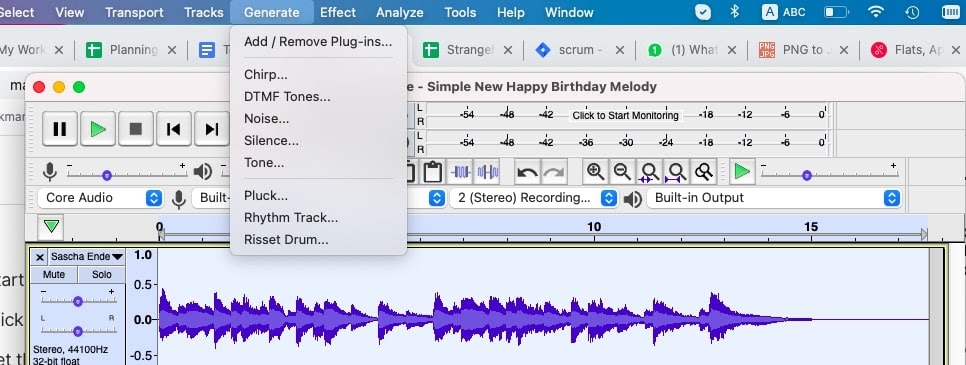
- The below dialog shall be displayed. Choose Sawtooth from the Waveform list.
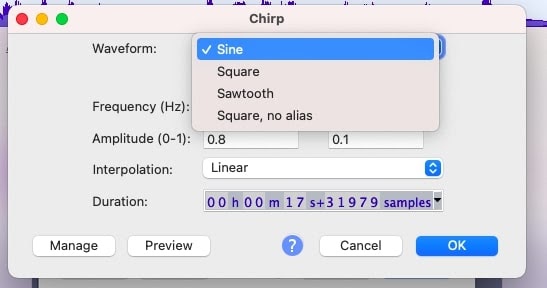
- Alter frequency values – from 1200 – to 50
- Amplitude values – From 7 – to 7
- Keep interpolation as is.
- Duration should be 200 seconds.
- OK to apply changes. Here you Go!
- You have learned multiple sound effects in Audacity.
Takeaway
Effects and Filters are sound templates that can be applied to the audio files that need editing. As per the trend, Audacity is an effective tool to provide a lot of sound effects. All you need to know is what value to set for the property to be applied. Again, that comes with the experience and efforts you make! Happy editing!
Read More: How to Change Voice on Google Maps?
