To open rvg files, you need a special intraoral driver installed in the system. From any tool supporting the sensor x-ray imaging, one can open the x-ray image file and then can be exported as an image file.

Radio Visio Graphy (RVG) is generated from the 3-dimension image creation software attached to sensor devices you will find in digital dental clinics. Dental x-rays can now be extracted via digital RVG sensors and you eliminate the steps of manual extraction of dental x-ray.
Here is the illustration of the dental x-ray process shown for RVG vs. the conventional method.
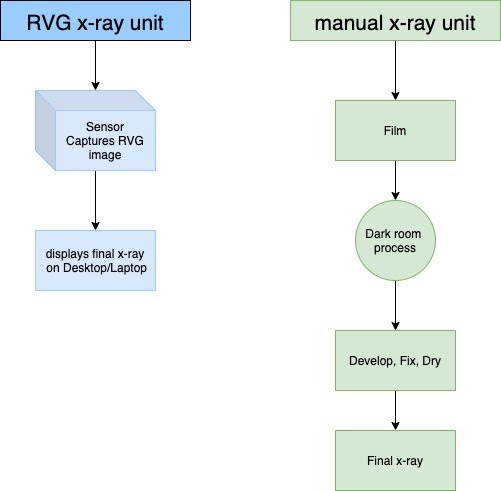
The dental sensor device hardware has a USB connection to your desktop/laptop and the x-ray images are rendered via the rvg reader software to view intraoral images on your machine.
Not every patient or consumer has the rvg reader in their machine (PC/Laptop). For them, the file needs to be converted into JPEG format to view as an image. There is various software in which the RVG captured file is opened and converted into JPEG.
How to open rvg file(s)
- Open rvg Files Using Crystal RVG Kit
- Open rvg FilesUsing Vatech EzDent
- Open rvg FilesUsing Carestream Imaging Tool
- Open rvg FilesUsing Revit External Group File
- Open rvg FilesUsing Dental X-ray Reader
Open rvg Files Using Crystal RVG Kit
NOTE: Please ensure that the Intraoral drive is installed with the Crystal Desktop tool.
- Open the Crystal tool.
- Search for the patient for whom you want to capture the image.
- You will see a sensor icon at the bottom left corner.
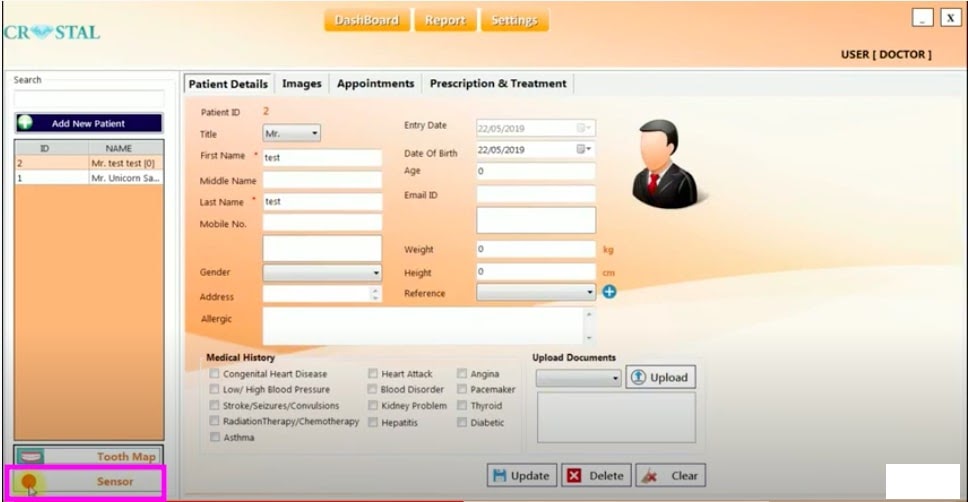
- Connect the USB of an intraoral sensor with your CPU’s USB port.
- Start the sensor when positioned in front of the tooth with the best-suited angle.
- You will see the sensor light will turn to green.
- Go to the Images tab. You will see the sensor’s files are directly processed through the driver.
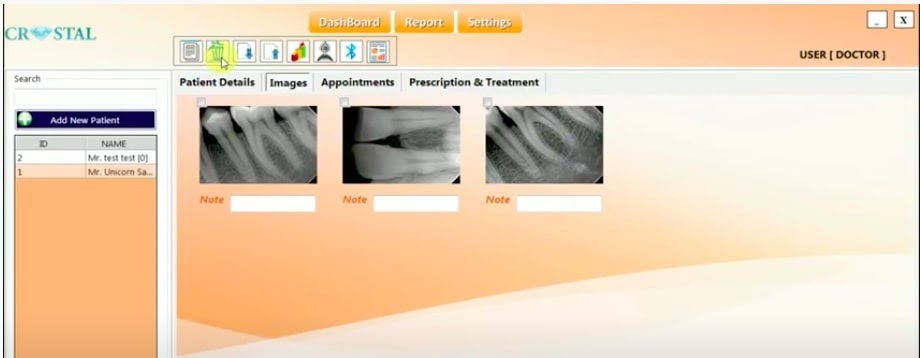
- Select the image by ticking the box on the left corner of the image.
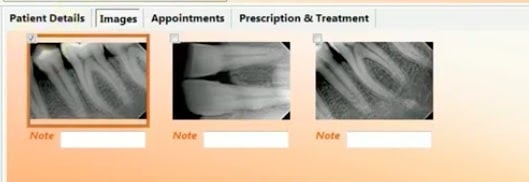
- Go to the 4th icon, and export the image from the software.
- It will ask you to choose the location to export the image.
- Locate the folder and click OK on the dialog.
- The image will be exported in PNG format by default.
NOTE: This tool does not allow you to select the image file format manually.
Once the RVG image is exported in PNG, it can be opened by anyone using the image viewer tool installed in the system.
Open rvg Files Using Vatech EzDent
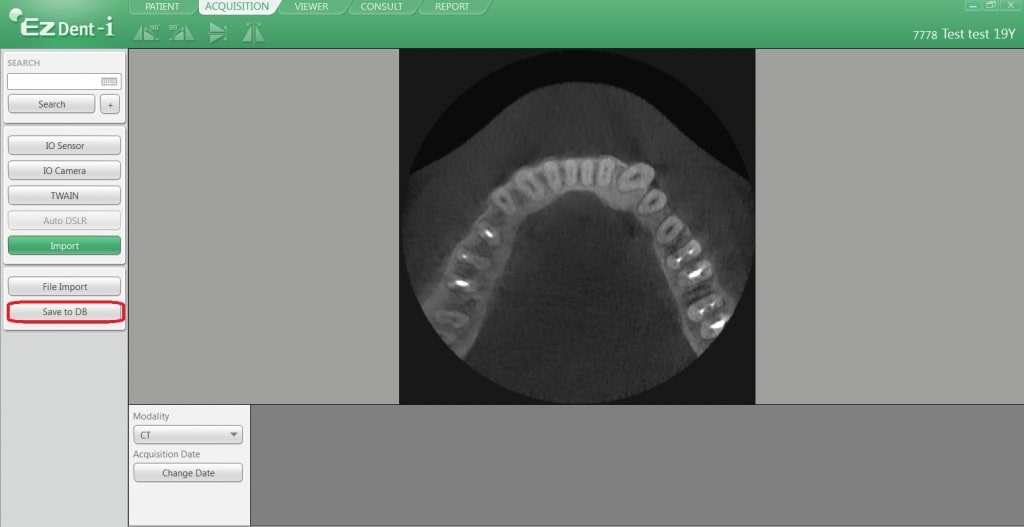
This is a patient software where one can import an intraoral sensor (RVG) file and view the same or while the sensor is connected the same can be viewed live.
- Open the tool.
- Search for the patient for which rvg file is generated or to be generated.
- From the left pane, see 2 options:
- IO Sensor: If the sensor device is connected, you will see the x-ray image rendered and viewed
- File Import: If the rvg file is already available, use this option
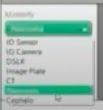
- Select the file format from the Modify drop-down. Choose the IO sensor.
- Choose Import. Select the file from the desired location.
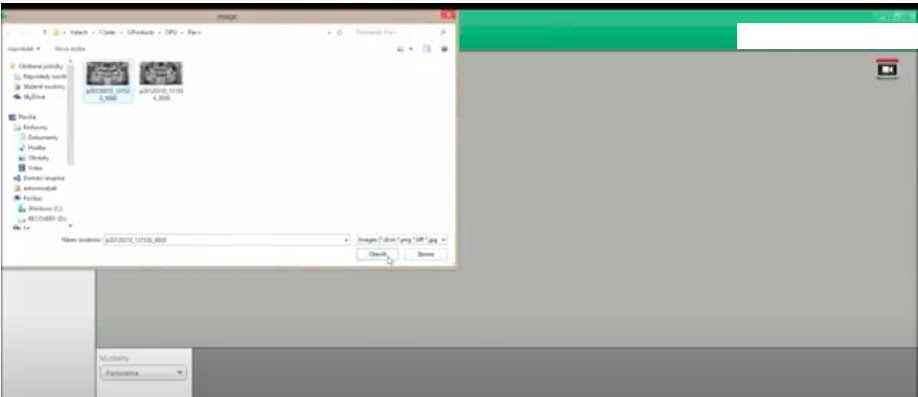
- Click Open. You will be able to view RVG file(s) successfully.
- To save the file against the patient, choose Save to DB.
Open rvg Files Using Carestream Imaging Tool
- Open the CS 3D Imaging tool by double-clicking on the shortcut icon on the desktop.
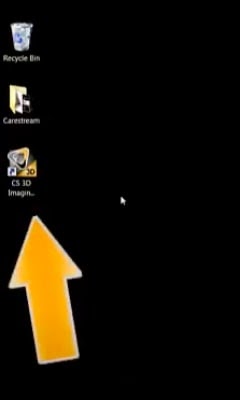
- You will be asked to locate the RVG files in the folder you have kept.
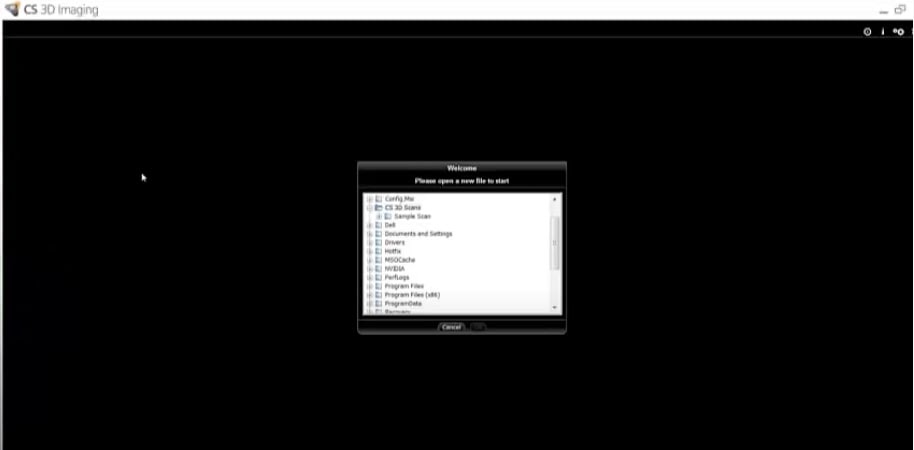
- Choose the RVG file under the folder by clicking the + icon before the folder name.
- Choose the file and OK on the pop-up.
- The tool will take time to render the files and will show once rendered successfully.
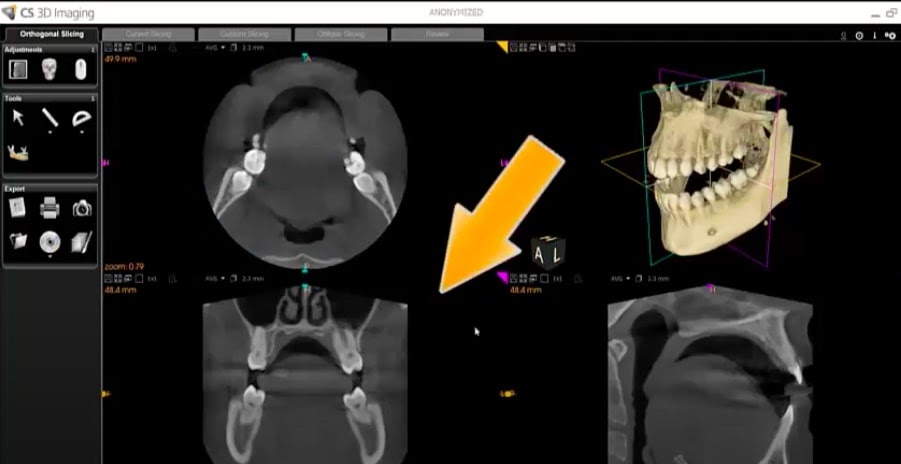
Open rvg Files Using Revit External Group File
This tool is used to open RVG file(s) in case you do not have any of the above tools available to you.
- Download and install the sensor image driver tool to view the file. In this example, Revit External Grup File is considered.
NOTE: The DICOM driver tool can also be used.
- Choose the RVG file and open the right-click menu to choose Open with.
- Select Revit. Make the tick next to the “Always…..open rvg files” check box.
- You have opened the file in the viewer.
Open rvg Files Using Dental X-Ray Reader
This converter uses x-ray film hardcopy to open the file and save RVG in image format.
NOTE: Make sure the converter device is attached to the desktop via USB.
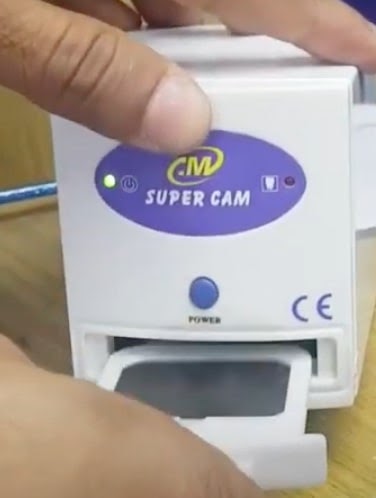
- Put the film onto the tray before switching the Super Cam ON.
- Press the blue power button to ON.
- Open the imaging software tool.
- You will see the x-ray film on the imaging screen.
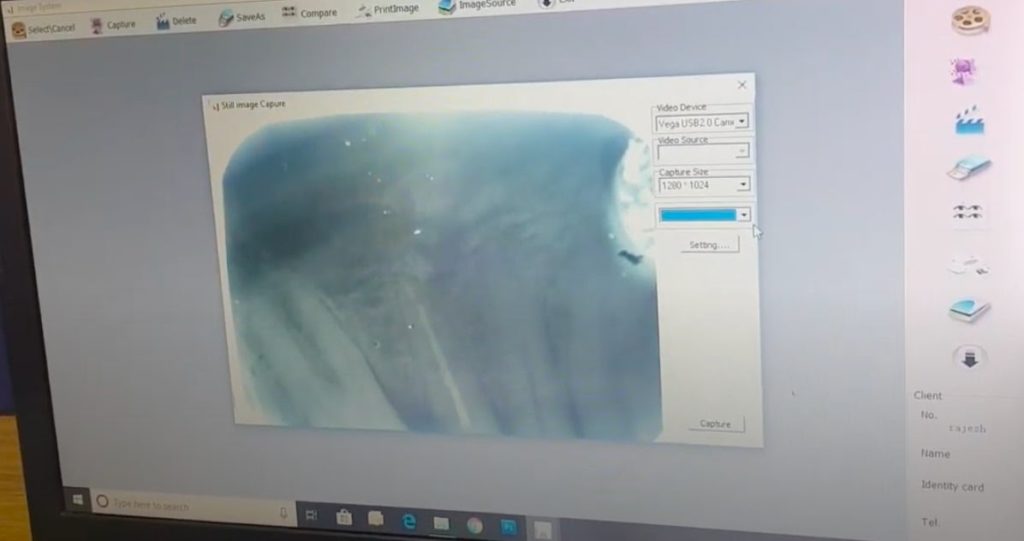
- Click Capture. The image thumbnail will be shown on the left once captured.
- Click SaveAs (4th option from the top toolbar).
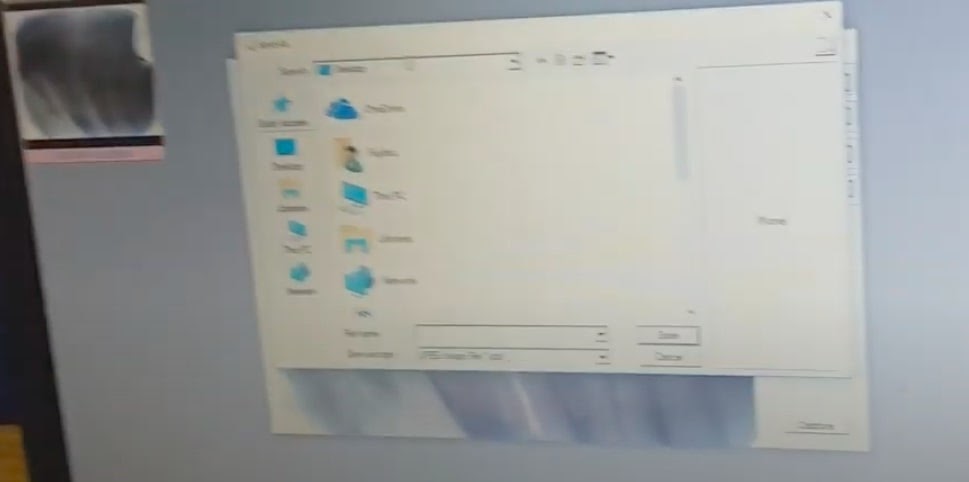
- Give the name of the file.
- Click Save. Your x-ray film will be saved in JPG.
- Once done, any image viewer will be able to open this file.
Tips
- It is always recommended to capture the file in JPEG or PNG while sharing it with patients. Patients may not have digital imaging software to view the file.
- If the RVG file cannot be converted into the image file format from the tool you are using, please capture the file with screen capture and share it.
- All of the above options to open the dental x-ray (rvg) files are available when you have the tool that renders and reads RVG file(s) via an intraoral sensor device.
- DICOM and Revit External Group File are the driver software that is used to open rvg file(s).
- No tools available above will work if the RVG file is damaged or corrupted or partially transferred.
- You can try changing the file format from RVG to another format (s) and try opening in the image viewer software such as Paint, PhotoShop, or any other preview apps. (This option is not recommended.)
- Kodak Digital Image Software is another tool that you can use to open the rvg file.

