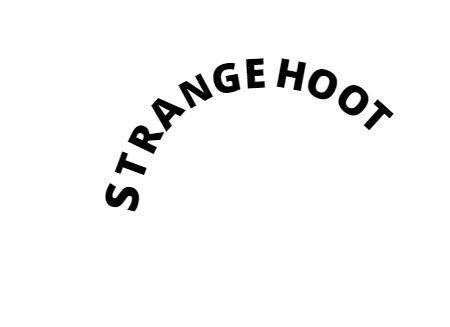
If you are a 90’s kid, you will remember that curving a text in MS Paint was just next to impossible. Now, for this generation that uses Canva for creating posters, greetings, quotes, and videos for their social media, to curve a text in Canva editor may look the same.
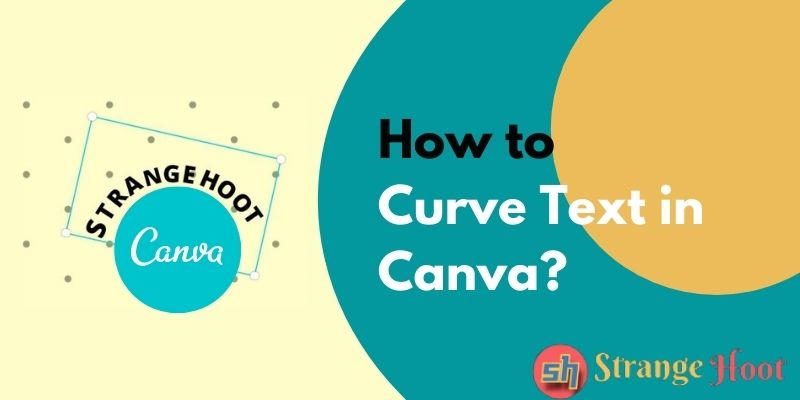
Canva, the free online tool for making images and slideshows, is a handy and chosen option for most of us. It has many amazing features, elements, and pictures that let us work with ease in creating designs. However, one important feature that this wonderful online free image maker lacks is curving the text.
However, fret not! As we know nothing is impossible. In the same way, it takes some time and effort to curve text on Canva. Without much ado, let’s delve into the steps of how to curve text in Canva.
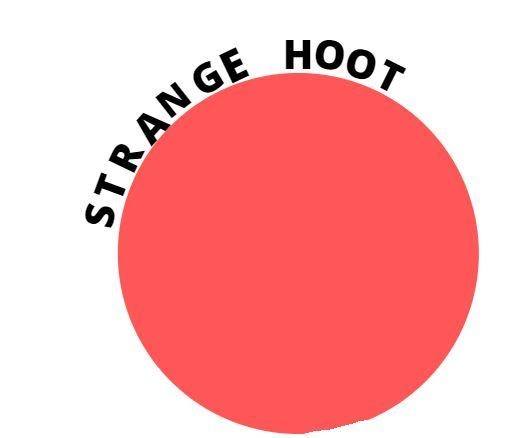
To curved text in Canva
- Open a new design page on Canva. Or choose an existing one you wish to add curved text.
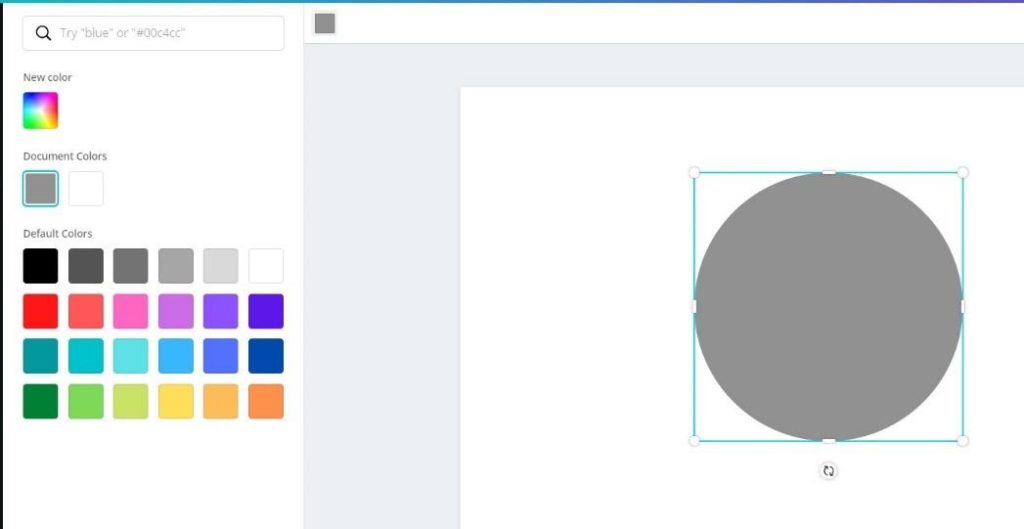
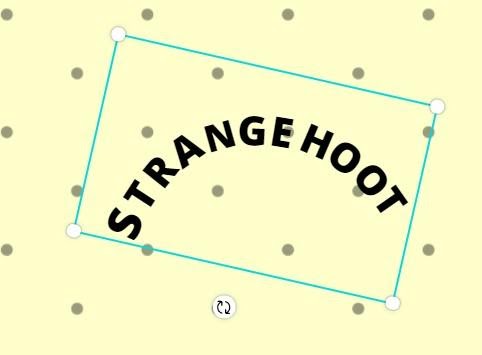
- Click Elements. Select Circle Shape. We choose a circle, as it serves as a base for our curving the text.
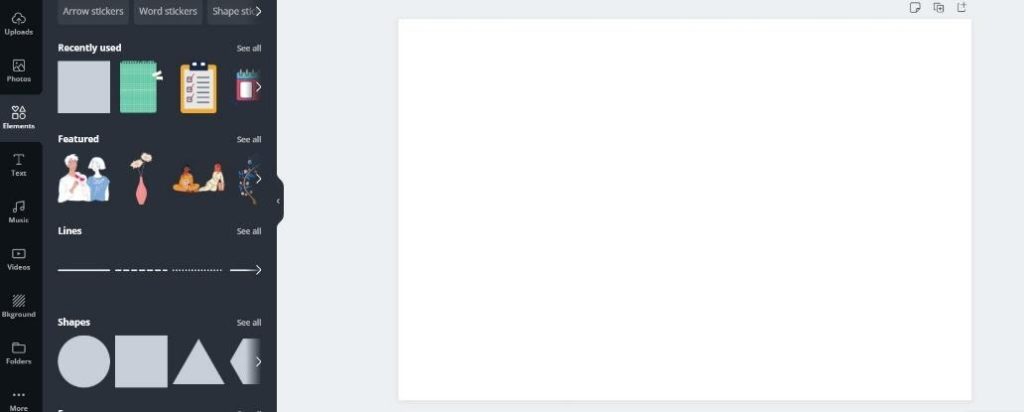
From here, you can do it in two ways.
Method 1: Using One Circle
- Type letters individually that you wish to curve. To do this, instead of taking a text box and typing the whole word at once, type one by one letter in individual text boxes.
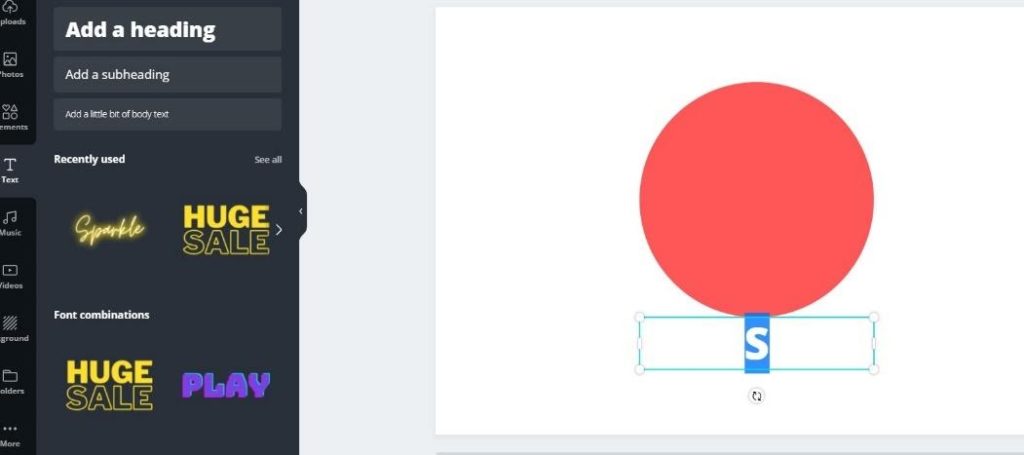
- To achieve uniformity in size and to make your life easy, copy-paste the first letter for the number of letters of the whole word.
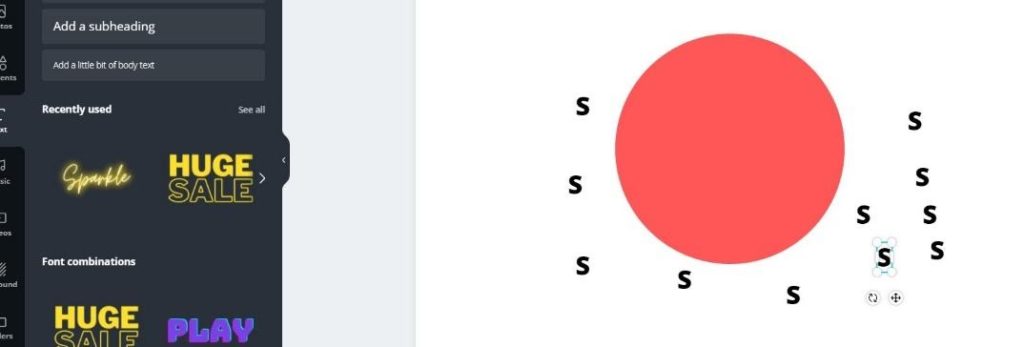
- Then replace each letter with the letter in the actual spelling.
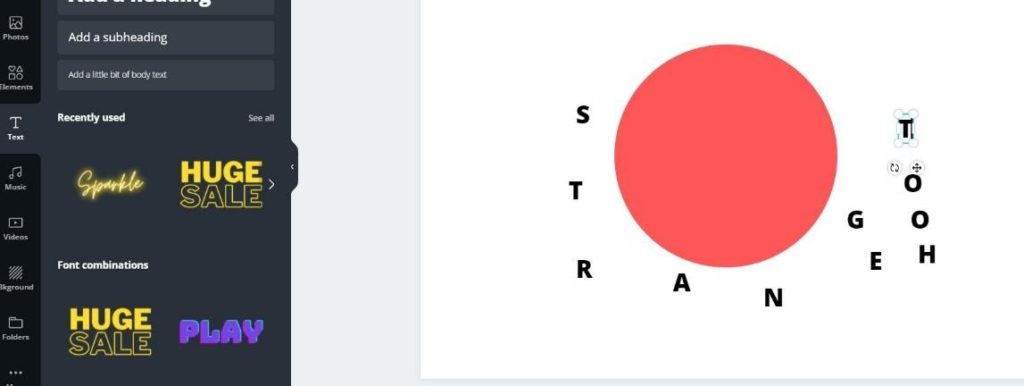
- Now bring them one by one onto the top of the circle aligning them carefully with the rotating help in the Canva tool, and left and right, top and bottom arrows on the keyboard.
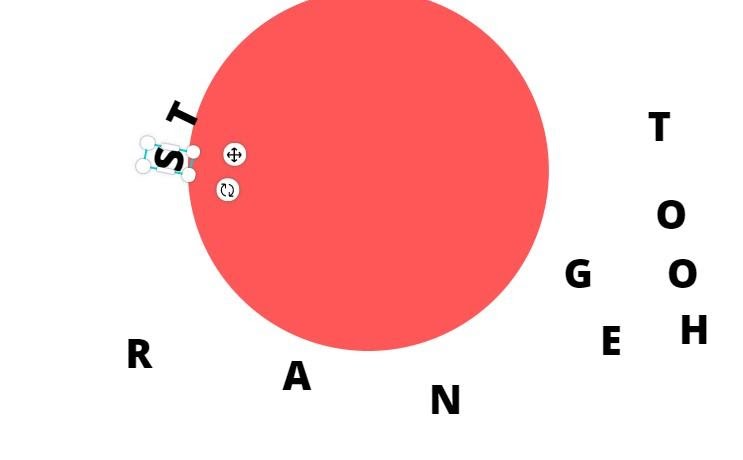
- Arrange the whole spelling likewise.
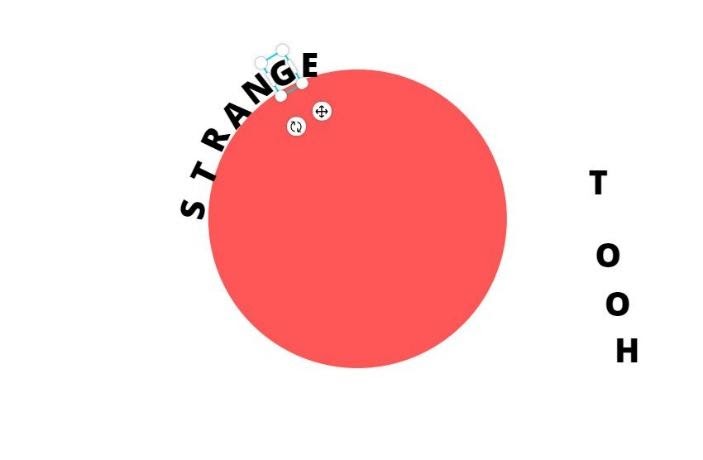
- Lastly, group the letters and save them to adjust them easily and save time in the future.


Now, if you want to get a more perfect alignment for the curve, you can do using the two-circles method.
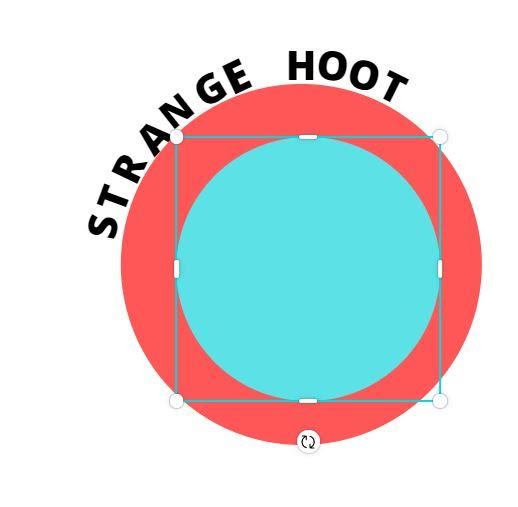
Method 2: Using Two Circles
- Align two circles concentrically. Leave some space enough to adjust the letters appealingly.
- Now bring each letter one by one and adjust them in the curved space between each circle.
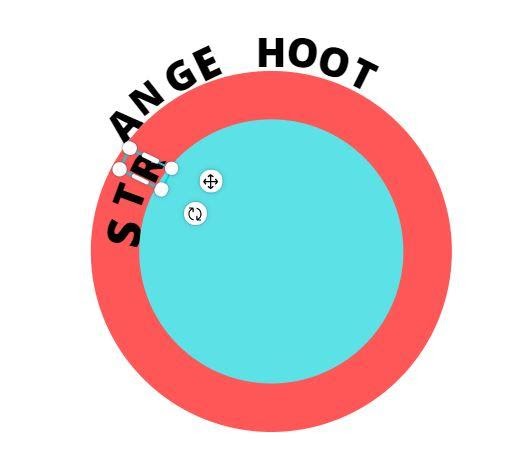
- This again is a time taking process but gives better alignment compared to the earlier method.
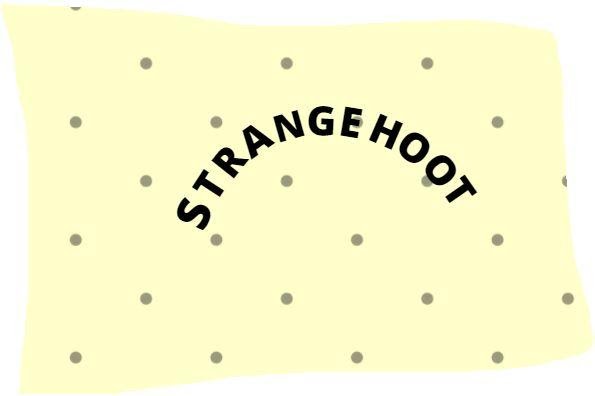
- Now, after you align them with the help of the curving help button and right and left, up and down arrow keys, remove the circles if necessary.
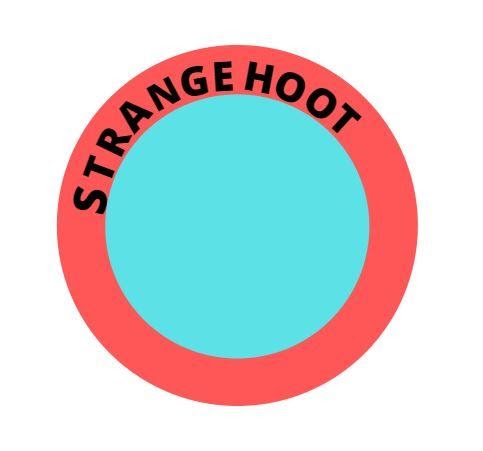
- Replace them with the image and background of your choice to create the final image.

- If you group the final words, it turns easier for you to make the final adjustment and alignment.
Phew! It takes time to curve a text in Canva and is undoubtedly a laborious process. But for now, this is the only method available till Canva introduces a straight-away curving feature for the text.
It takes time and effort but can be done with practice easily. We hope this post helps you to understand how to curve text in Canva.
Also Read:
- How to Make YouTube Text Bold
- 10 Designing and editing websites
- How to install multiple fonts at once
- How to indent text in an Excel sheet
- How to italic, strike, and bold text in Whatsapp
