Graphic Designers and Creative Media users often need a variety of design templates to make wonderful designs. The purpose of their designs may be to publish their content piece on the Web or get the print materials for marketing and promotional purposes (of products and services).

When they create designs, the text is equally important as an image(s). Based on the image(s), they pick or choose the fonts to be used in the media they are working on. To explore and experiment with different fonts, they download the fonts from the Internet and install them to use in their content.
Many times, simple steps are difficult to figure out. How to install multiple fonts at one is what we are going to look at.
Keep exploring.
How to Install Multiple Fonts at Once in Windows
- Download the fonts from the Internet.
- The downloads folder stores the fonts in a zip file if the font family is available.
- Extract the zip file. All the font files shall be extracted.
- You shall see .OTF and .TTF extensions.
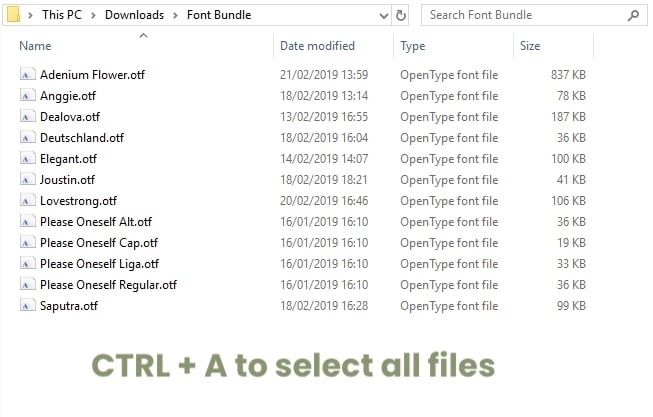
- Press CTRL+A to make a selection of all font files.
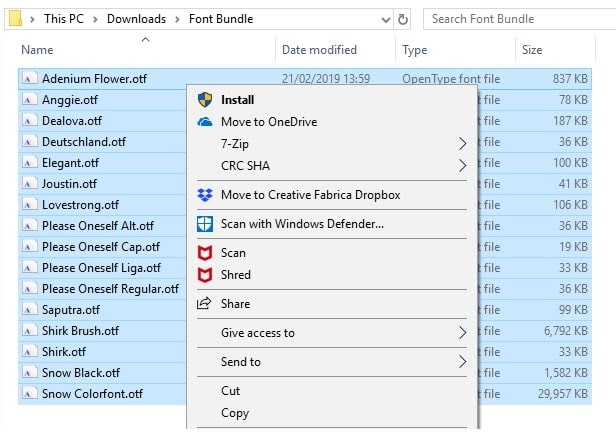
- Use the right-click to open the menu.
- The first option – Install is what you shall see.
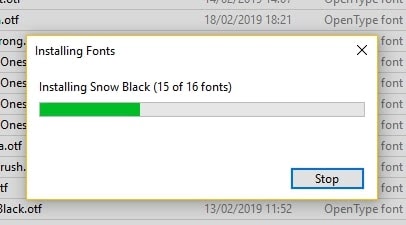
- The installation process starts.
- Once done, restart the computer/laptop.
- Open the Word editor or any other editor to view the fonts that have been installed just now.
- In the font name drop-down, search the newly installed font with the name.
- Pick the font and type the text. You shall view the text in the selected font.
- We have verified that the installed fonts are working as expected.
NOTE: Multiple font files may be available for the same family such as small, medium, extra light, light, bold, thick bold, and so on while downloading the preferred font.
How to Install Multiple Fonts at Once on Mac
- Downloading fonts is the same process as stated above.
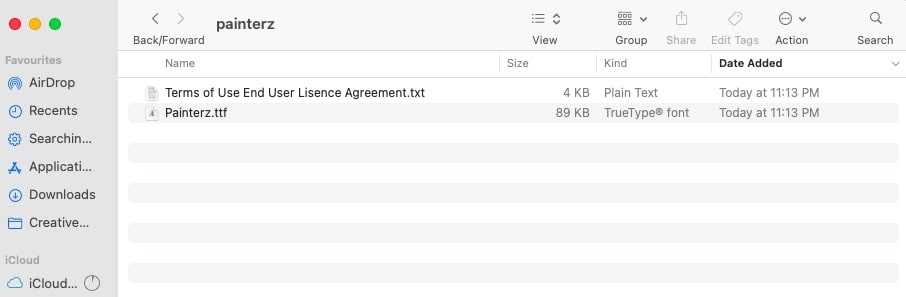
- Extract the zip folder from the downloads.
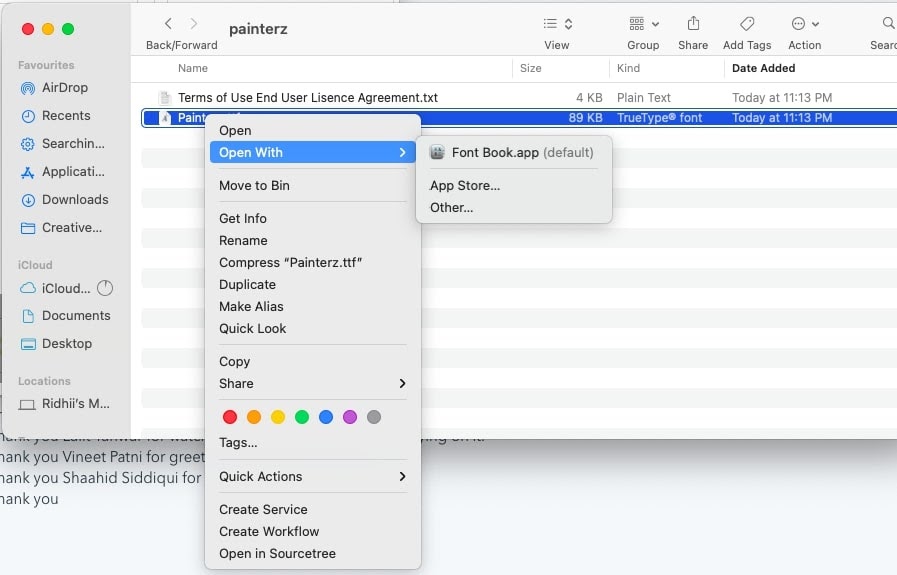
- Pick the .ttf file as shown below and right-click the same.
- You shall see the below screen. Choose Open With → Font Book. app.
- Clicking on the Font Book. the app redirects you to the font book app. The pop-up shall ask you to install the font.
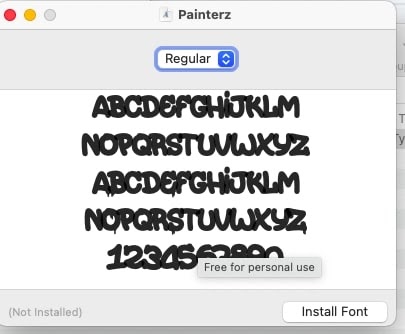
- Install Font is what you have to take action on.
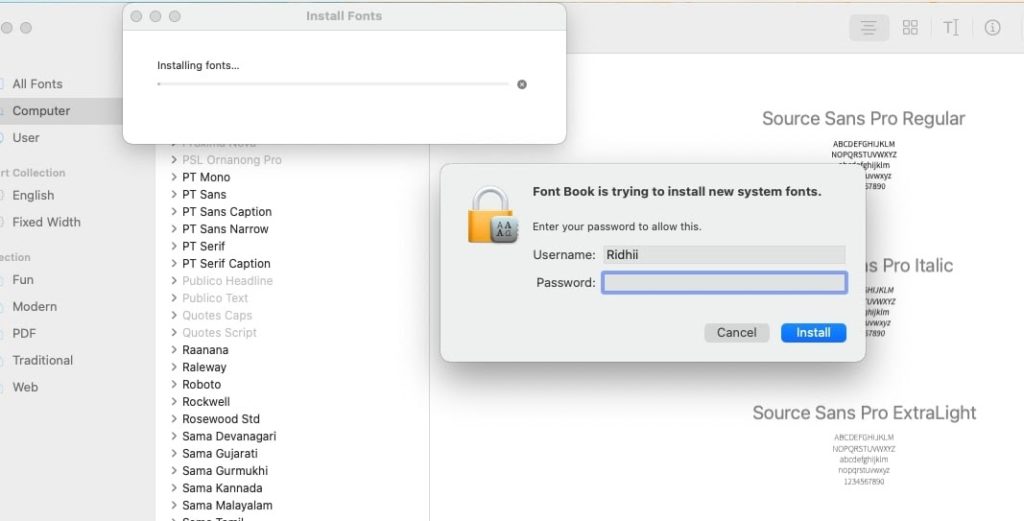
- The font(s) starts installing, but it asks you to enter the MacBook profile password. Enter the password and click Install to proceed.
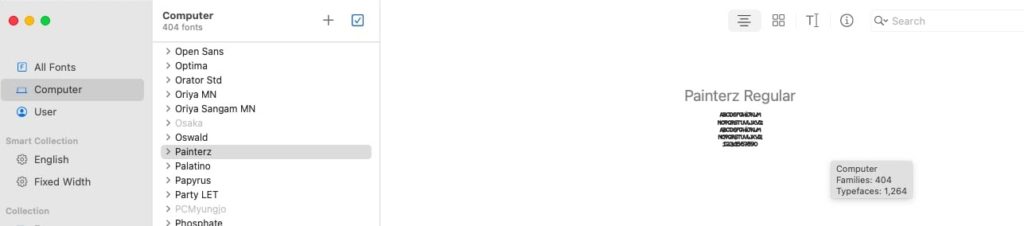
- Once installed, the font shall be available in the font list.
- Now, open Word or any editor to check the font.
- Type the text and choose the font from the font name drop-down.
- View the text in the font selected.
- Yo! You have succeeded in installing the font in Macbook.
Takeaway
Quickly installing all fonts at once is something we learned today. It is useful and interesting to explore various fonts when you are creating a masterpiece of content. Just do it right and enjoy working on the designs!
You may also like:
- 10 Design and editing websites
- How to change the font in Google Chrome
- How to do Subscript and Superscript in Powerpoint