Keeping the version history of any file or document is so damn necessary when it comes to reverting changes. Whether it is a coding file, document with well-written content or any iterations that created the illustrator image.
Git and Gitlab portals came into existence with this fundamental discipline of version history.

Now is the trend of sharing documents overdrives and working together on them. The version history has become important for Google Docs as well.
The content which undergoes a number of iterations generates a history of changes. Many times, it becomes a challenge in reverting back the changes to previous ones and starting to edit the document from thereon.
Traditionally, MS Word documents were saved locally with different file names and then compared against the file versions. The manual method of maintaining versions was error-prone and did not give accurate results.
There was another problem of files getting corrupted in the process of iterating contents.
Also read:
- How to insert image caption in Google docs
- How to delete pages in Google docs
- How to use unique function in Google sheets
- How to save Google calendar as PDF
- How to create graphs in Google docs
- How to use subtract in Google sheet
- How to move image in Google docs
Google Docs History
Google Docs has made keeping the history so simple that the user does not have to do anything. It keeps auto-saving the changes and shows the user when the last change was saved.
The user does not have to click a single action to enable history or keep the history. Each document that is being created on Google Drive and shared with other users working on the document preserves the changes.
The user working on the document does not have to worry about the history of changes.
How to view history Google Docs
- Open the document and start writing content.
- If the writer is working on sharing a document, the content will be updated frequently.
- Next to the help menu, “Last edit was seconds or minutes ago” text is shown.

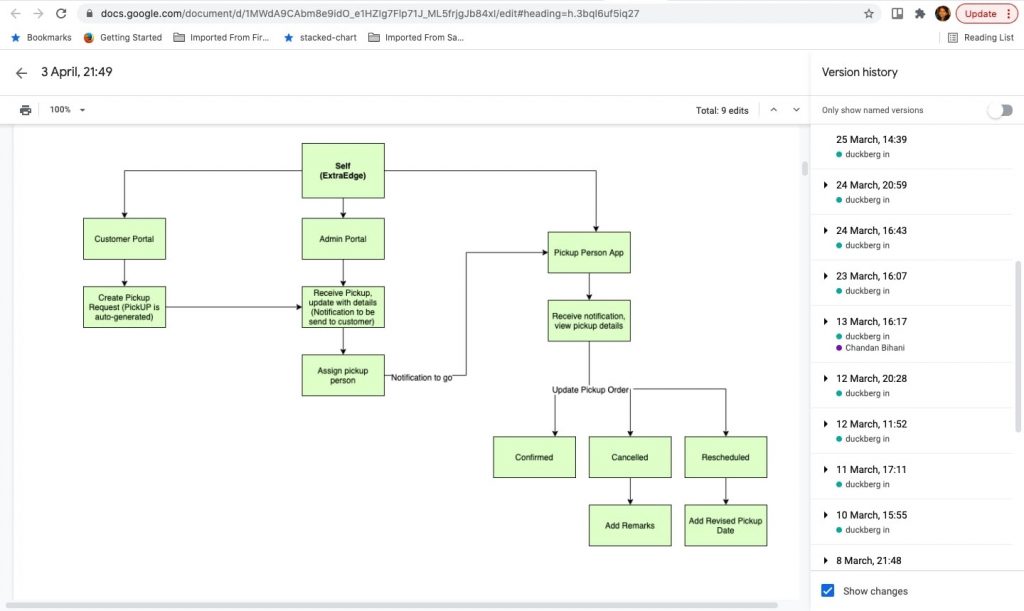
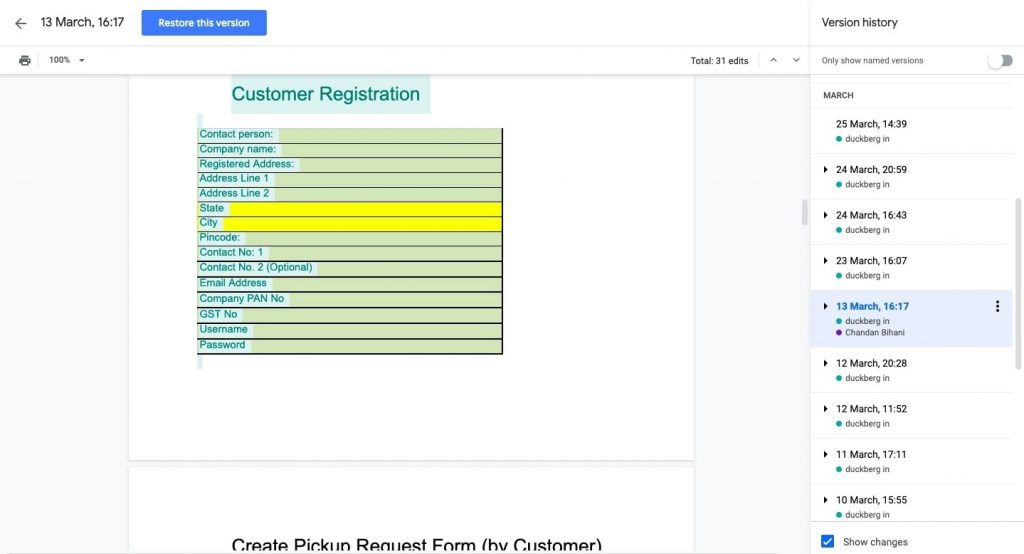
- Click the text highlighted with a blue border. The right side pane shall be shown with the list of versions.

- By observing the history, it shows the changes date wise and the username who made the edits.
- Expand the list of edits using the right arrow located prior to the date.
- To view changes, click the date item and the edits shall be shown with the green highlights.

- The user can restore these changes by clicking the Restore this version button.
- If the user wants to create a copy of this version in a separate document, that is also possible.
- Open the context menu against 13 March, 16:17 by clicking a 3-vertical dots icon.

- Make a copy is what the user needs to choose to create a separate copy of the document.
- Name this version is also useful to view logical changes made in the document.
Create Quality Content using History
Viewing history makes it possible to create the best quality content with a number of iterations. It is often experienced that the more content iterations you do, the content quality gets better and version history is of the help in creating the best content.
